
Fall cleanup always seems simple until you’re staring at a pile of dry stems, brittle leaves, and spent annuals that take up twice the space they should. This little garden debris chopper is one of those practical backyard tricks I love because it uses ordinary shed items, takes just a few minutes to set up, and makes bagging or composting lighter, faster work.
If you’ve got a small garden, raised beds, or even just a few containers to clear out, this is a handy setup to keep in your back pocket. I’m all for anything that saves my wrists and keeps the mess under control, especially when I’m trying to tidy the yard before heading inside to start supper.
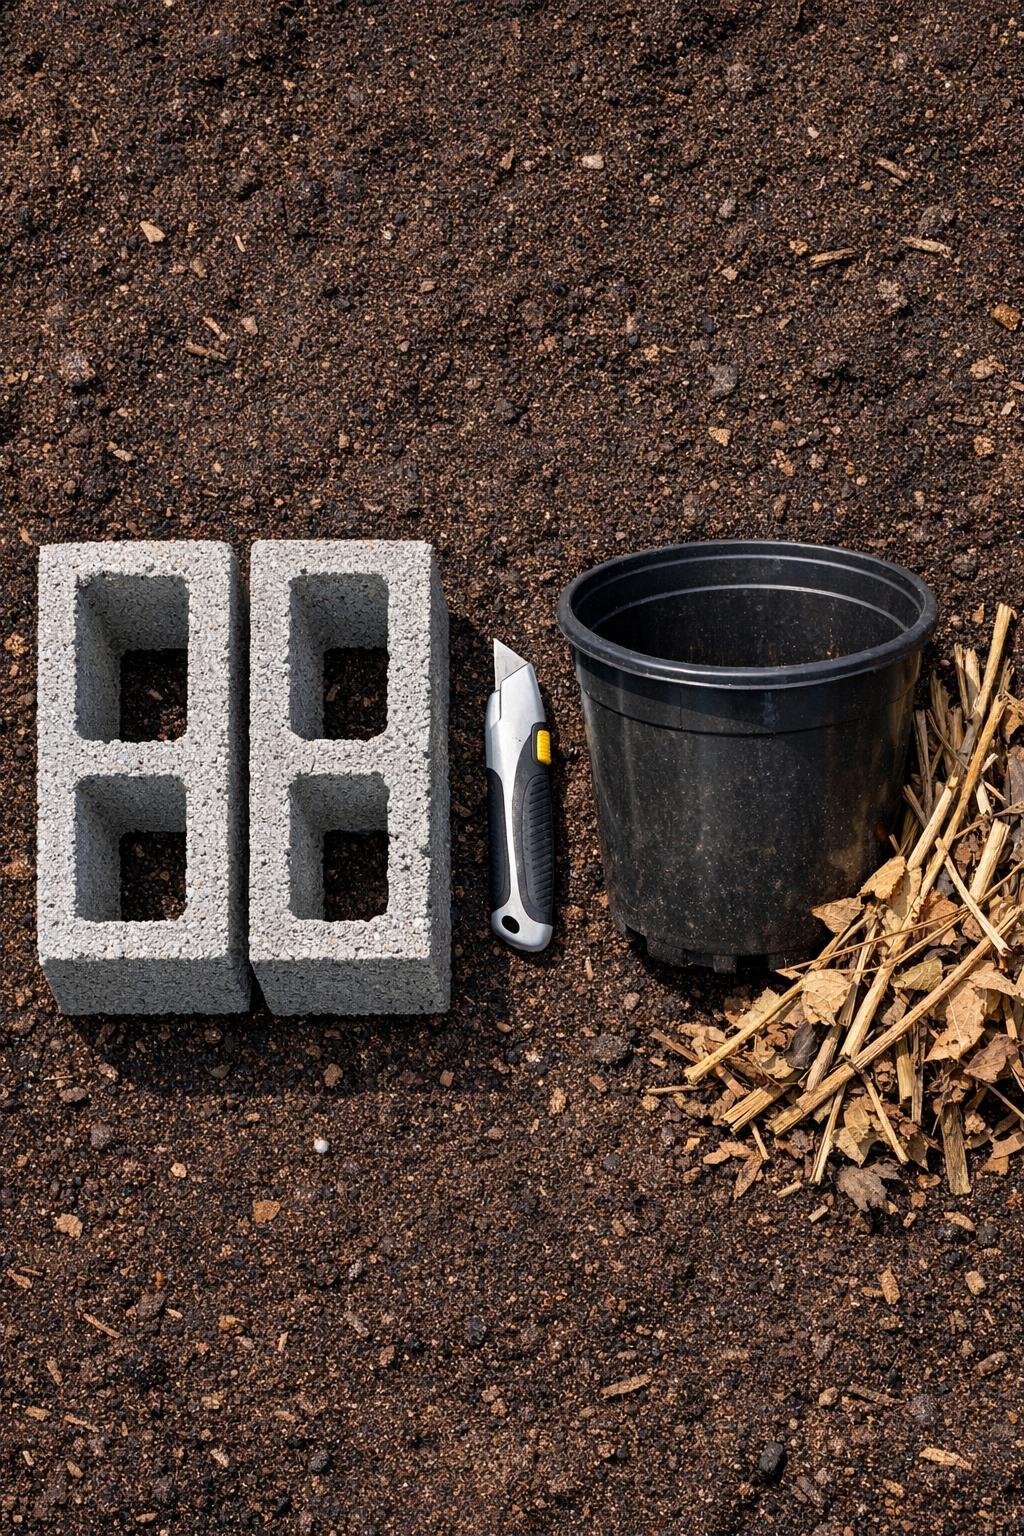
Materials
Instructions
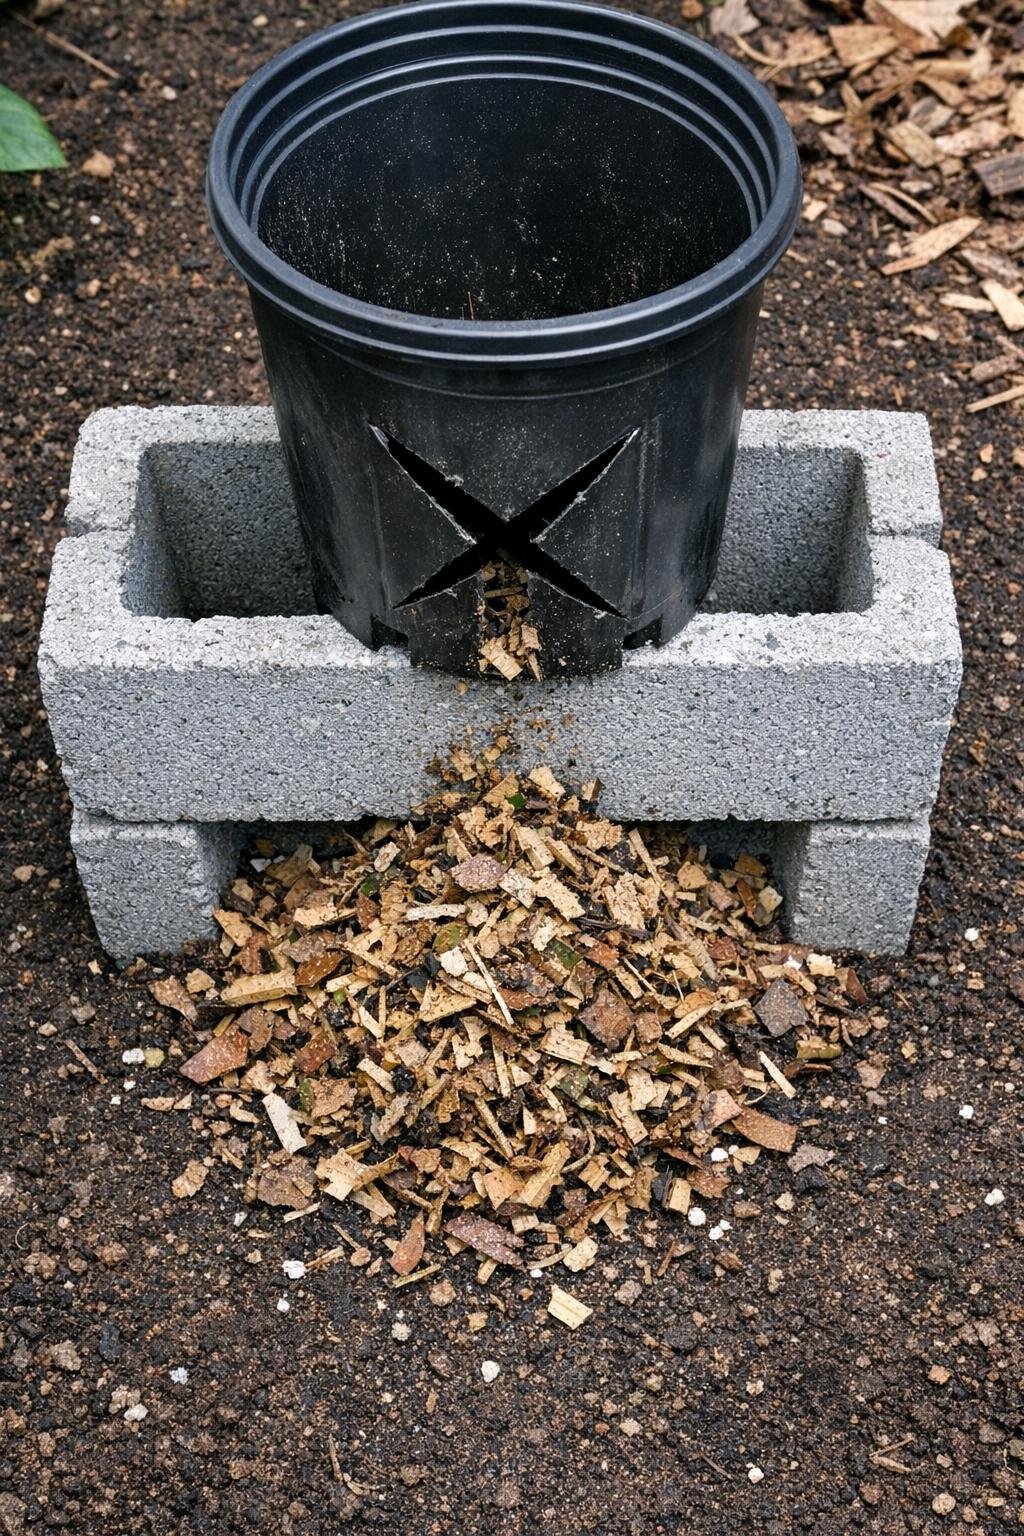
1. Set the two cinder blocks on level ground with the hollow openings facing sideways, and stack them neatly so they feel stable and do not wobble.
2. Place the empty plastic nursery pot on top of the stacked cinder blocks and press down lightly to make sure it sits flat and centered.
3. Put on your gloves, then use the utility knife to cut a firm X across the bottom of the nursery pot, making four triangular flaps that can flex inward.
4. Push the cut flaps inward so the opening acts like a rough chopping throat, then test it with a few dry stems to be sure the pot stays balanced.
5. Gather a small handful of dry garden debris and feed the stem ends down through the cut opening in the pot.
6. Hold the bundle steady and pull it up and down through the X-shaped opening so the plastic edges catch and break up brittle leaves and soft stems into shorter pieces.
7. Let the chopped bits fall through the cinder block openings onto the soil, into a bag, or straight into your compost collection container below.
8. Repeat with small handfuls until all your debris is reduced, then dump the chopped material into your compost pile or yard waste bag and store the blocks and pot back in the shed.
Variations & Tips
For soft plant material: This works best on dry, brittle cleanup like marigolds, zinnia stems, dead perennial tops, and leaves. If the material is green or damp, let it dry a day or two first so it breaks down more easily.
For picky compost piles: In my yard, smaller pieces disappear faster in the compost, which means less turning and less waiting. If you’re trying to keep your pile neat and family-friendly for little helpers, this is a simple way to avoid long, stringy stems everywhere.
Pot choice: A flexible nursery pot is better than a brittle decorative planter because the cut flaps can bend without cracking. If your pot is very thin, make a smaller X so it stays sturdy.
Safety first: Always cut the pot while it is empty and steady, and keep your free hand well clear of the knife path. I also stick to small handfuls of debris so nothing jerks loose unexpectedly.
Cleanup shortcut: Set a yard waste bag or shallow tub directly under the cinder block openings before you start. That saves one whole transfer step, which I appreciate on busy evenings when I’m trying to get the garden wrapped up before dinner.
Extra chopping power: If stems are still too long, run the same handful through a second time from another angle. It’s a small trick, but it makes the finished debris much easier to mulch or compost.