
Every year I tell myself I’m going to keep Halloween decorating simple, and every year I end up making one more thing out of whatever is already piling up in the recycling bin. This project is one of my favorite last-minute wins: a big batch of spooky “eyes” made from toilet paper rolls that takes almost no money, very little skill, and just enough effort to make the yard feel extra fun.
If you need something fast for a party, trick-or-treat night, or just to amuse the neighbors after work, this is a great one. The best part is that it’s intentionally temporary, so I never stress about making it perfect. A little variety and a little strategic placement do all the heavy lifting.
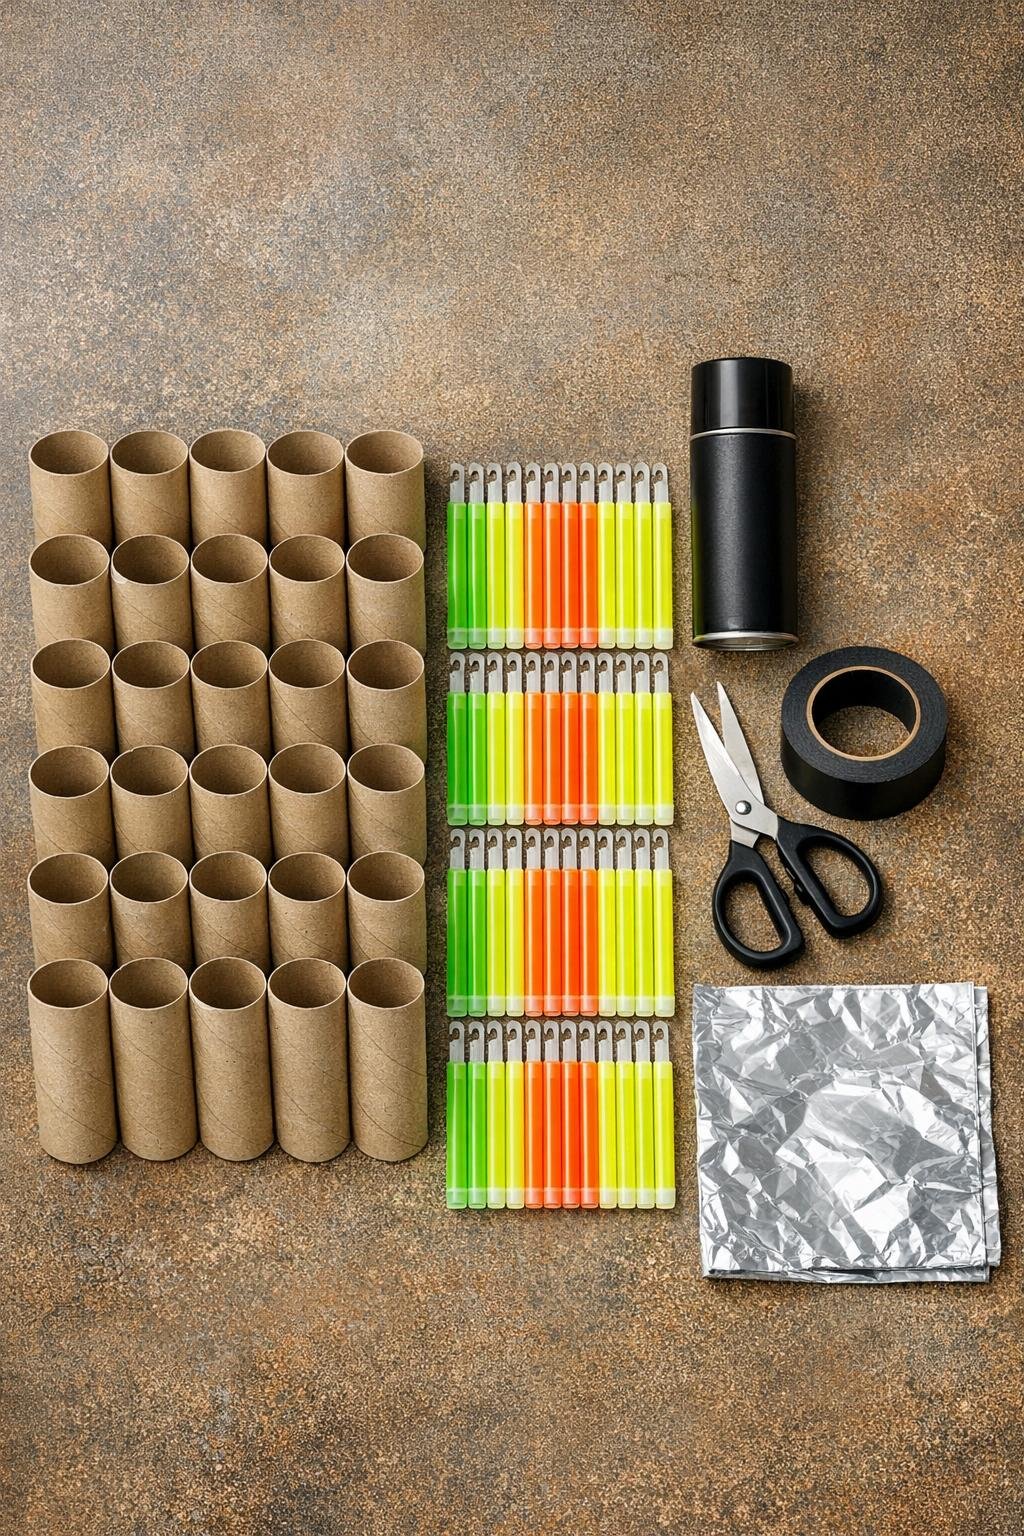
Materials
Instructions
1. Gather all 30 toilet paper rolls and press out any dents so the tubes keep their round shape. If a roll is crushed, reshape it gently now so the eyes will read clearly later.
2. Use a pencil to draw one pair of eyes on only one side of each tube. Do not cut through both walls of the roll, because light leaking out the back ruins the effect.
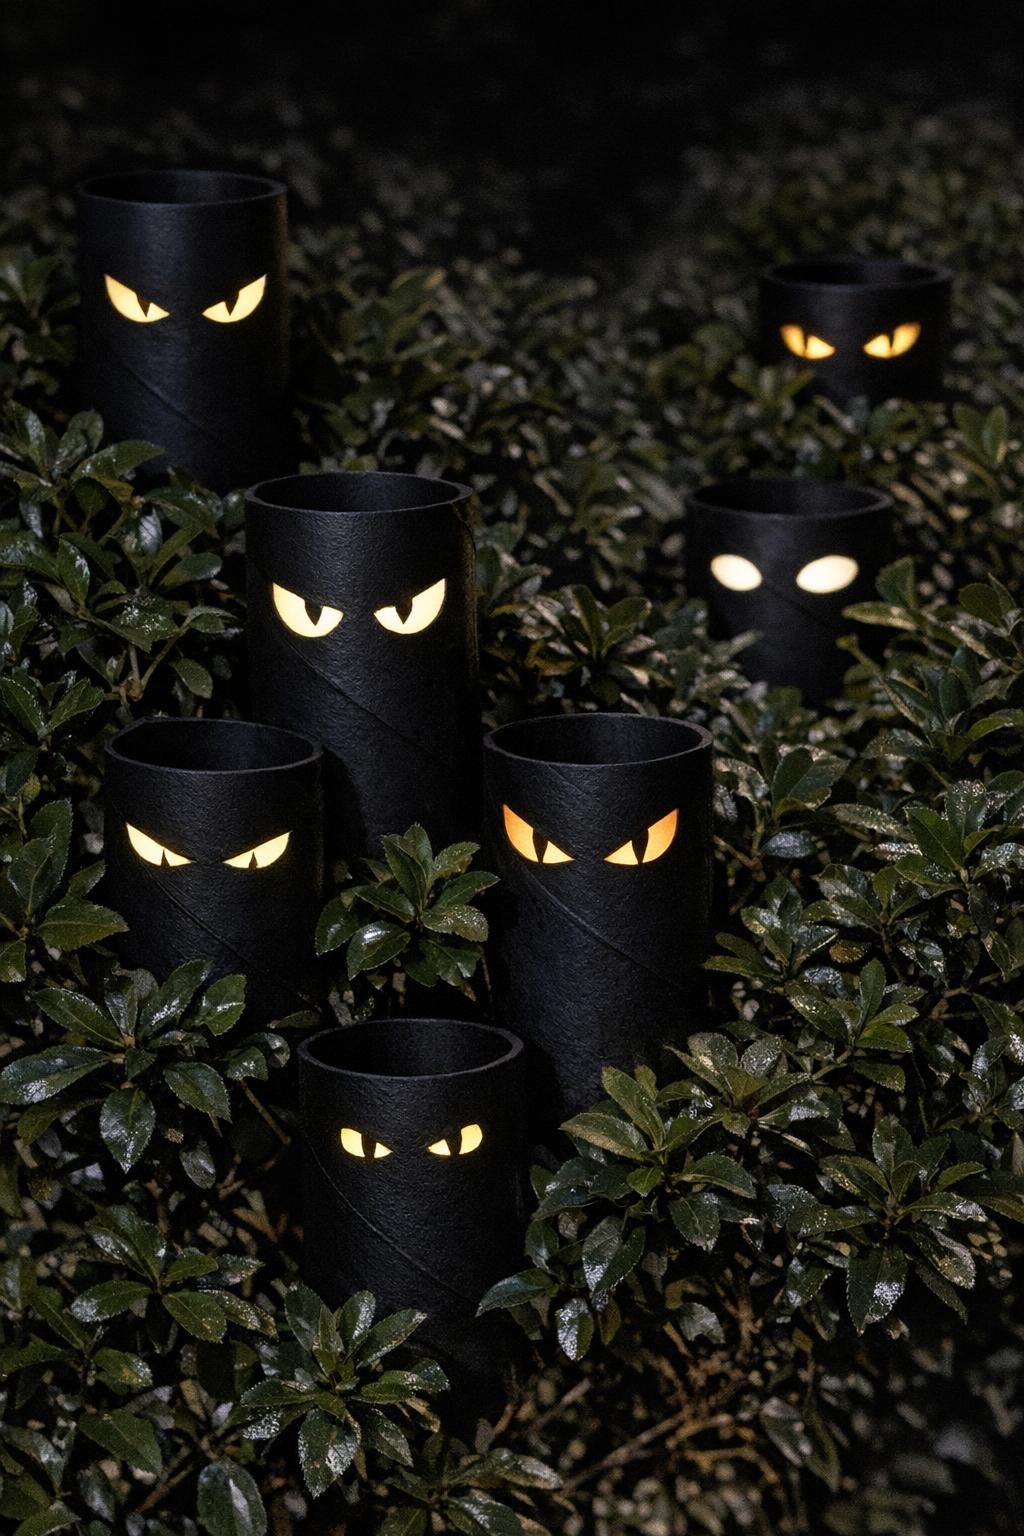
3. Vary the shapes from tube to tube so the group looks like a crowd of different creatures instead of copies. I like mixing angry slants, round surprised circles, cat slits, and a few uneven weird ones for extra personality.
4. Carefully cut out each eye shape through the single front wall only. Keep the openings fairly small so the glow is concentrated and the cardboard still holds its shape.
5. Take the rolls outside or to a well-ventilated area and spray them with a quick, even coat of black paint. This hides the brown cardboard in daylight and helps the eyes disappear into the bushes until evening.
6. Let the paint dry completely, then crack one glow stick at a time and drop it into a roll. If a glow stick is a little too long, bend it gently into a curve instead of forcing it.
7. Cap both ends of each roll with black tape or small pieces of foil secured with tape. The goal is to block light from escaping out the ends so it shines only through the eyes.
8. Tuck the finished tubes into hedges, shrubs, and low bushes at different heights and depths, angling some straight out and some slightly sideways. That staggered placement is what makes it feel like lots of hidden creatures are watching from the dark.
Variations & Tips
Make the eyes look real: The single easiest trick is shape variety. Thirty identical pairs look fake fast, but five or six different styles repeated loosely make the bushes feel much more alive.
Use the black paint: I would not skip this step unless you truly have to. Bare cardboard shows up a lot in daylight, while black-painted tubes visually vanish once they’re tucked into shadows.
Plan for one-night use: Glow sticks are perfect for a party or trick-or-treat evening, but they fade by the next day. I usually assemble mine that afternoon so the glow is strongest after dark.
Reusable option: LED tea lights can work instead of glow sticks if you want to reuse the project, but the light is steadier and a little less eerie. If you use them, choose small warm or colored lights and make slightly larger tubes if needed.
Protect your placement: Cardboard and dew are not friends. This is gloriously disposable decor, so place it as late as you can and expect soggy tubes by morning if the yard gets damp.
Best hiding spots: Dense shrubs near a walkway, porch edge, or driveway give the biggest payoff. I like clustering a few low to the ground, a few at knee height, and a couple deeper in the bush so the eyes don’t all sit on one flat line.
Kid-friendly setup tip: If younger kids are helping, let them draw the eye shapes while an adult does the cutting. It keeps the project easy, fast, and still feels like everyone contributed.