
I love a project that looks far more complicated than it really is, and this one absolutely delivers. With a couple hundred old puzzle pieces, some paint, and two relaxed evenings at the table, you can turn a thrift-store castoff into a holiday wreath that makes people do a double take. Once the pieces are painted and layered, the little knobs and holes on the edges stop reading as puzzle parts and start looking like carved, ruffled leaves and petals.
This is a great project if you want something festive but low-cost, or if you have a half-missing puzzle sitting in a closet that is never going to be built again. I want to say this up front because I can already hear the comment section: using a thrifted puzzle with missing pieces is a rescue, not a crime. I always paint the pieces first and assemble second, because trying to paint after the wreath is glued together leaves unpainted shadows in every crevice, and that is the kind of shortcut I only make once.
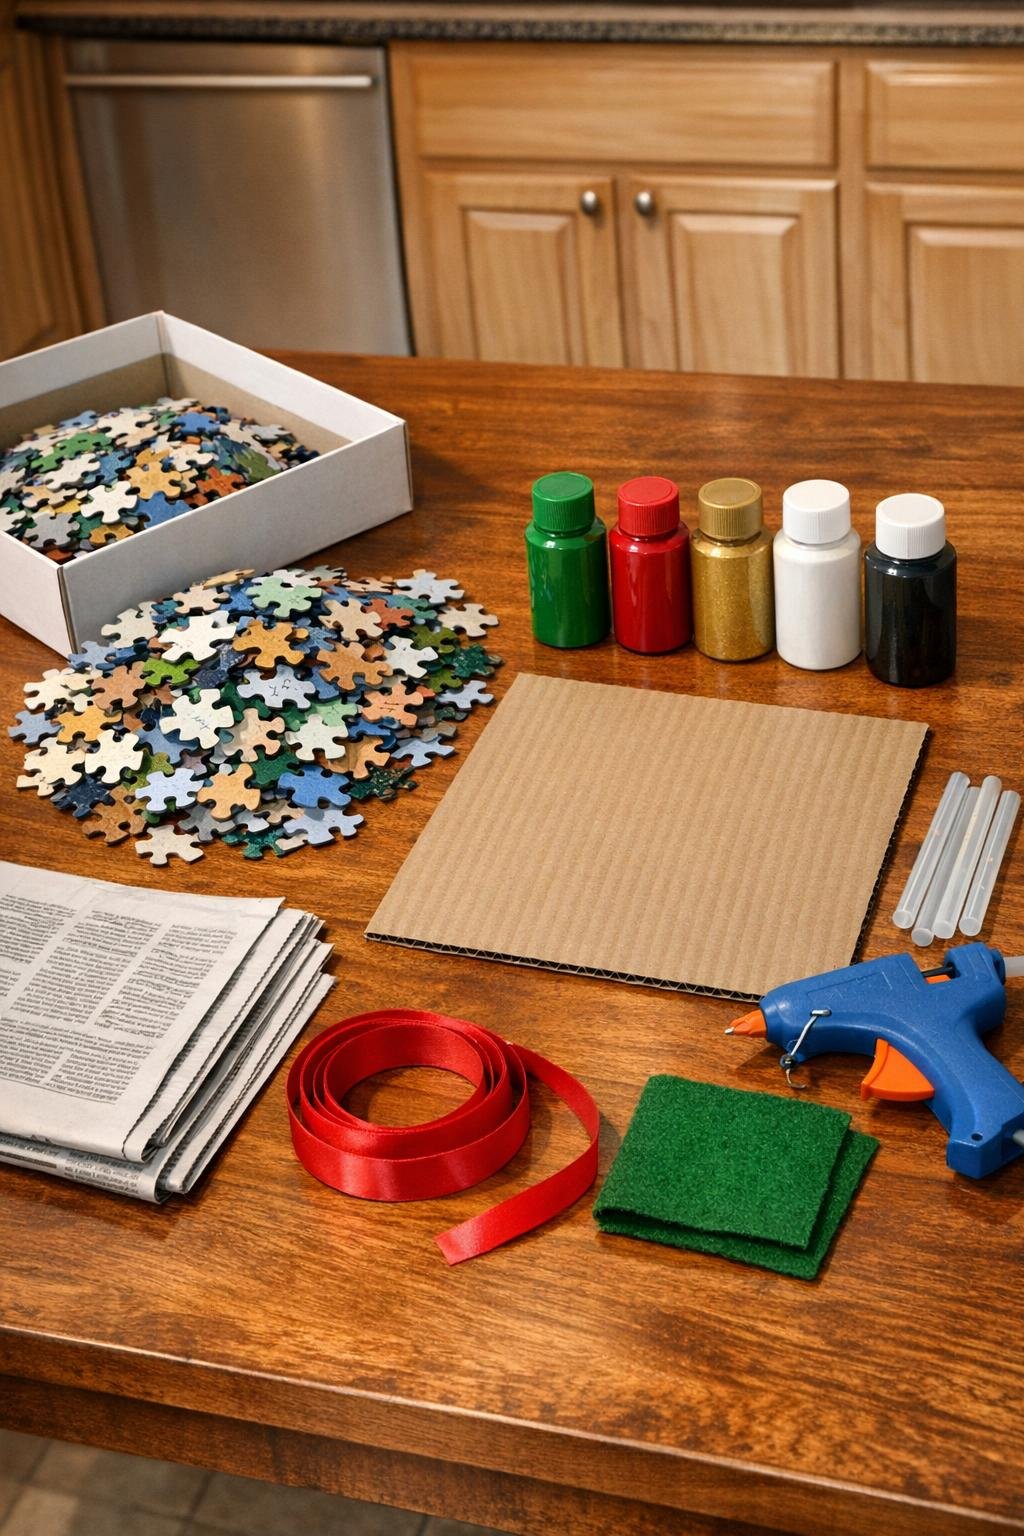
Materials
Instructions
1. Spread newspaper over your work surface and sort the puzzle pieces into two piles: about 130 to 140 pieces for green and about 60 to 70 pieces for red. Set aside 5 or 6 small pieces to dot with gold later for flower centers.
2. Paint the loose pieces in batches, coating both the printed side and the edges; paint most of them green and roughly one-third red. Let them dry completely, then flip and touch up any thin spots, because assembled layers are impossible to reach cleanly once glued.
3. Cut a cardboard ring about 10 inches across with a 5-inch center opening. If you want a template, trace around a dinner plate for the outside and a cereal bowl for the inside.
4. Glue a 12-inch ribbon or twine loop to the back top of the cardboard ring, then cover that glued area with a small scrap of felt or cardboard for extra strength. This is much easier now than after the wreath gets bulky.
5. Start the base layer by gluing green pieces flat around the cardboard ring, slightly overlapping them so the cardboard disappears. Follow the ring in a loose spiral direction so the finished layers feel intentional instead of random.
6. Add a second layer of green pieces anywhere the ring looks sparse, tipping some pieces slightly for dimension. This is where the puzzle knobs and holes begin to look like ruffled leaf edges instead of game pieces.
7. Build five or six red rosettes on top of the green base, spacing them around the wreath. For each rosette, glue the first red pieces in a small circle, then overlap more pieces in a tight spiral so they read like petals.
8. Continue layering the red rosettes until each one feels full and slightly raised from the greenery. I usually aim for petals that overlap enough to hide most flat gaps but still let the puzzle-piece shape create that carved texture.
9. Dot the center of each red rosette with gold paint using the tip of a brush or the end of a pencil eraser. If you want a little extra depth, dry-brush a tiny bit of white onto a few green edges after the gold centers dry.
10. Check the whole wreath for bare spots and tuck in a few extra green or red pieces wherever the shape needs balancing. Let all glue fully cool before hanging, and keep it indoors since cardboard and rain absolutely do not mix.

Variations & Tips
Color swap: If red is not your style, try cream flowers with gold centers, or all green for a wintery botanical look. Just keep the paint-first method the same so you do not end up with raw cardboard peeking through.
Better thrift strategy: I always look for puzzle boxes that are already taped shut or marked incomplete at the thrift store. They are usually extra cheap, and missing pieces make them perfect candidates for crafting.
Batch painting tip: If you are short on time after work, paint one side of all the pieces one night and the second side the next morning or during lunch break if you work from home. This project fits real life nicely when you break it into painting night and gluing night.
Glue choice: Hot glue is the fastest option, but work in small sections so it does not cool before you place the piece. If you prefer tacky glue, expect a longer drying time and lay books nearby to gently weight flatter sections.
Make it fuller: For a more dramatic wreath, add a third green layer around the outer edge before building the flowers. The extra lift gives the red rosettes even more contrast.
Indoor only reminder: This wreath is best for a front hall, mantel, kitchen wall, or protected interior door. Since the base is cardboard, humidity and weather will shorten its life outdoors.