
This little project turns one clear dollar store salad bowl into a piece of decor that looks far more expensive than it is. You glue flat glass gems inside the bowl in neat, nested rows, and by the time you’re done, it has that stained-glass feel that makes a shelf, entry table, or kitchen counter look instantly more intentional.
I love crafts like this because they fit real life: the supplies are easy to find, the cost stays under about $10, and the steps are simple enough to do while dinner is in the oven or while I’m half watching a show after work. By day, it works as a glossy gem bowl centerpiece; once you add an LED puck light underneath, it takes on a whole second life. One honest note before you start: once you make it, this is decor now, not a salad bowl, so this is officially goodbye to the salad.
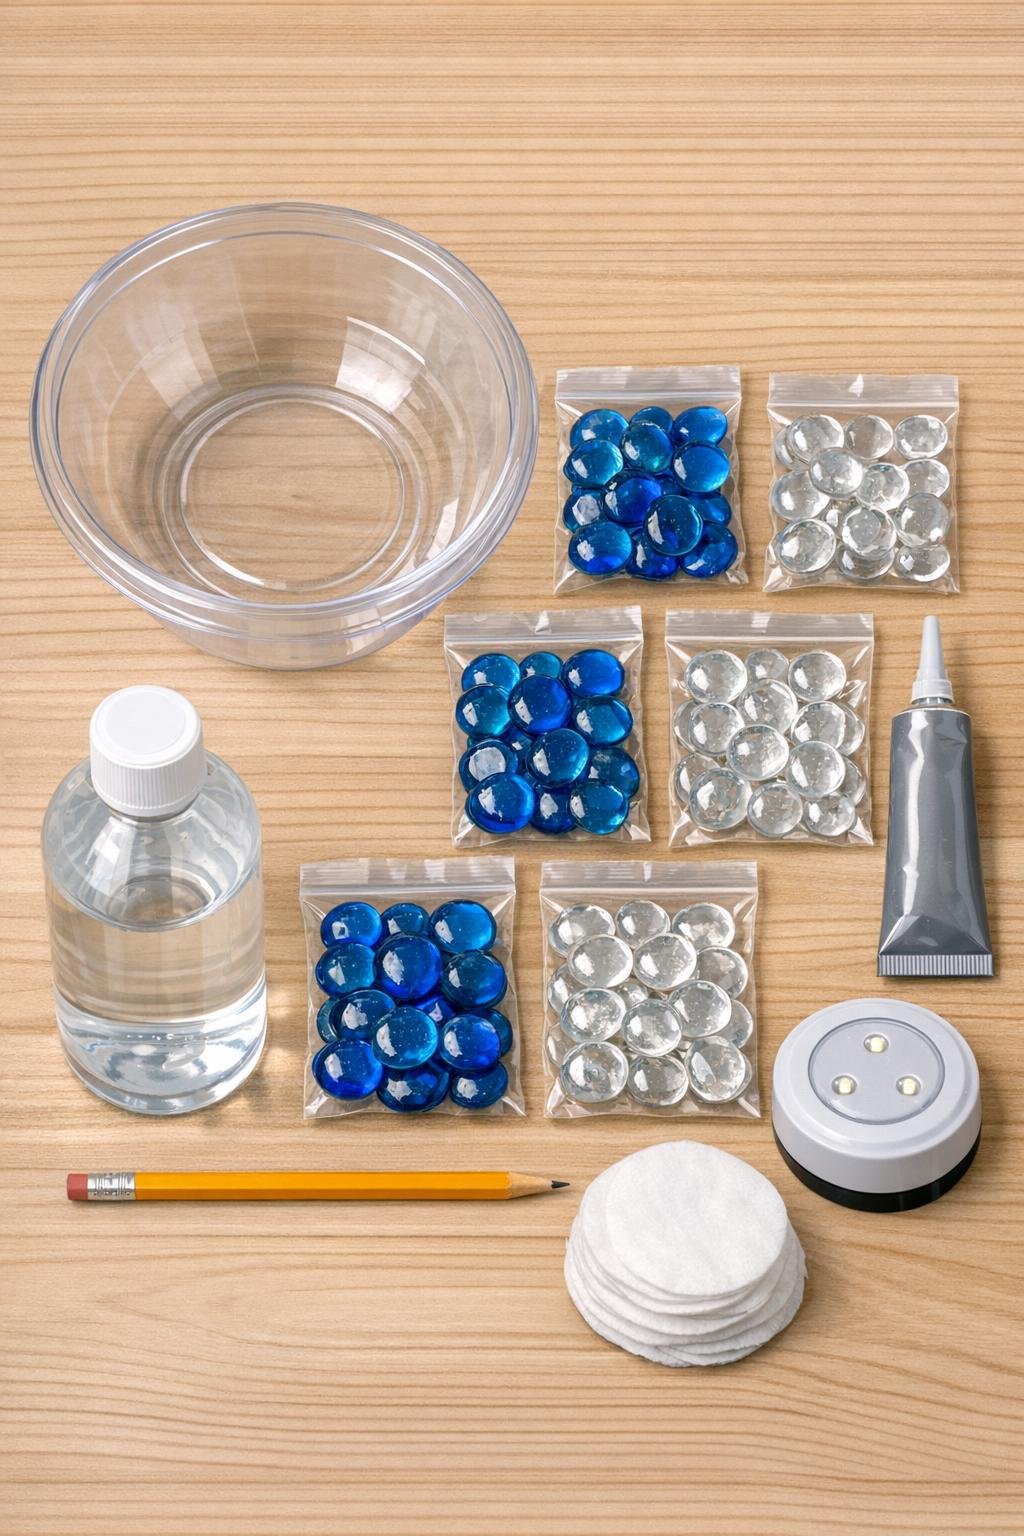
Materials
Instructions
1. Wash the bowl with warm soapy water, dry it well, then wipe the inside with rubbing alcohol so the adhesive grips the plastic cleanly. Let the bowl air-dry for a few minutes before you start.
2. Set the bowl upside down for a minute and decide which area will become the top center once the finished piece is flipped over the light. Sketch a simple plan on scrap paper, like blue and clear rings or a basic flower shape, because a restrained pattern reads much more like stained glass than a random scatter.
3. Turn the bowl right side up and place it on a towel so it does not slide around while you work. If you want a guide, lightly mark the center point inside the bowl with pencil or dry-erase marker.
4. Add a small dot of clear-drying silicone or E6000-style adhesive to the flat side of one gem and press it onto the inside center of the bowl. Start with just one gem in the middle so every ring can build neatly around it.
5. Continue gluing gems around that center in a tight ring, keeping the flat side of each gem against the bowl and nudging each one close to the next. Work slowly enough that the rows nest cleanly without large gaps.
6. Build outward one ring at a time, following your color plan as you go. I like alternating bands of blue and clear because it feels polished without making me overthink every single gem.
7. Use only a small dot of adhesive per gem so it does not ooze onto the visible surface. If any glue squeezes out, wipe it away right away with a cotton pad before it starts to set.
8. Finish the remaining rings until the inside of the bowl is fully covered or until you reach the rim with an even border. Check from the outside every so often to make sure the pattern looks balanced and the rows stay smooth.
9. Set the bowl aside in a well-ventilated spot and let the adhesive cure for a full 24 hours. This wait matters; rushing it is the fastest way to have gems shift or pop loose later.
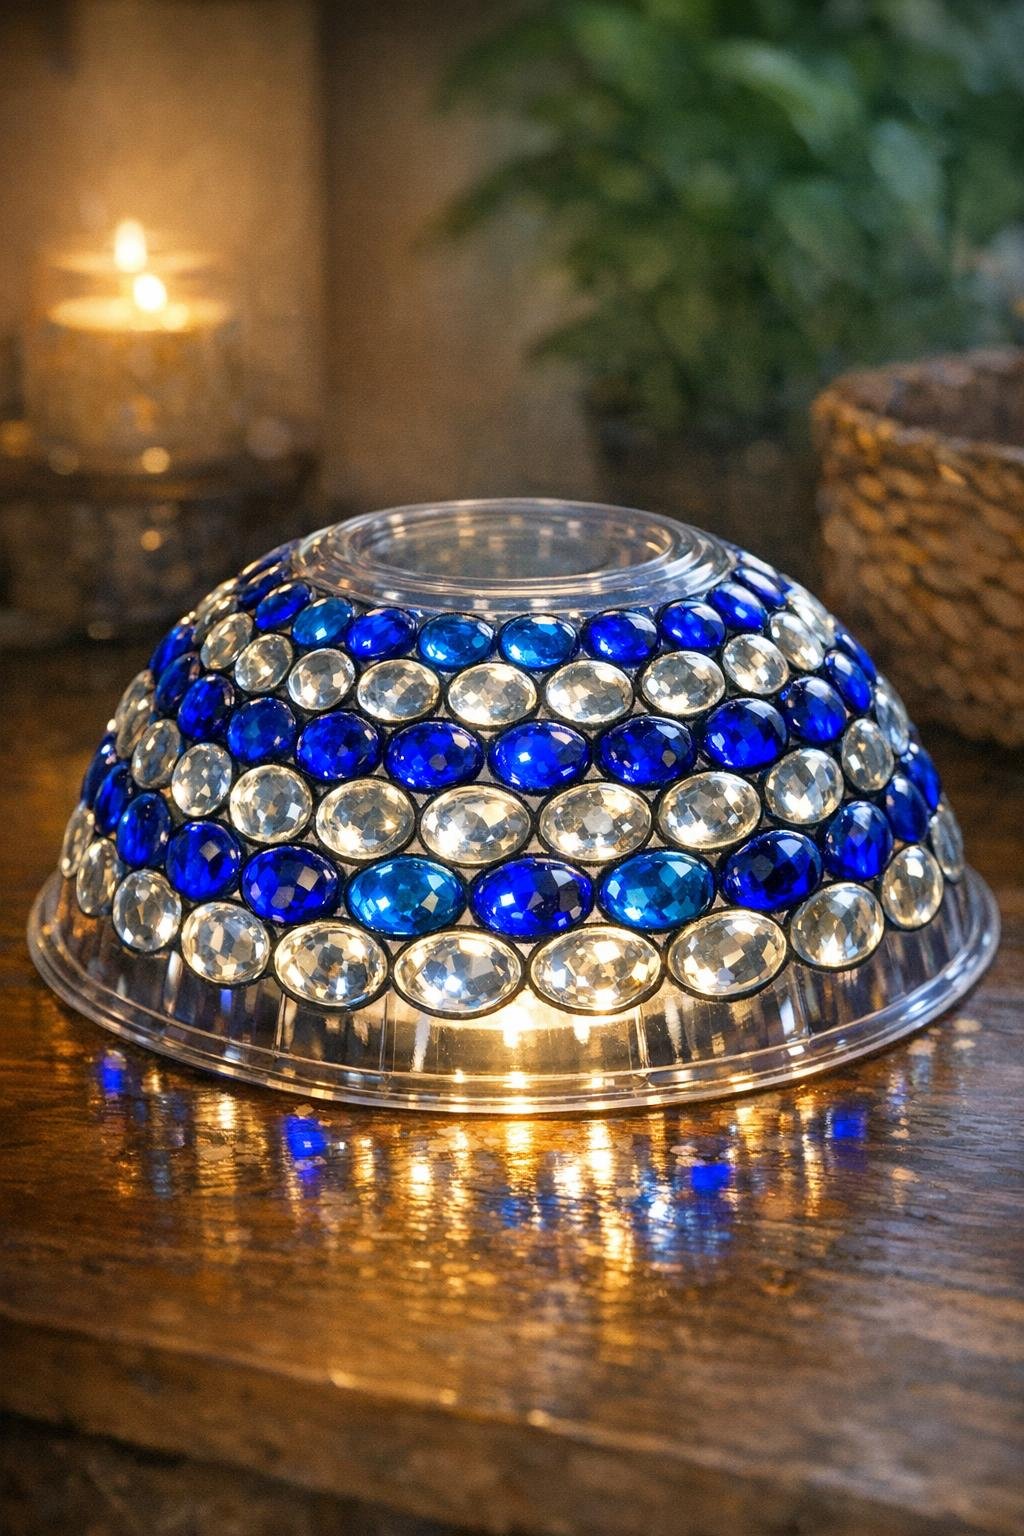
10. Once cured, flip the bowl upside down over the LED puck light and test the fit. Adjust the light placement so it sits centered under the dome, and use LED only since plastic and heat are never a good mix.
Variations & Tips
Best adhesive choice: Use clear-drying silicone or an E6000-style adhesive, not hot glue. Hot glue clouds up, leaves strings, and tends to pop right off smooth plastic bowls, and choosing the right glue is what saves this project.
Color planning: Stick to simple bands, stripes, or a basic flower motif. A little restraint goes a long way here; random mixed colors can start to look more like aquarium gravel than stained glass.
Budget tip: Count out your gems before you begin if you are mixing colors evenly. At roughly $1.25 per bag, this project usually lands under $10, which is probably why I keep getting tempted to make “just one more” for another room.
Daytime styling: If you are not using the light every day, let the bowl sit upright as a decorative centerpiece. It still looks pretty and glossy on its own, which makes it feel less like a one-trick craft.
Pattern fix: If your rings begin drifting off-center, pause and check the bowl from the outside before adding more gems. It is much easier to correct one row early than to discover a lopsided pattern near the rim.
Gift idea: This makes a great handmade gift for someone who likes colorful decor but does not need more small clutter. Pair it with fresh batteries for the LED puck light so it is ready to use right away.