
Old wooden shutters are one of those thrift-store finds I can never walk past, because even the beat-up ones usually have one more good life left in them. For this project, I’m turning a pair of old shutters into a 3-item autumn memo board set that’s practical, cozy, and honestly charming enough to leave up all season. You get a place for notes, invitations, grocery reminders, and a little bit of fall decorating all in one.
I especially love this kind of project for busy families, because it gives all those little papers a home without feeling fussy. The finished set includes one shutter panel with twine for clipping notes, one with a cork strip for pinning reminders, and one small coordinating hanging accent piece so the whole display looks full and intentional instead of like random leftovers.
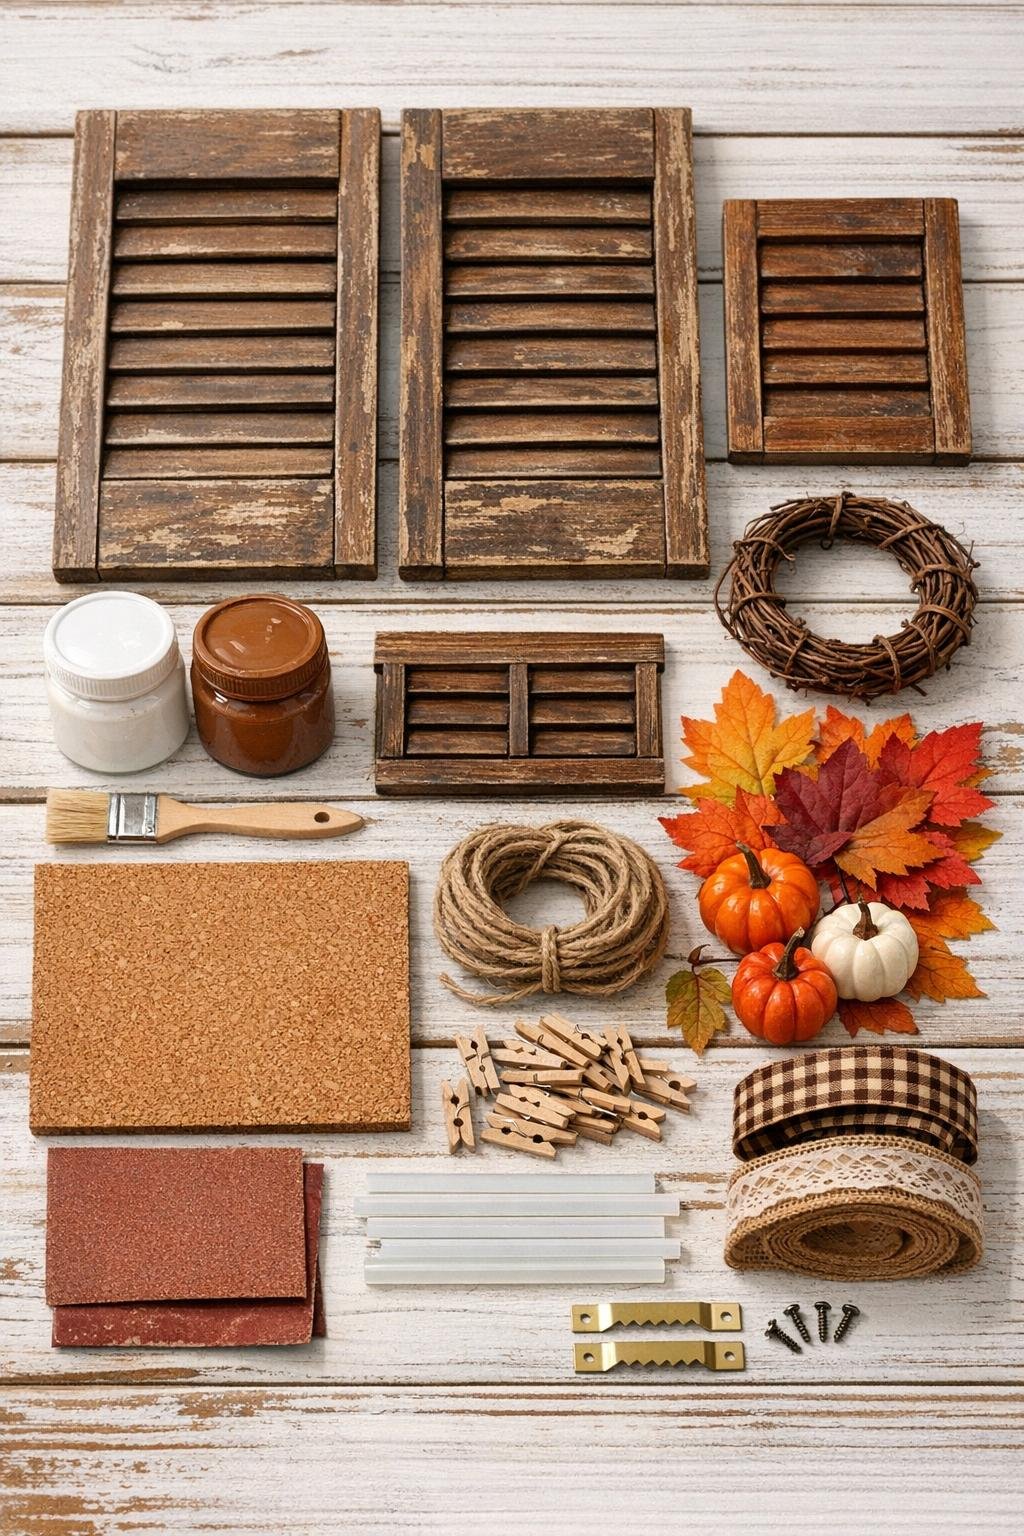
Materials
Instructions
1. Wipe down all shutter pieces with a dry cloth and remove any loose dirt, flaky paint, or splinters so you’re starting with a clean surface.
2. Lightly sand the front, back, and edges of each shutter piece with 120-grit sandpaper, then smooth with 220-grit so the finish looks worn but still neat to the touch.
3. Paint all three shutter pieces in soft white or warm cream, working the brush into the slats, and let the first coat dry completely before adding a second coat for full coverage.
4. Dry brush a little brown or dark walnut paint along the edges and across raised spots, then lightly sand again once dry to give the shutters that cozy timeworn farmhouse look.
5. Cut the cork sheet into a rectangle that fits neatly inside the center area of one full shutter panel, leaving the outer frame and slats visible for contrast.
6. Press the cork firmly onto the shutter panel using the self-adhesive backing, and add a few dots of craft glue around the edges if the wood surface is uneven.
7. On the second full shutter panel, wrap three horizontal rows of jute twine across the front, spacing them about 6 inches apart, and glue or staple the ends securely on the back.
8. Clip 6 mini clothespins onto the twine so notes, school papers, and little recipe cards can be tucked in easily later.
9. Use the small shutter piece as the third item by centering the 8-inch grapevine wreath on it and gluing it in place, then tuck in faux leaves, berry picks, and mini pumpkins until it looks full and balanced.
10. Make a simple bow with 18 inches of wired ribbon and attach it to the top or side of the wreath accent for a finished autumn touch.
11. Seal the painted wood lightly with a clear matte sealer, avoiding the cork surface, and let everything dry fully before hanging.
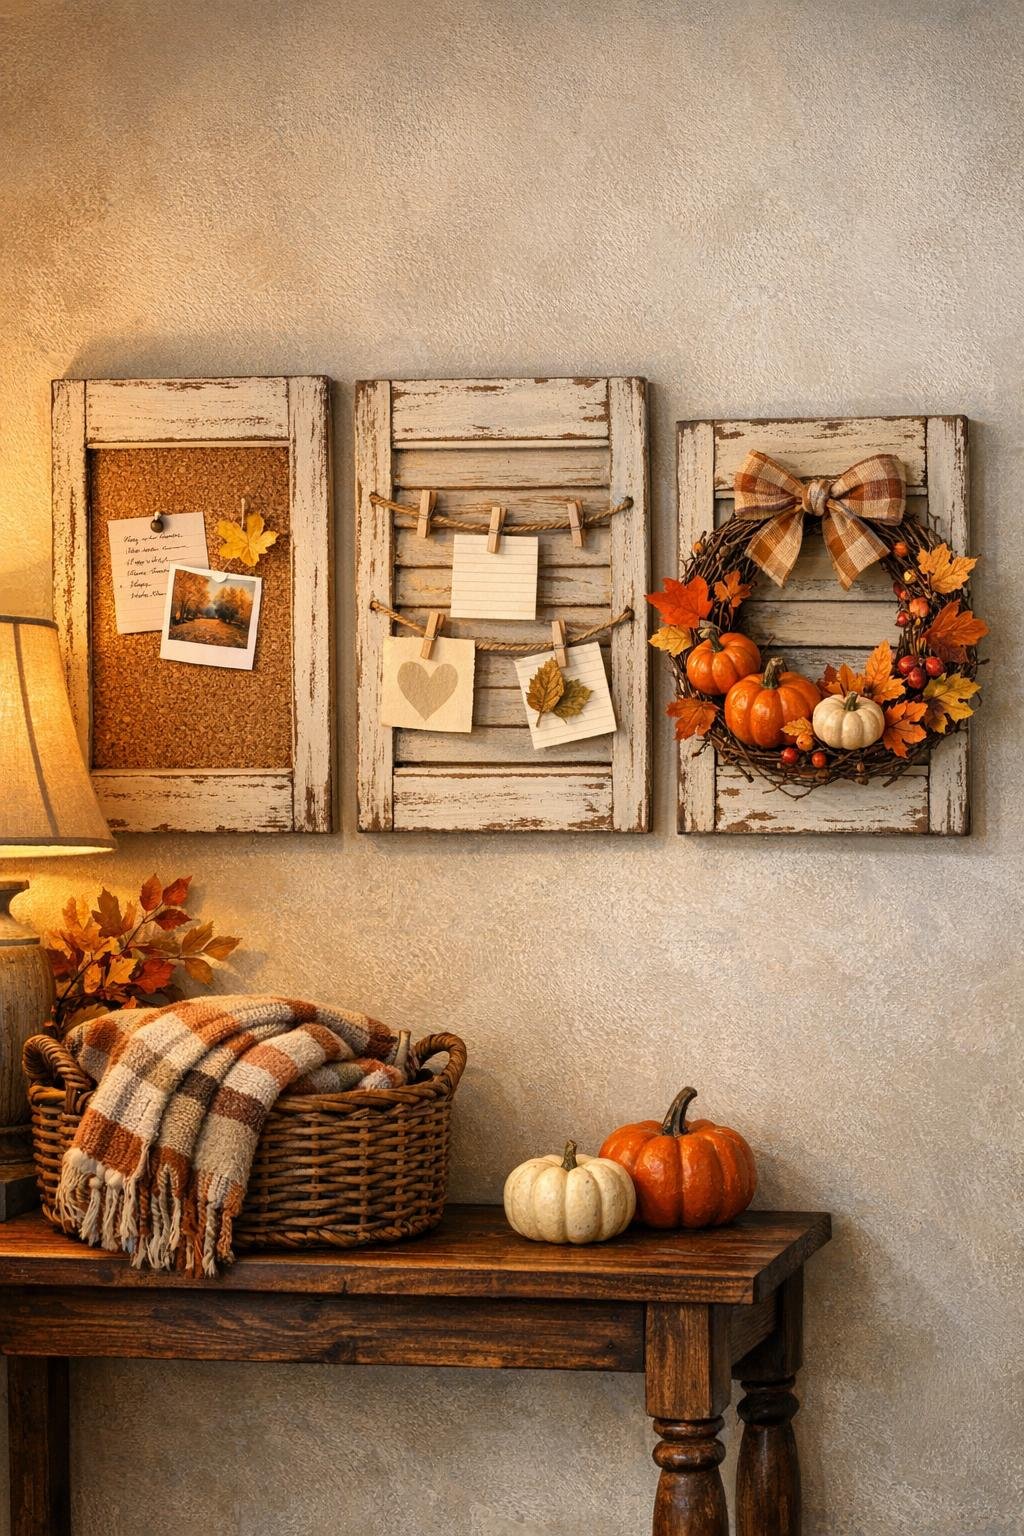
12. Attach one sawtooth hanger to the back of each piece, then hang the three items together in a grouped arrangement with the cork board, twine note board, and fall accent piece spaced 2 to 3 inches apart.
Variations & Tips
For a deeper fall look: Use muted olive, pumpkin, or greige paint instead of white, then distress the edges so the shutters still keep their vintage charm.
For busy family command centers: I like to use the cork panel for invitations and appointment cards, while the twine side holds permission slips or weekly dinner notes with clothespins. It makes those everyday papers feel a lot less chaotic.
For picky decorators: If bright orange pumpkins aren’t your style, swap them for cream pumpkins, eucalyptus picks, and a tan ribbon for a softer autumn palette.
If your shutters are very narrow: Use two rows of twine instead of three and cut the cork insert a bit smaller so the boards still look generous without feeling crowded.
Make it sturdier: If the shutters are heavy, add two hangers per large panel and use wall anchors so the set stays secure in an entryway or kitchen nook.
Easy seasonal swaps: Keep the two functional memo boards up year-round and just switch the small decorative shutter accent for winter greenery, spring florals, or summer ribbon.
Best finishing touch: Don’t skip the ribbon and light distressing. In my experience, those two little details are what take old shutters from “saved from the garage” to something that looks intentional and polished in your home.