
This little bedroom project is one of my favorite kinds of DIY: fast, useful, and surprisingly polished once it’s on the wall. We’re turning a small wooden cutting board and a curved brass towel hook into a simple headphone stand that looks custom, keeps cords off the nightstand, and gives the room that pulled-together detail people always notice.
I love projects like this because they fit into real life. When work gets busy, I’m not starting a giant weekend build, but I can absolutely carve out an hour to make something that solves a daily annoyance. If you’ve got over-ear headphones that are always ending up on a desk chair, dresser, or tangled beside the bed, this is an easy fix that looks a lot nicer than a plastic stand.
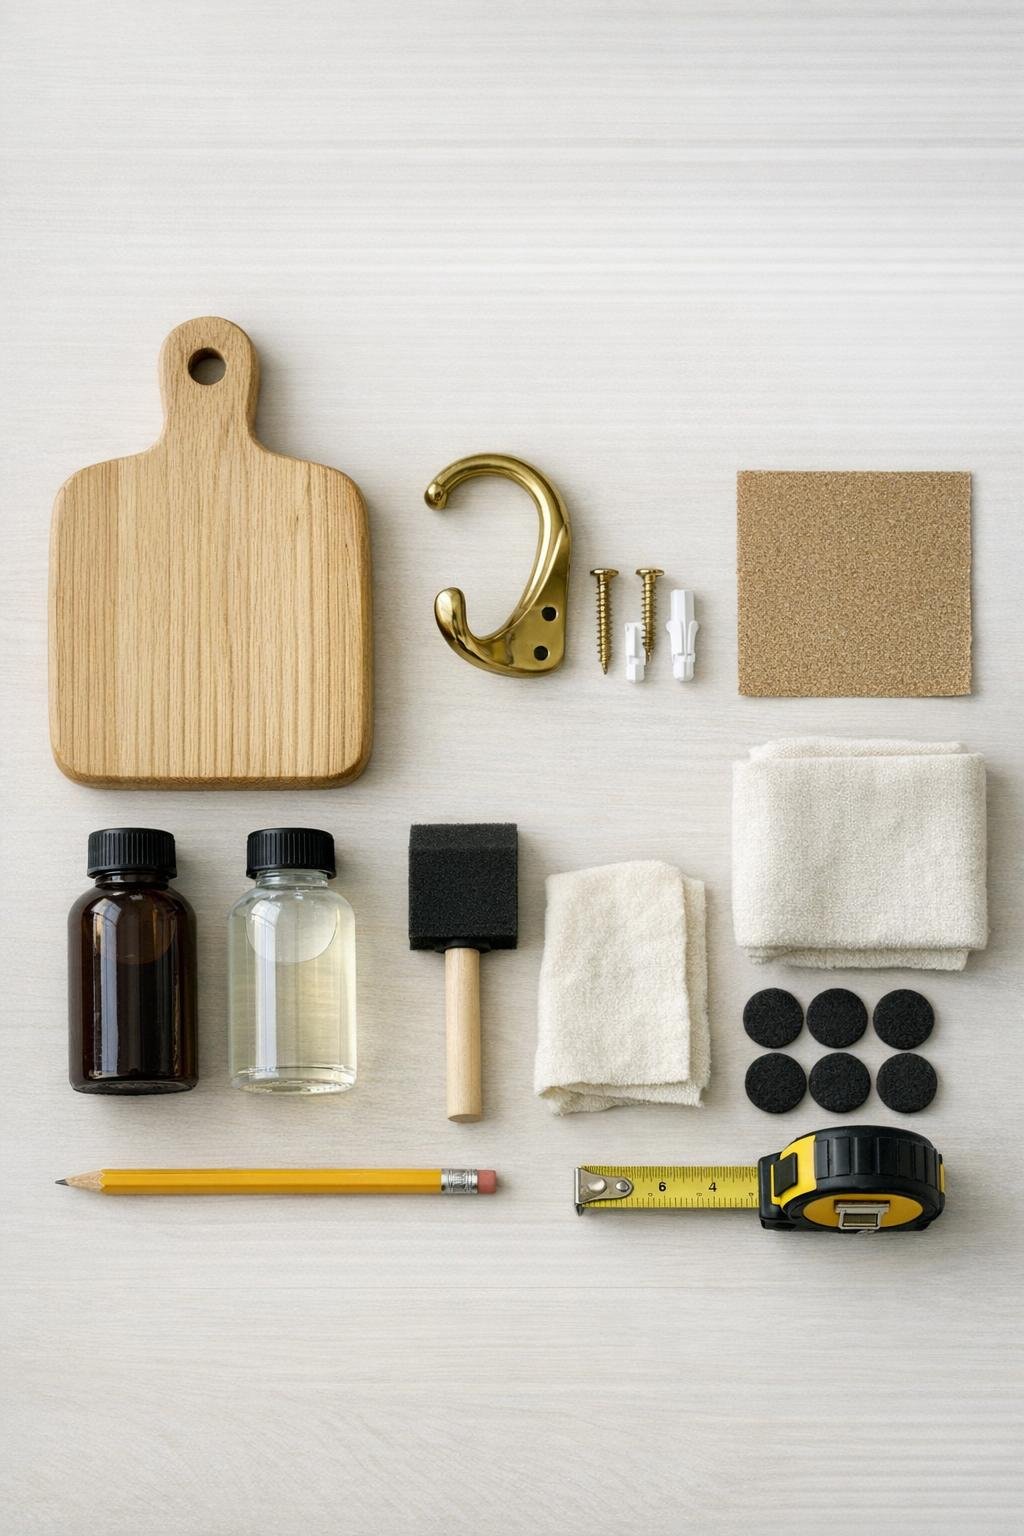
Materials
Instructions
1. Wipe down the cutting board and remove any tags, stickers, or hanging cords so you’re starting with a clean, bare surface.
2. Lightly sand the front, back, edges, and handle area of the board with medium-grit sandpaper, then smooth it with fine-grit sandpaper so the finish goes on evenly.
3. If the board has any old holes or deep imperfections where you do not want them showing, fill them with a small amount of wood filler and let it dry before sanding smooth again.
4. Brush or wipe on a thin coat of stain over the entire board, following the grain, then wipe away the excess with a cloth for an even, rich finish.
5. Let the stain dry fully, then add 2 thin coats of clear topcoat, drying between coats, to protect the wood from fingerprints and give it a finished furniture-like look.
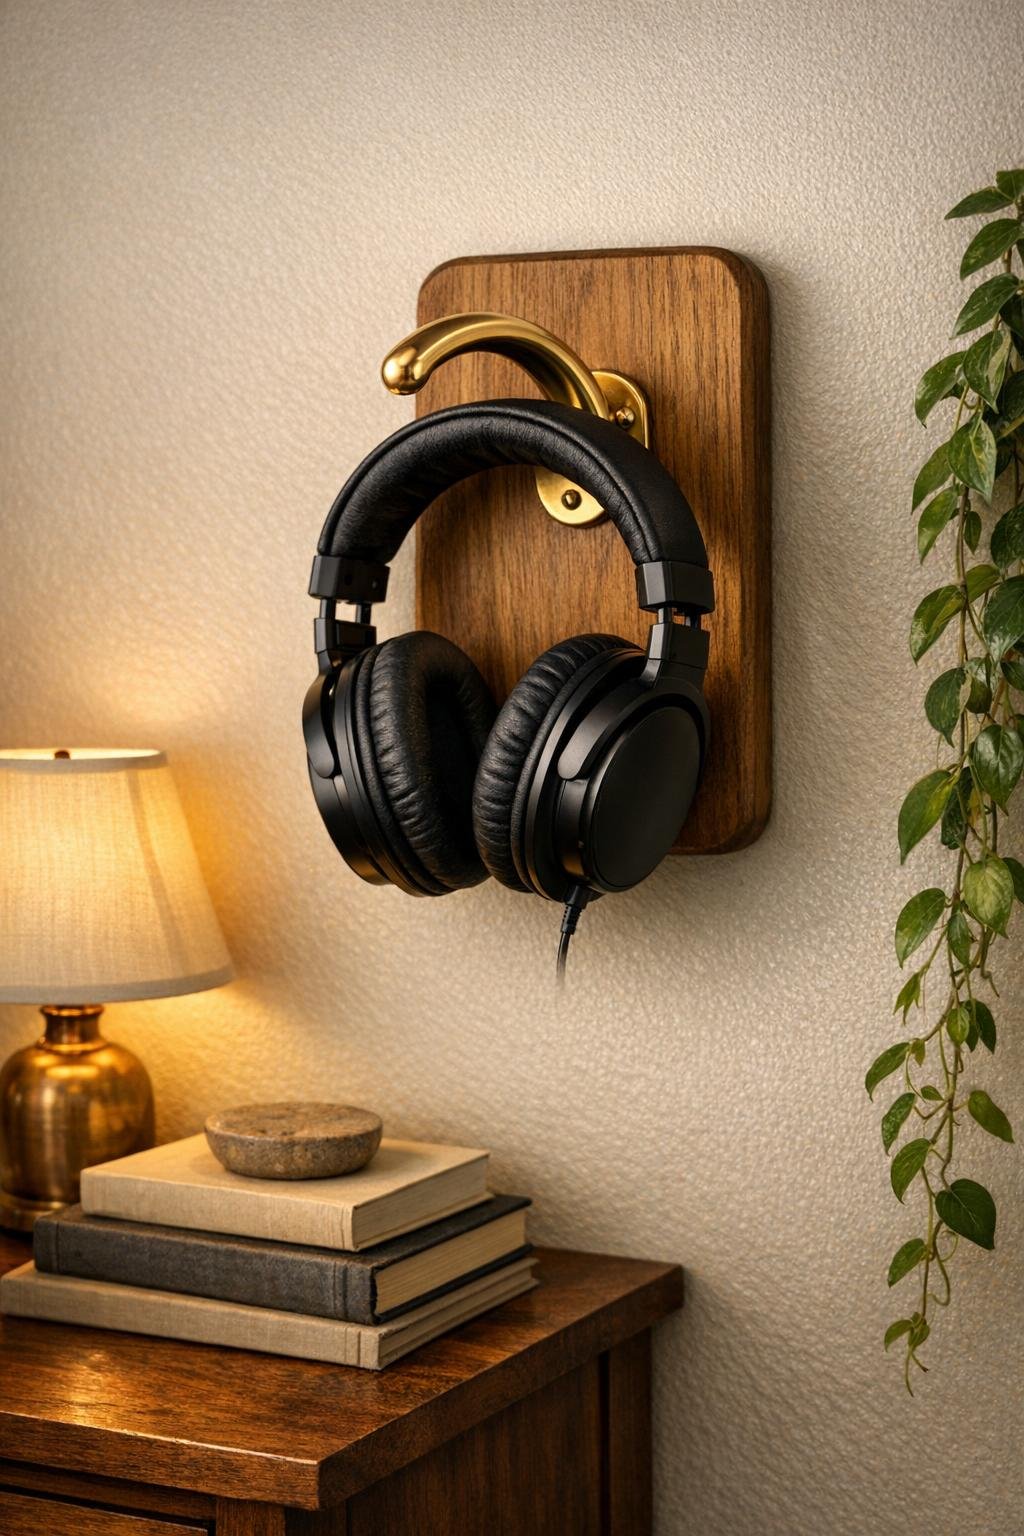
6. Center the curved brass towel hook on the lower half of the board, placing it low enough for the headphones to hang freely but high enough to leave a nice wood border all the way around.
7. Mark the screw holes with a pencil, drill small pilot holes if needed, and attach the hook firmly with the brass screws so it sits snug and straight against the board.
8. Turn the board over and attach a sawtooth hanger or small picture hanger to the back near the top so the stand can hang flat and securely on the wall.
9. Add 2 small felt pads to the lower back corners of the board so it won’t scuff the wall and will sit evenly once mounted.
10. Hang the board at a convenient height beside the bed, above a dresser, or near a desk, using wall anchors if you are not mounting into a stud.
11. Polish the brass if you want a brighter glow, then hang your over-ear headphones on the curved hook with the headband resting neatly across the top of the curve.
Variations & Tips
Darker wood look: If your bedroom furniture leans deeper and moodier like mine does in winter, use a walnut stain and satin topcoat for a richer contrast with the brass.
No-stain version: You can leave the cutting board natural and just seal it with clear topcoat if you like a lighter, Scandinavian-style finish.
Best board shape: A paddle-style cutting board with a rounded handle looks especially good because it reads more like decor and less like leftover kitchen wood.
Hook placement: Test your headphones against the board before screwing anything in; I like leaving about 3 to 4 inches of wood visible above the hook so the proportions feel balanced.
Cord control: If your headphone cord is always slipping around, add a small adhesive cord clip to the side or back of the board to keep everything tidy.
Rental-friendly option: If you can’t put holes in the wall, lean the finished board on a dresser and use heavy-duty removable mounting strips rated for the weight.
Match your hardware: Brass is what makes this version feel warm and elevated, but matte black hardware also works beautifully in a more modern bedroom.
Make it gift-worthy: Add a narrow velvet ribbon at the handle or rub a little extra polish onto the hook before gifting; those tiny finishing touches make it look much more boutique.