
There is something wonderfully satisfying about turning a battered old book into something graceful for the mantel. This paper cone tree has that farmhouse sort of charm I love so much out here in the Midwest: simple materials, a bit of patience, and a finished piece that feels like it has a story behind it. The yellowed, timeworn pages are the whole beauty of it, so this is one project where the most water-stained, foxed, and forgotten duplicate on the thrift shelf is exactly what you want.
I know some folks flinch at the idea of tearing a book apart, and I do understand that. I felt that same little pang the first time I made one. But I think of this as decor rescue, not book burning, especially when the book is already damaged and headed nowhere good. If you enjoy slow, meditative handwork and don’t mind an afternoon of rolling paper cones, this is a lovely indoor project for winter decorating, gift tables, or a quiet corner that needs a little softness.
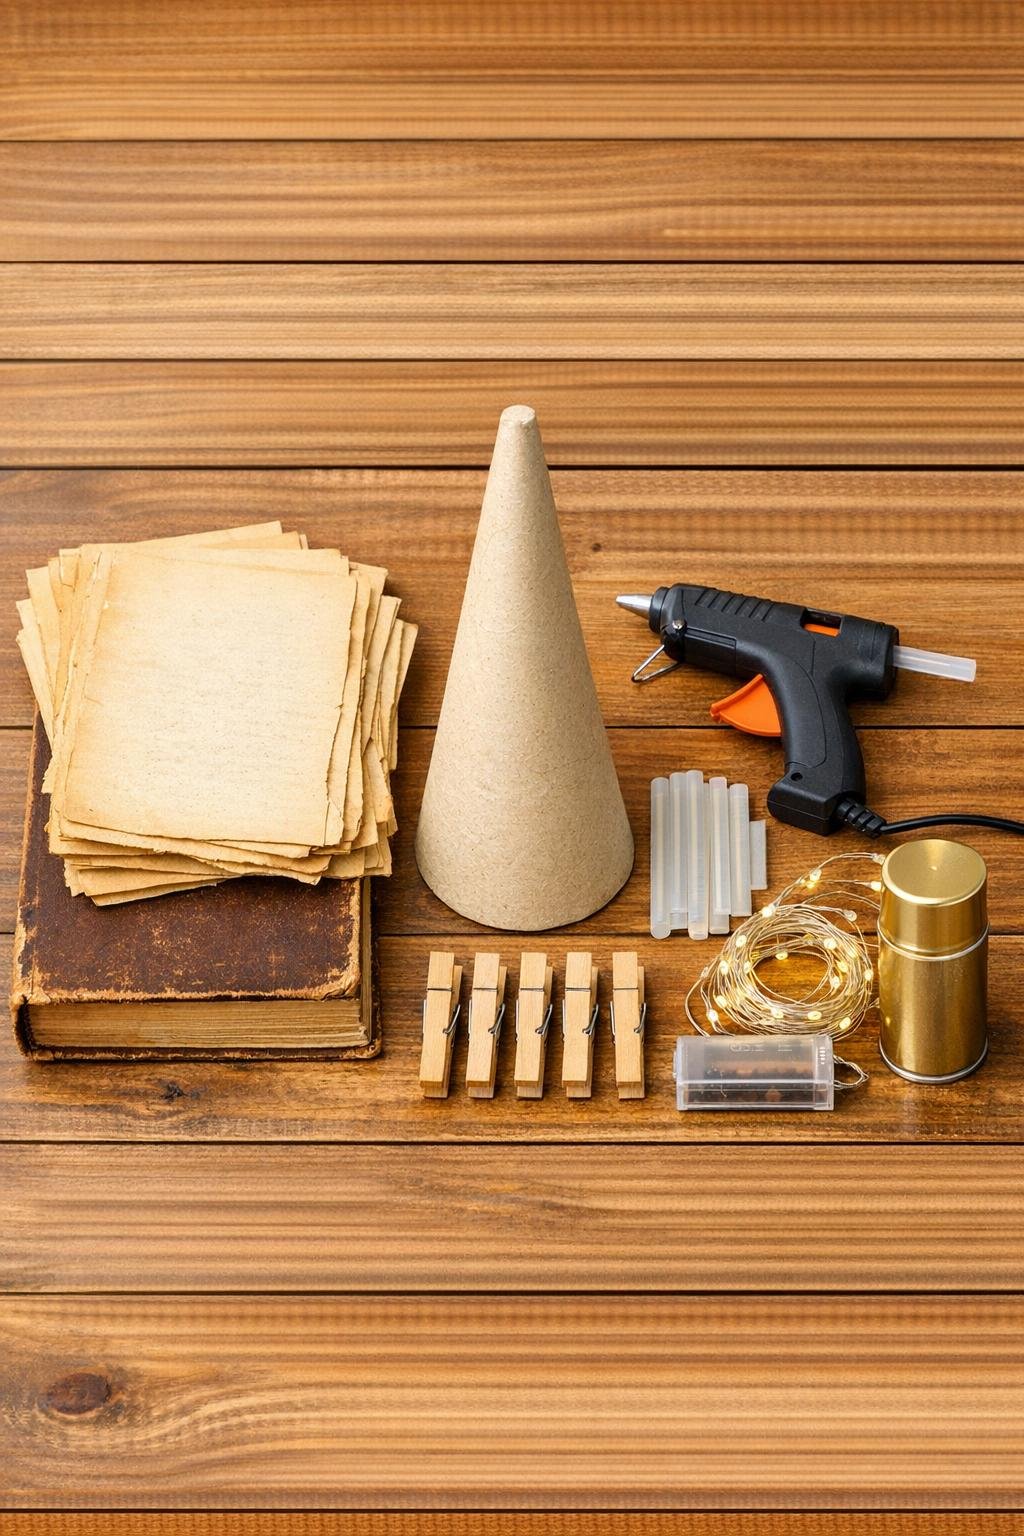
1. Pull or cut 150 pages from the old book, choosing the most yellowed and worn ones if you can. If the pages vary a little in tone or edge wear, all the better; that age is what makes the tree look elegant instead of flat.
2. Warm up your glue gun and set your cone form upright on the table. Add the batteries to your fairy lights now and make sure the strand works before any paper goes on.
3. Roll one book page diagonally into a slim cone, keeping the point fairly tight and the opening narrow rather than wide. Secure the loose corner with a small dab of hot glue and hold it a few seconds until set.
4. Repeat until you have all 150 cones made, stacking them gently as you go. This part is not fast, but it is calm work, the kind that reminds me of shelling peas at the kitchen table with my mother.
5. Begin attaching cones at the very bottom of the form, not the top. This is the classic mistake, and once you start at the top it cannot be fixed later, because the rings need to overlap upward like shingles.
6. Glue the first ring of cones around the base with the points angled down and out. Place each cone so it slightly overlaps the one beside it, covering the form as evenly as possible.
7. Add the second ring just above the first, overlapping the tops of the lower cones so the form disappears. Keep working upward in tidy rings, checking every so often that the tree still looks balanced from all sides.
8. Tuck sections of the battery fairy lights between the layers as you go, leaving the battery pack near the back at the base where you can reach it. Do not plan to thread the lights in afterward; with all those cone points, it turns into fishhook work in a hurry.
9. Continue adding cones and tucking lights until you reach the narrow top of the form. Use slightly smaller or tighter cones near the top if needed so the shape stays neat.
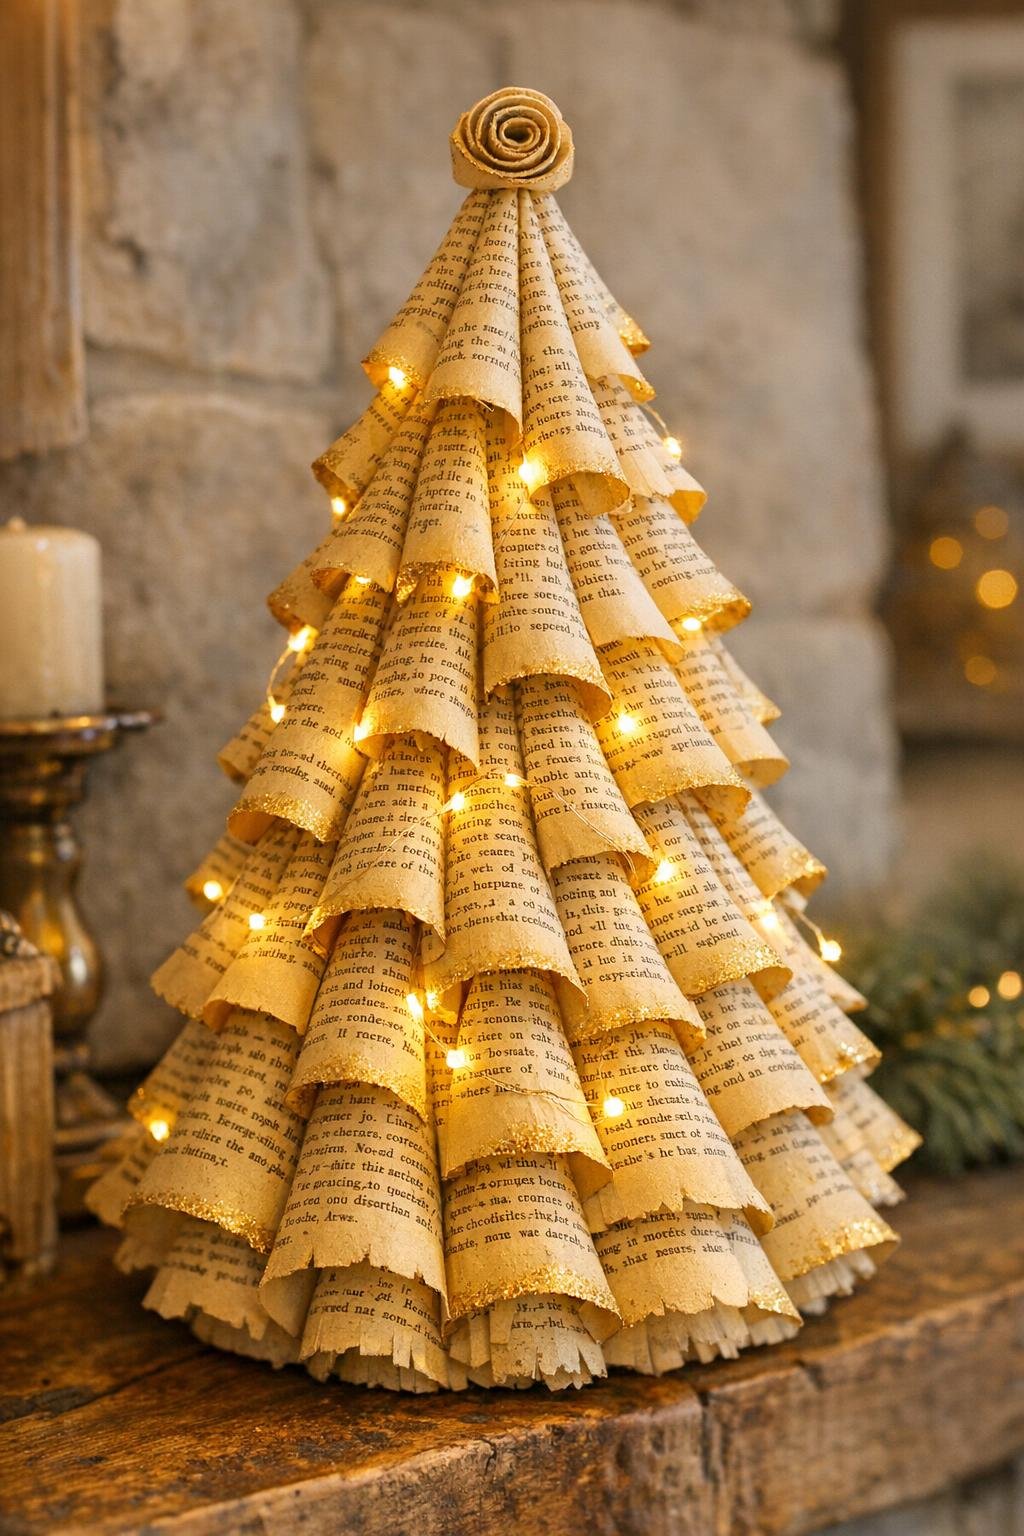
10. Make a topper by rolling one extra page into a tight little spiral or by forming a small rolled-paper star from cardstock or a book page. Glue it firmly at the top to finish the point.
11. If you want a dressier farmhouse look, take the tree outside or into a well-ventilated spot and give only the cone tips the faintest kiss of gold spray paint. Let it dry fully before bringing it back indoors.
12. Set the finished tree on an indoor mantel, shelf, or side table and switch on the battery LEDs to check that the light is nestled nicely between the paper layers. Fluff any flattened cones with your fingers and turn the tree until its best side faces out.
Book choice: The more yellowed and battered the pages, the prettier the final texture will be. A crisp white modern paperback tends to look like printer paper, so thrift the most timeworn duplicate you can find.
Cone shape: Slim cones make a more elegant tree than wide ones. If your tree starts looking bulky, tighten the roll on the next batch instead of forcing the existing cones flatter.
Lighting safety: Use battery-operated LED fairy lights only. Paper and plug-in heat do not belong together, and this piece is strictly for indoor decorating.
No-lights version: If you prefer a simpler look, skip the fairy lights entirely and let the texture of the old pages do the work. It is still handsome on a mantel or entry table.
Topper ideas: A paper spiral is the easiest finish, but a tiny rolled-paper star gives it a more festive look. I usually choose the spiral when I want that quieter old-farmhouse feel.
Storage tip: Store the tree upright in a roomy box so the cone points do not crush. If a few get bent, a gentle pinch and fluff usually brings them right back.