
I love a thrift-store project that looks like it came from a little boutique downtown, and this fall serving tray is exactly that kind of makeover. Using just a few basic supplies and a pair of old brass picture frames, you can build a pretty tray that feels special enough for holiday hosting but easy enough for a quiet weeknight soup-and-salad dinner too.
This is a wonderful project for anyone who enjoys decorating seasonally without spending a fortune. I’m always looking for pieces I can set on the table with candles, mugs, and a plate of cookies when friends stop by, and this one has that warm, collected look that makes a home feel cozy right away.
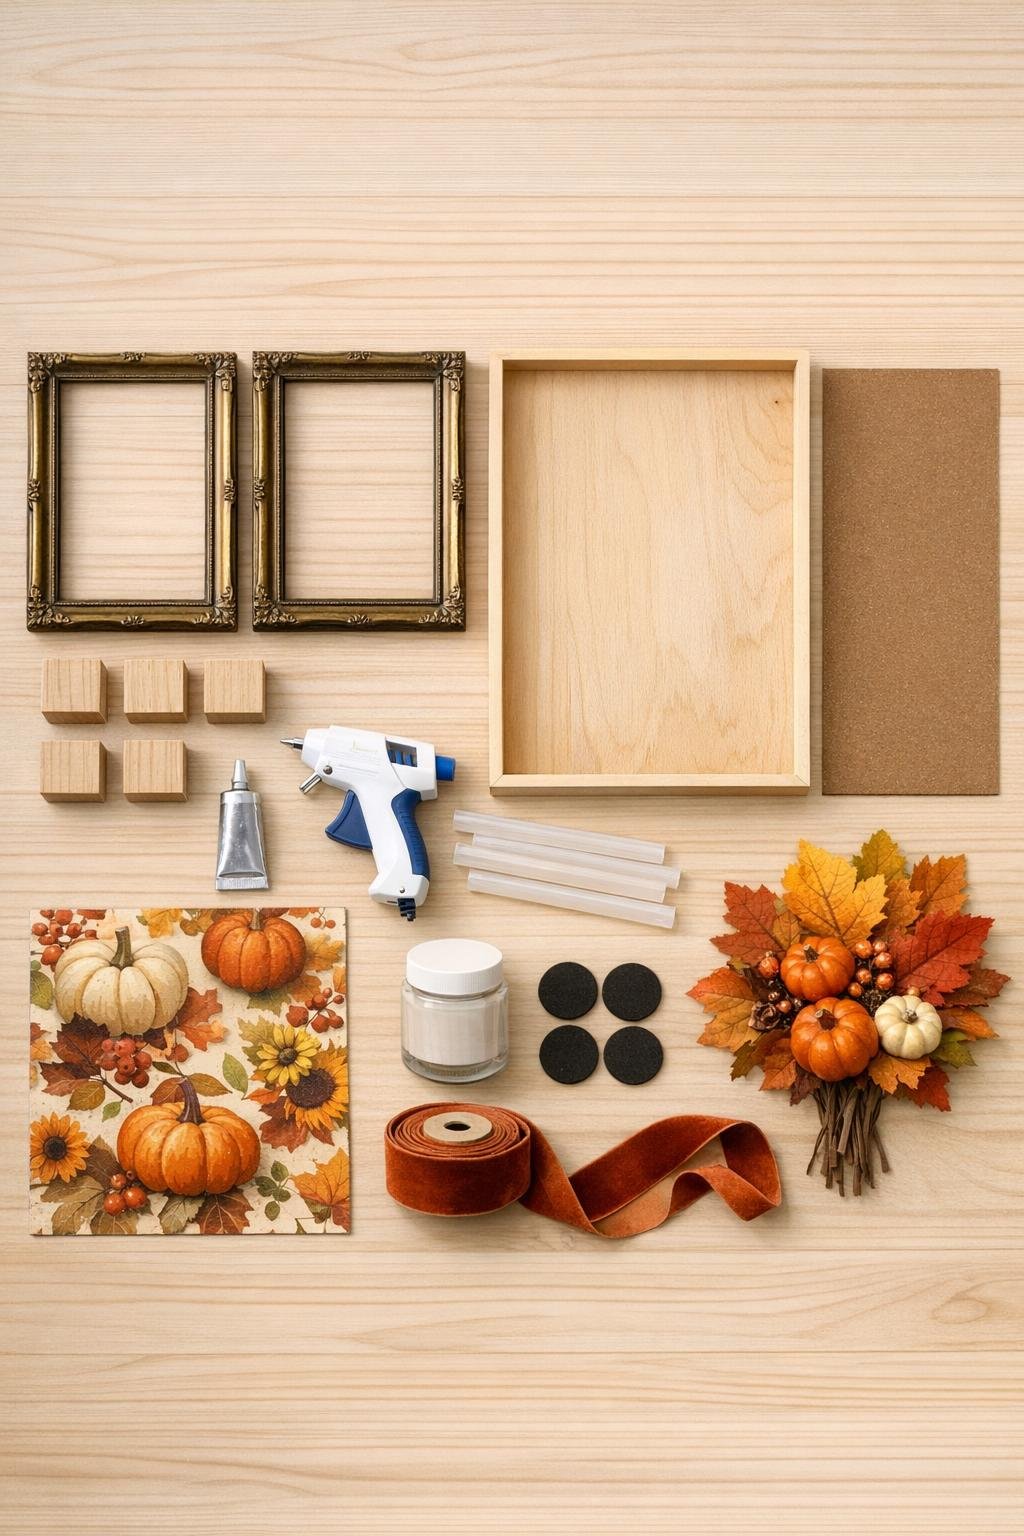
Materials
Instructions
1. Clean the brass frames well with warm soapy water, dry them completely, and remove any glass, cardboard, tabs, or hanging hardware so you are left with the empty metal frames.
2. Set the two frames side by side on the wood base to decide the tray layout, keeping a small gap between them only if needed so the outer edges sit evenly and centered on the 12 x 16 inch board.
3. Glue one wood corner block under each corner area where the frames will rest, using construction adhesive, so the tray base has sturdy support points and a slightly lifted, furniture-like feel.
4. Run a thin bead of construction adhesive along the bottom edges of both brass frames and press them onto the wood base; hold them in place for a minute, then reinforce the inside contact points with small beads of hot glue.
5. Cut the hardboard panel and the scrapbook paper to fit neatly inside the combined frame area, then glue the paper onto the hardboard with a thin, smooth coat of Mod Podge and let it dry flat.
6. Brush a light coat of Mod Podge over the top of the paper to seal it, and add a second coat once the first is dry so the tray insert can handle light serving and seasonal decorating without scuffing easily.
7. Once the insert is dry, place it inside the tray so the patterned side faces up; secure it with a few dots of hot glue around the edges underneath the frame lip if you want it permanent, or leave it loose so you can swap it out seasonally.
8. Touch up any worn spots on the thrifted brass with antique gold craft paint, keeping the finish soft and slightly aged instead of too shiny, which helps the tray look charming rather than newly manufactured.
9. Add felt pads underneath the wood base corners so the tray slides easily and won’t scratch a table, island, or buffet.
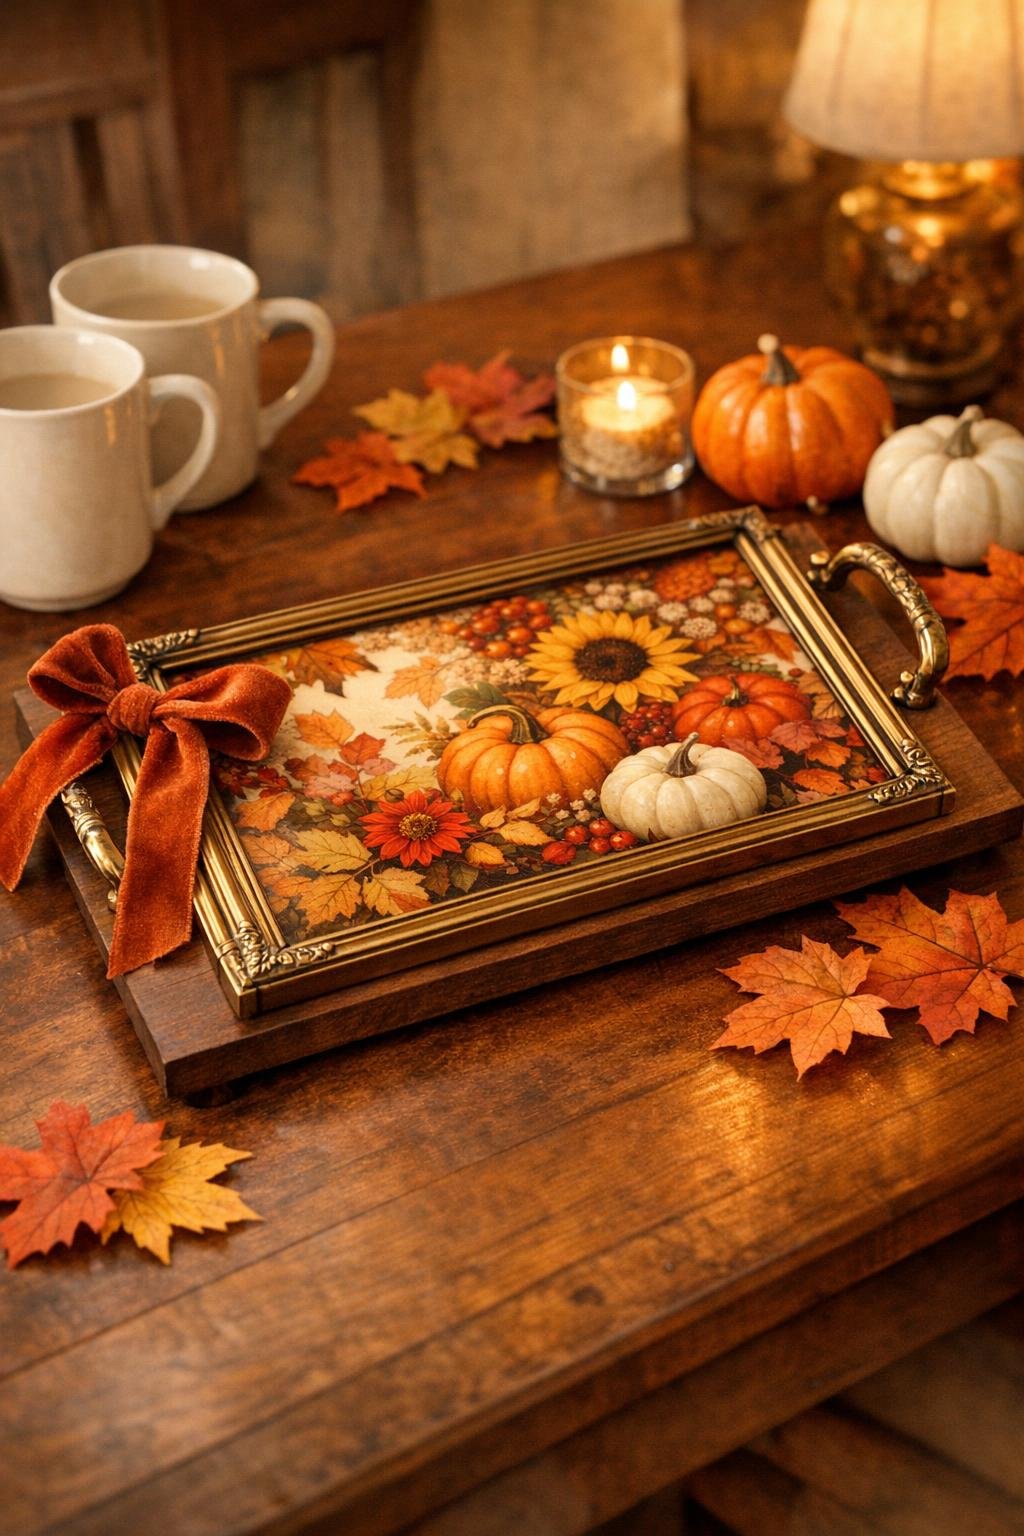
10. Tie a soft velvet ribbon around one corner of the tray if you’d like, then style it with faux fall leaves, mini pumpkins, mugs, candles, or dessert plates so it looks full, warm, and ready for company.
Variations & Tips
For picky decorators: If bold fall prints feel too busy, use a simple plaid, muted botanical, or solid linen-look paper in cream, olive, or rust for a calmer tray center.
Make it food-friendly: I use this tray for wrapped treats, mugs, and small plates, but if you want to serve bare snacks directly on it, set a clear acrylic sheet cut to size over the paper insert for easy wiping.
Try different frame sizes: Two 8 x 10 frames make a nicely proportioned tray, but two 11 x 14 frames on a larger base create a dramatic centerpiece tray that looks beautiful on a long dining table or coffee table.
Keep the brass look believable: Don’t overpaint the metal. A little touch-up on scratches is plenty, and that slightly timeworn brass is what makes the finished tray look collected and expensive.
Swap it by season: This is one of my favorite tricks at home. Change the insert paper and ribbon for Christmas, winter, spring brunches, or summer lemons, and you’ve got one thrifted tray working all year long.
Use it beyond serving: This tray is also lovely on an entry table with a candle and mail, on a bathroom vanity with soap and a small vase, or on the kitchen island holding napkins and a little dessert plate when company comes over.