
There is something deeply satisfying about a project built from one very ordinary material repeated again and again. These starburst ornaments start with humble toothpicks and plain foam balls, but with a little patience and a steady rhythm, they turn into sculptural decorations that feel straight out of a mid-century holiday display. I love crafts like this because they rely more on consistency than on special skill, which makes them approachable even if you do not consider yourself especially crafty.
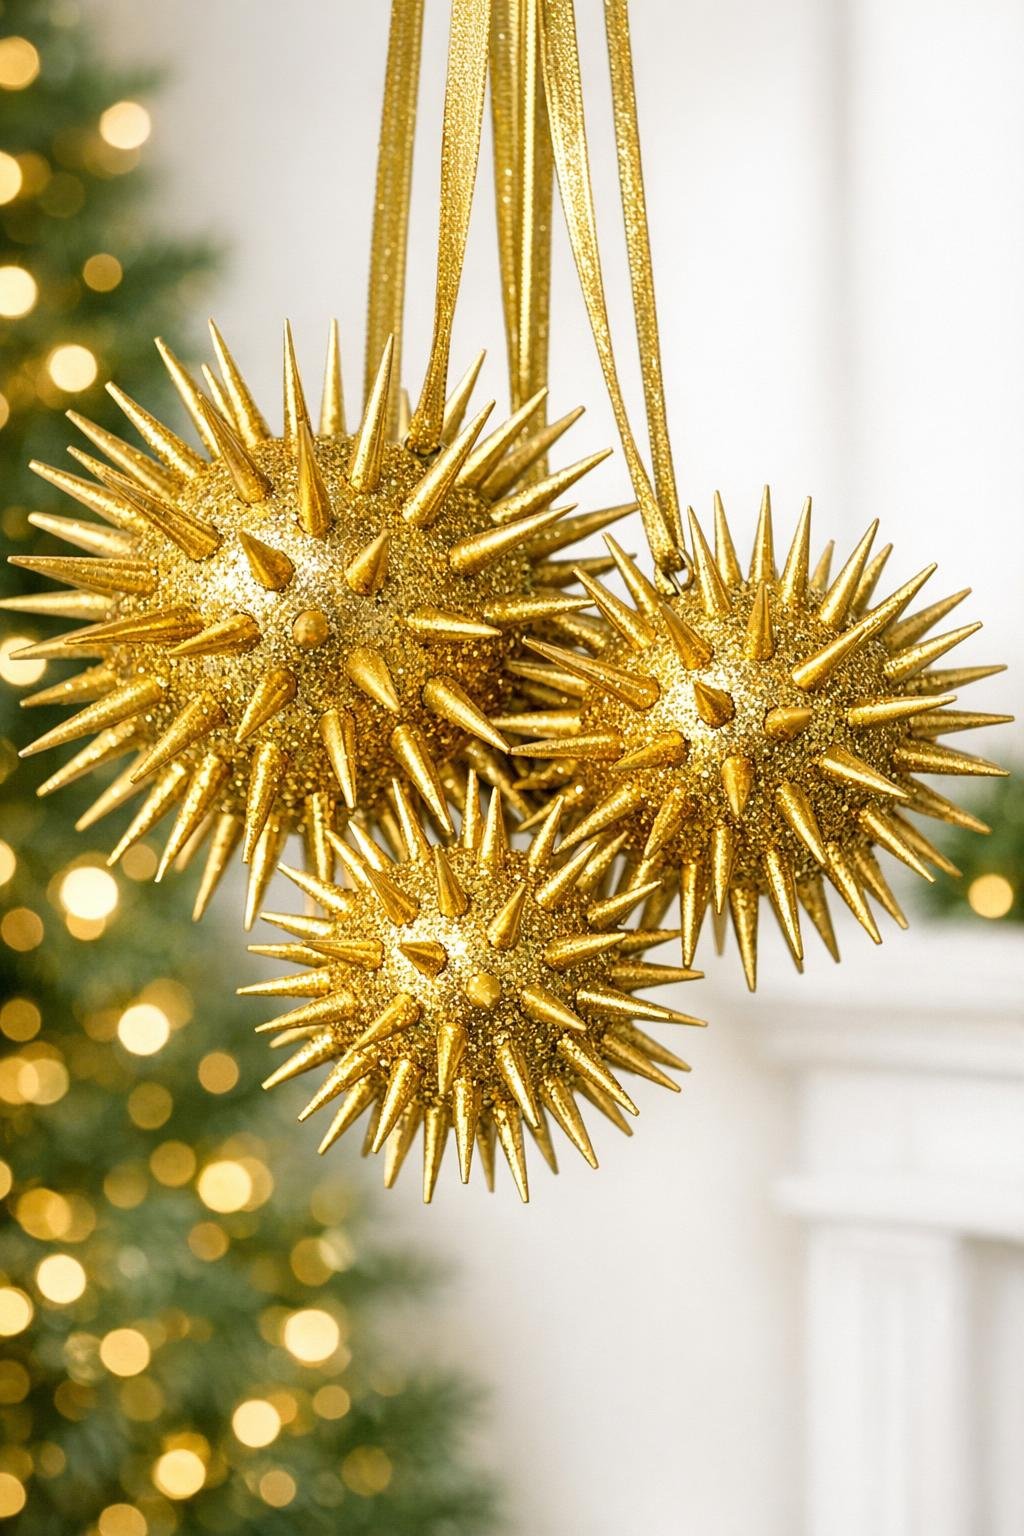
This is also the kind of make that rewards a quiet hour at the table. I would not call it quick, but I would absolutely call it pleasantly repetitive. If you can poke, turn, and repeat, you can make these. The key is keeping the toothpicks pushed in at a consistent depth and working in even rows around the ball, so the shape reads as a deliberate sputnik starburst instead of a wild little porcupine.
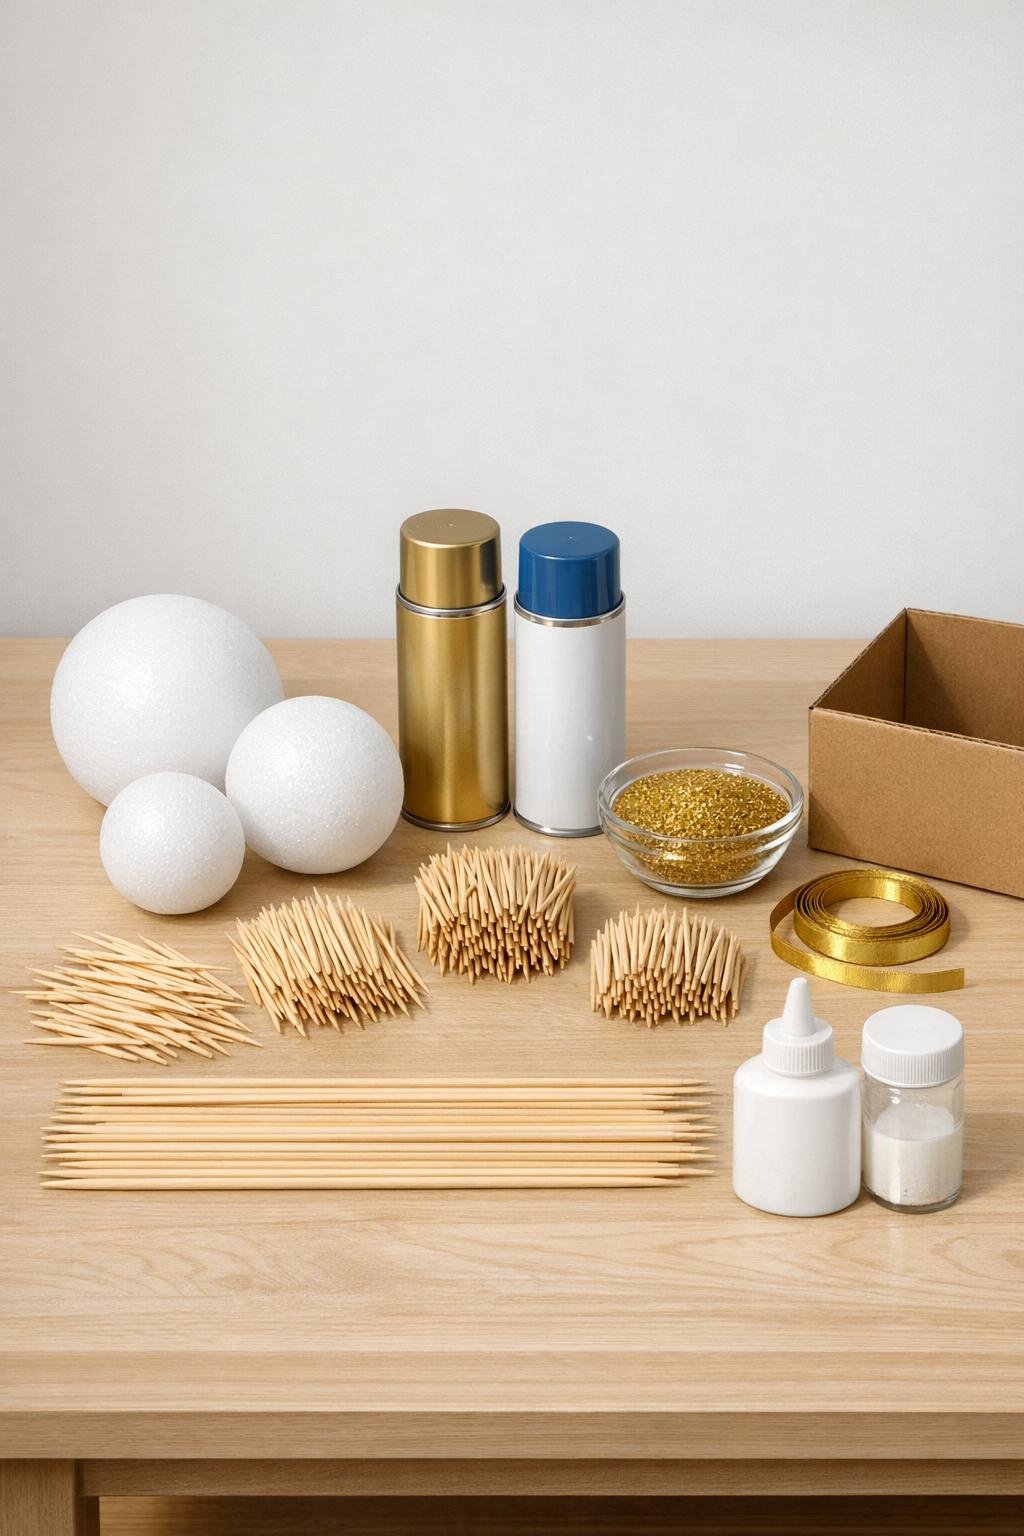
Materials
Instructions
1. Set up your work area with the foam balls, toothpicks, and a tray or sheet of paper underneath to catch stray pieces. If you are making a mixed-size trio, keep all three ball sizes nearby so you can compare spacing as you work.
2. Start with one foam ball and insert the first row of toothpicks around its middle, spacing them as evenly as you can. Push each toothpick about one third of the way into the foam so the exposed lengths stay uniform.
3. Continue adding rows above and below that center line, rotating the ball as you go. Keep the spacing and insertion depth consistent, because that evenness is what transforms the ball from scruffy to sputnik.
4. Fill in bare spots gradually rather than jamming picks wherever they fit. For most ornaments, you will use about 300 toothpicks per ball, though the smallest may take a little less and the largest a little more.
5. Once the ball is fully covered, stab a wooden skewer straight into the foam to use as a handle. This makes painting much easier and keeps your fingers away from the wet finish.
6. Place the ornament inside a cardboard box or spray booth area and apply gold spray paint in light coats, turning the skewer between coats. Let each coat settle for a minute before adding the next so you cover the toothpicks and foam without drips.
7. While the paint is still tacky, lightly mist the whole spiked sphere with spray adhesive. Dust fine gold glitter over the surface, turning the ornament as you go so the sparkle lands evenly.
8. Let the ornament dry completely by resting the skewer in a jar or block of scrap foam. Repeat the same process for the other two balls to create a mixed-size trio with the same finish.
9. To add a hanger, tie each ribbon into a loop and place the ribbon ends against the ornament near the top. Add a dab of glue over the ends, then anchor them by pushing one toothpick through the ribbon ends and into the foam.
10. Hang the finished ornaments from sturdy branches or display them on a mantel arrangement where the points will not be bumped. The tips are real and sharp, so these are best kept well above toddler height.
Variations & Tips
Size mix: A trio in three sizes gives the best clustered look. I like combining small, medium, and slightly larger balls because the starburst effect multiplies when they hang together instead of alone.
Spacing tip: If your rows start to drift, pause and rotate the ball to check it from every angle. In cooking I talk often about even knife cuts leading to even cooking, and this project has the same principle: even spacing gives you the polished result.
Finish options: If gold is not your style, try silver, champagne, or copper spray paint. Just keep the paint step after assembly, not before, so the color coats the full shape evenly.
Less glitter: For a cleaner mid-century look, skip the glitter and leave the metallic paint alone. The form itself is striking enough to carry the ornament.
Display safety: These look beautiful on high branches, tucked into a wreath, or arranged on a mantel. Because the points are sharp, I would avoid using them anywhere pets, little children, or passing sleeves can snag them.
Batch-making tip: Make all the foam-and-toothpick forms first, then paint them together in one session. It feels much more efficient, and the repetition becomes almost meditative by the second ornament.