
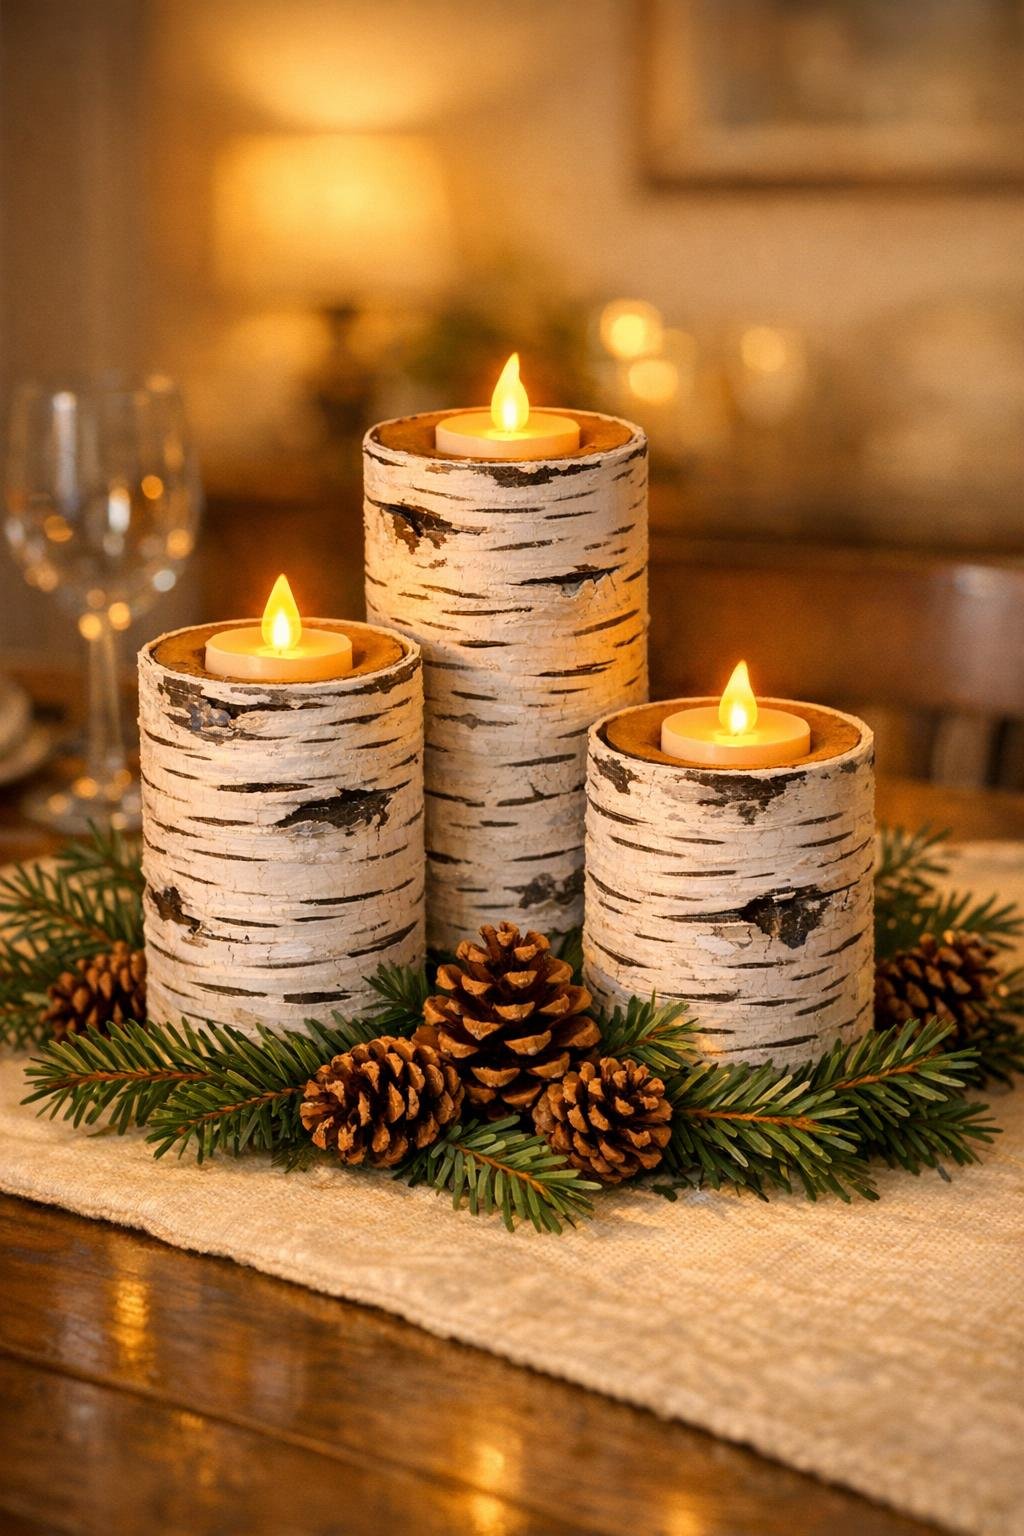
There’s something so satisfying about turning the most ordinary household “trash” into something that looks like it came from a little boutique home store, and these faux birch log candle holders are exactly that kind of project. We’re taking empty paper towel rolls, layering on white acrylic paint, and using two simple craft-drawer basics to create that pretty birch bark look with all the character and none of the price tag.
I love projects like this for busy weeknights because they feel creative without turning into a whole production. If you decorate for winter, love cozy table centerpieces, or just want an easy upcycle that looks surprisingly polished, this one is absolutely worth making. I’ve done versions of these on a rushed Sunday afternoon before hosting dinner, and grouped together with candles and greenery, they honestly steal the show.
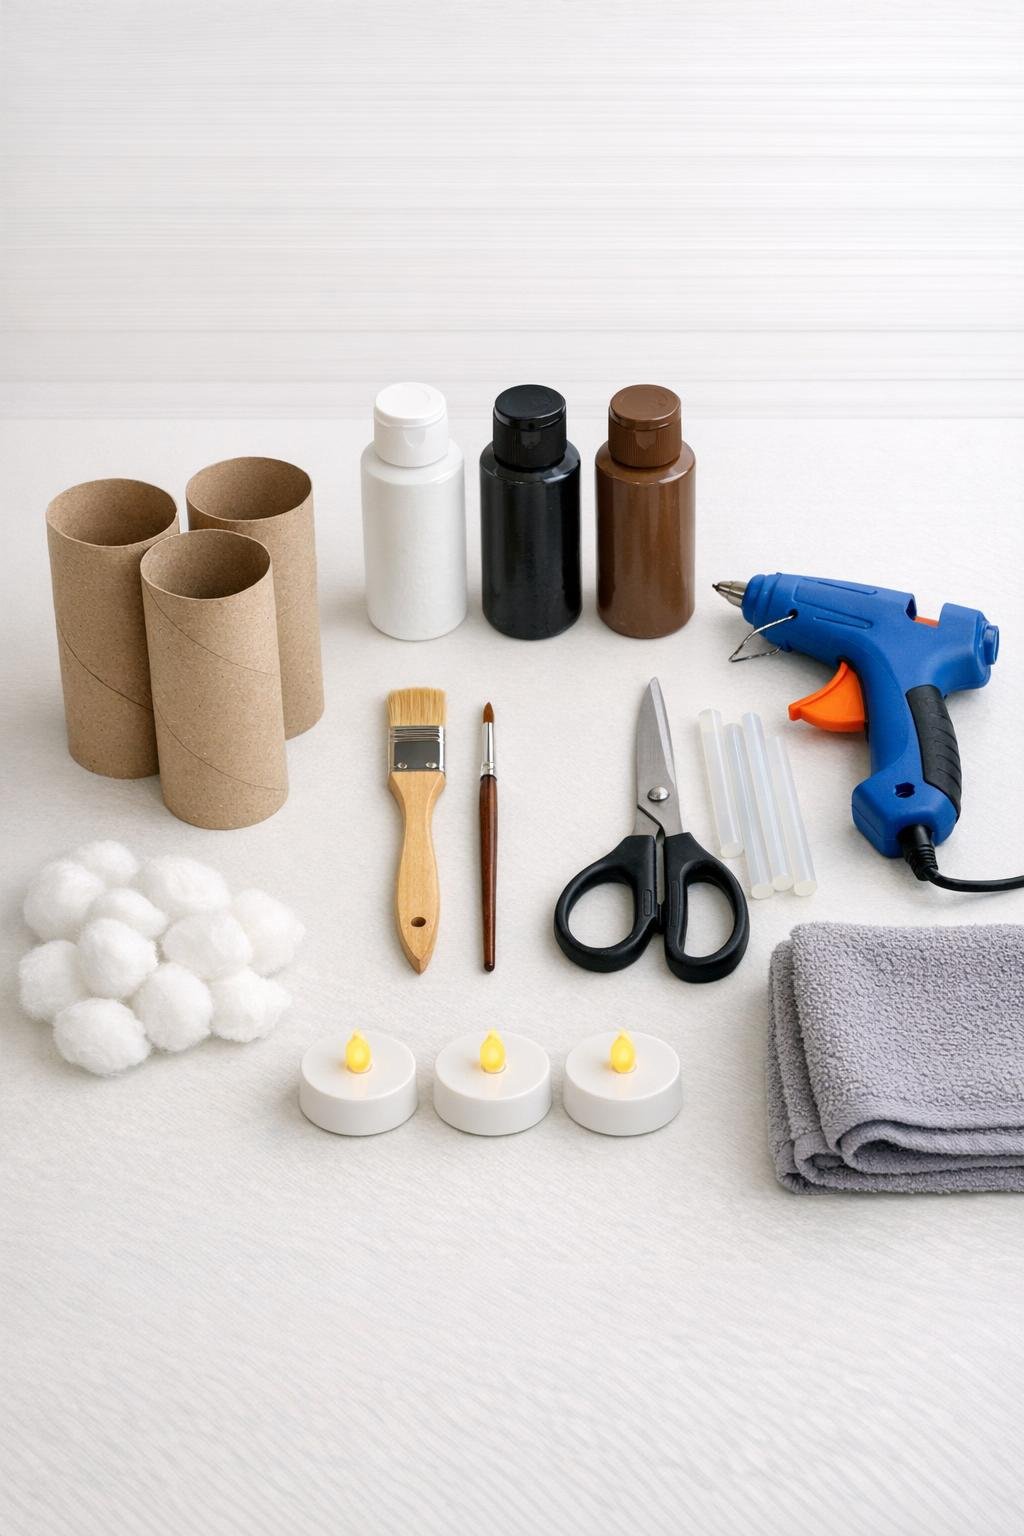
Materials
3 empty paper towel rolls, each 11 inches long
Instructions
1. Lay your gray towel on the table and flatten any dents in the paper towel rolls with your hands so the cylinders look smooth and even.
2. Cut the 3 rolls into varied heights for a fuller candle grouping: one at 11 inches, one at 8 inches, and one at 6 inches.
3. Tear and pinch the top edge of each roll in a few spots so the rim looks slightly uneven like natural bark instead of perfectly factory-cut cardboard.
4. Paint the outside of each roll with a full coat of white acrylic paint, brushing in slightly uneven vertical strokes so some cardboard texture still shows through.
5. Let the first coat dry, then add a second coat of white paint anywhere the cardboard still looks too tan; leave a little variation because that helps the birch effect look real.
6. Dip a cotton ball lightly into brown paint, dab most of it off, and pat soft broken patches around each roll to mimic the warm undertones you see in birch bark.
7. Use a second cotton ball with a tiny bit of black paint to add short horizontal dashes, knots, and irregular bark marks all over the rolls, spacing them every 1 to 2 inches.
8. With the small round brush, soften a few of the black marks by dragging the paint slightly sideways so the bark pattern looks layered and organic instead of dotted on.
9. Turn each roll upside down and run a bead of hot glue just inside the bottom edge, then press in a fluffy layer of cotton ball pieces to create a false base that will hold the tea light.
10. Add more hot glue over the cotton as needed and shape a shallow nest in the center of each holder so a battery tea light sits snugly without dropping through.
11. Set a flameless tea light into each holder and check the height; if one sits too low, lift it with another small piece of cotton glued underneath.
12. Touch up any spots with white, brown, or black paint, especially around the cut rim, then let everything dry completely before styling them together.
Variations & Tips
Make it more dramatic: Use toilet paper rolls or leftover cardboard tubes to add two or three shorter holders around the main set so the arrangement looks fuller and more layered on a mantel or table.
Add a snowy finish: Dab a little extra white paint along the top rim and around the bark marks after everything dries if you want a softer wintery look with more contrast.
Keep it safe: I really recommend sticking with battery tea lights here since the holders are cardboard underneath all that pretty paint.
Use what you have: If you don’t have cotton balls, crumpled tissue paper glued into the base can do the same job as long as you leave a flat spot for the tea light.
Style them beautifully: These look best grouped in odd numbers with a little greenery tucked around the base. I usually cluster them on a tray so they feel intentional, especially when I’m trying to make the dining table look finished without spending a lot.
Batch-paint for easier prep: If you’re making a set for a centerpiece or party table, paint all the white base coats first, then go back and do all the brown dabbing, then all the black detailing. It goes much faster that way.