
If you save egg cartons for a few weeks, this is one of those projects that feels almost ridiculous in the best way. You start with a big stack of humble molded pulp cartons, do a lot of very simple cutting, and somehow end up with something full, rich, and holiday-pretty enough to stop people in their tracks. I love a craft like that, especially in December when I want my house to look festive without spending a small fortune.
This is a relaxed weekend project more than a quick 30-minute one, but it is easy work: cut, trim, paint, stack, and glue. I usually do this kind of thing at the kitchen table with a podcast on and a mug of coffee nearby. If you are patient enough to repeat the same few steps a bunch of times, you can absolutely make this, and the payoff is worth it.
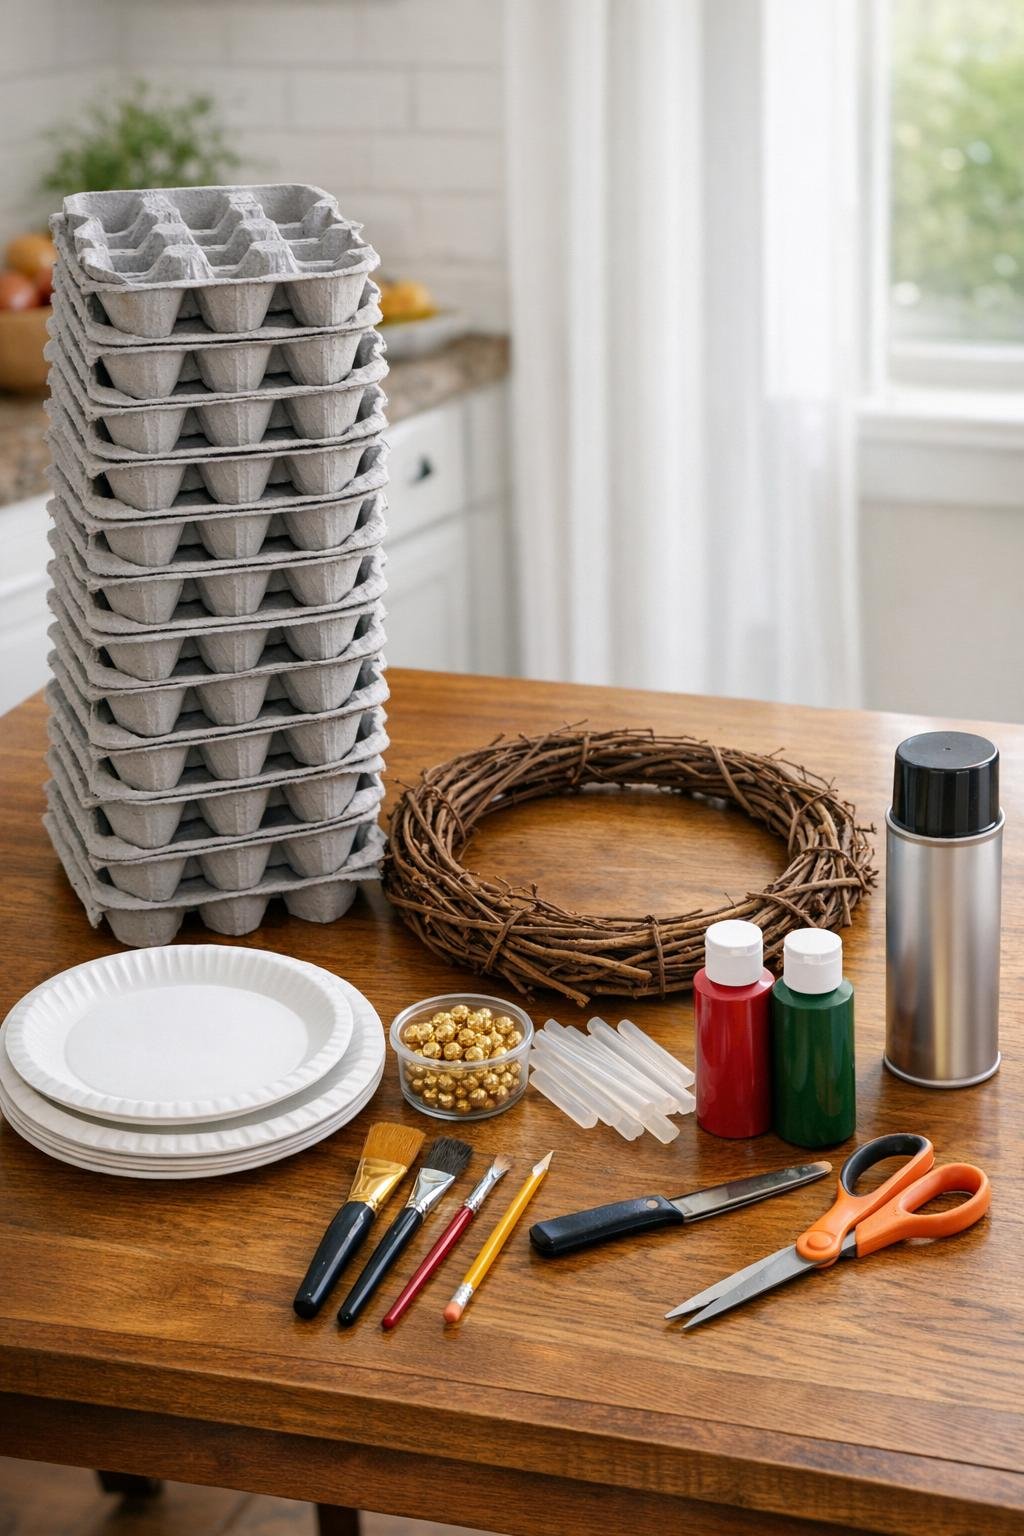
Materials
Instructions
1. Pull apart all 30 egg cartons and separate them into individual cups, trimming off any jagged connecting bits as you go. Ask friends to save cartons too if you do not have enough yet; people are weirdly happy to hand these over.
2. Flatten your work rhythm by sorting the cups into two piles: nicer, rounder cups for petals and slightly uneven ones for leaves. This sounds fussy, but it speeds things up once you start shaping.
3. Cut each flower cup into 4 or 5 petals, stopping about 1/4 inch from the base so the cup stays intact. Round the petal tips with your scissors instead of leaving them pointy and stiff.
4. Press your thumb gently inside each trimmed cup to flare the petals outward and deepen the bloom shape. Molded pulp holds that curve because the compressed fiber has body and spring, which is exactly why egg cartons work so well here and flat paper does not.
5. Make the leaves from additional cups by cutting each one into 4 longer, narrower points and flaring them outward the same way. You want enough leaves to tuck between flowers, so plan on about 35 to 45 green leaf pieces.
6. Paint all the flower pieces deep red, coating the fronts, backs, and petal edges. Be honest with the coverage here: pulp drinks paint, so two coats minimum are what make the flowers read rich and velvety instead of chalky pink.
7. Paint all the leaf pieces green, again using two coats for even color. Let everything dry fully between coats so the petals keep their shape instead of softening and slumping.
8. Stack two red flower cups for each bloom, offsetting the petals so the top layer sits between the petals of the bottom layer. Glue the centers together with hot glue and hold for a few seconds until set.
9. Add a center cluster to each flower using 3 small gold pom poms or 5 to 7 gold beads. If you use beads, I like to puddle a little tacky glue in the center first, then reinforce underneath with a dot of hot glue once it grabs.
10. Seal the painted pieces with a light coat of matte or satin sealer once the glue has set. This little finishing step pulls the color together and makes the flowers look more polished and less obviously like rescued cartons.
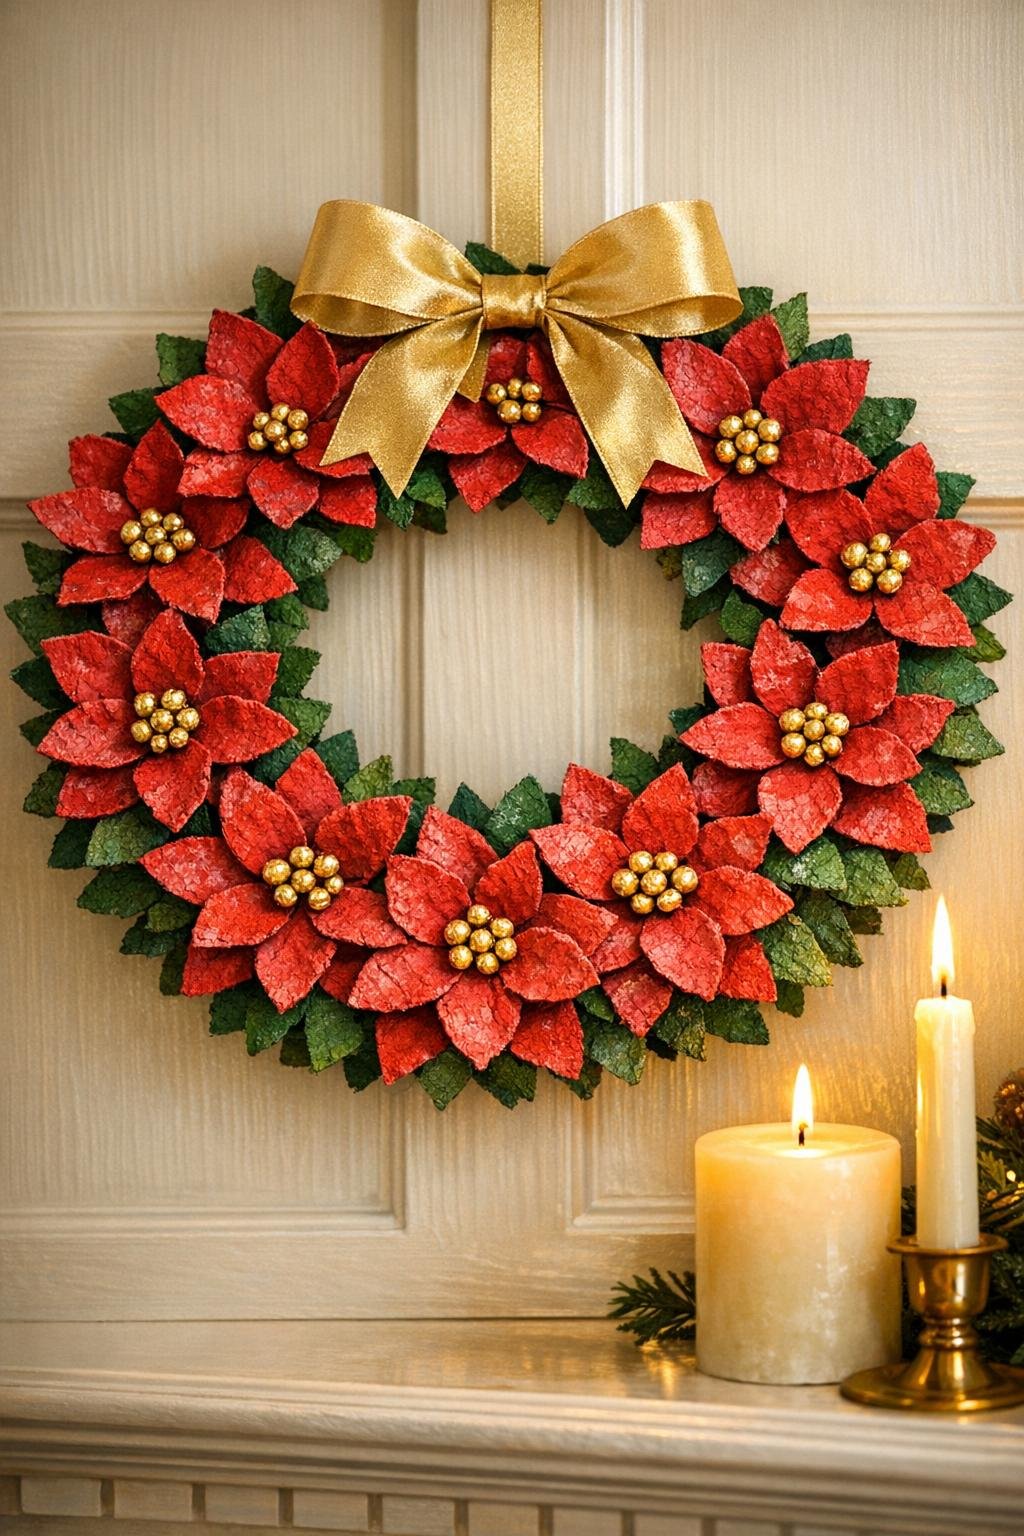
11. Dry-fit your layout on the wreath form before gluing, arranging the double blooms in tight overlapping rings from the outer edge inward. Crowding is what makes it read lush; sparse reads like recycling, and I mean that bluntly.
12. Glue the flowers to the wreath form one at a time, starting with the outside ring and working inward. Keep the petals slightly lifted rather than mashed flat so the wreath keeps that soft, full dimension.
13. Tuck green leaves between the blooms anywhere the base shows, angling them outward so they peek through naturally. Fill every visible gap until the whole wreath looks dense and balanced from all sides.
14. Check for thin spots, add one or two extra blooms if needed, and let the wreath rest flat until all the glue is fully cool. If you want a hanging loop, glue a 10-inch piece of ribbon to the back now or tie it securely around the form.
Variations & Tips
For a larger wreath: Use a 16-inch or 18-inch wreath form and keep making flowers until the surface is packed. This design looks best when it feels abundant, so scale up generously instead of stretching too few blooms over a bigger base.
For a garland: Make the same double blooms and leaf pieces, then glue them in clusters along a rope or premade greenery garland. I love this across a mantel when I have extra flowers left over.
For candle rings: Build mini versions on small cardboard rings or plain napkin-ring-sized bases, but keep them away from real flame. Because this is paper, use them around battery candles only.
Best paint finish: A deep red with a matte or satin topcoat gives the nicest velvet look. Glossy paint can make the flowers lose that soft poinsettia feel.
Keep it indoor-friendly: This wreath is paper, so it is best indoors or on a covered door or porch where it will stay dry. I would not hang it anywhere that gets direct rain or heavy dampness.
Batch your weekend: If you are busy, split the work into two sessions: cut and shape one day, paint and assemble the next. That is usually how I fit bigger crafts into a normal workweek without turning them into a stress project.