
When I want a jump on the garden before the last frost has fully let go, this is one of the simplest little tricks I come back to again and again. By cutting short sections of PVC pipe and pairing them with a clear plastic drop cloth, you can make an easy warming tunnel that holds in daytime heat, blocks cold wind, and helps seedlings settle in sooner.
I love this project because it gives you a lot of payoff for very little money or fuss. It is especially good for gardeners who want something practical and fast instead of building a full cold frame, and it works beautifully over a raised bed where the soil already warms up faster in spring.
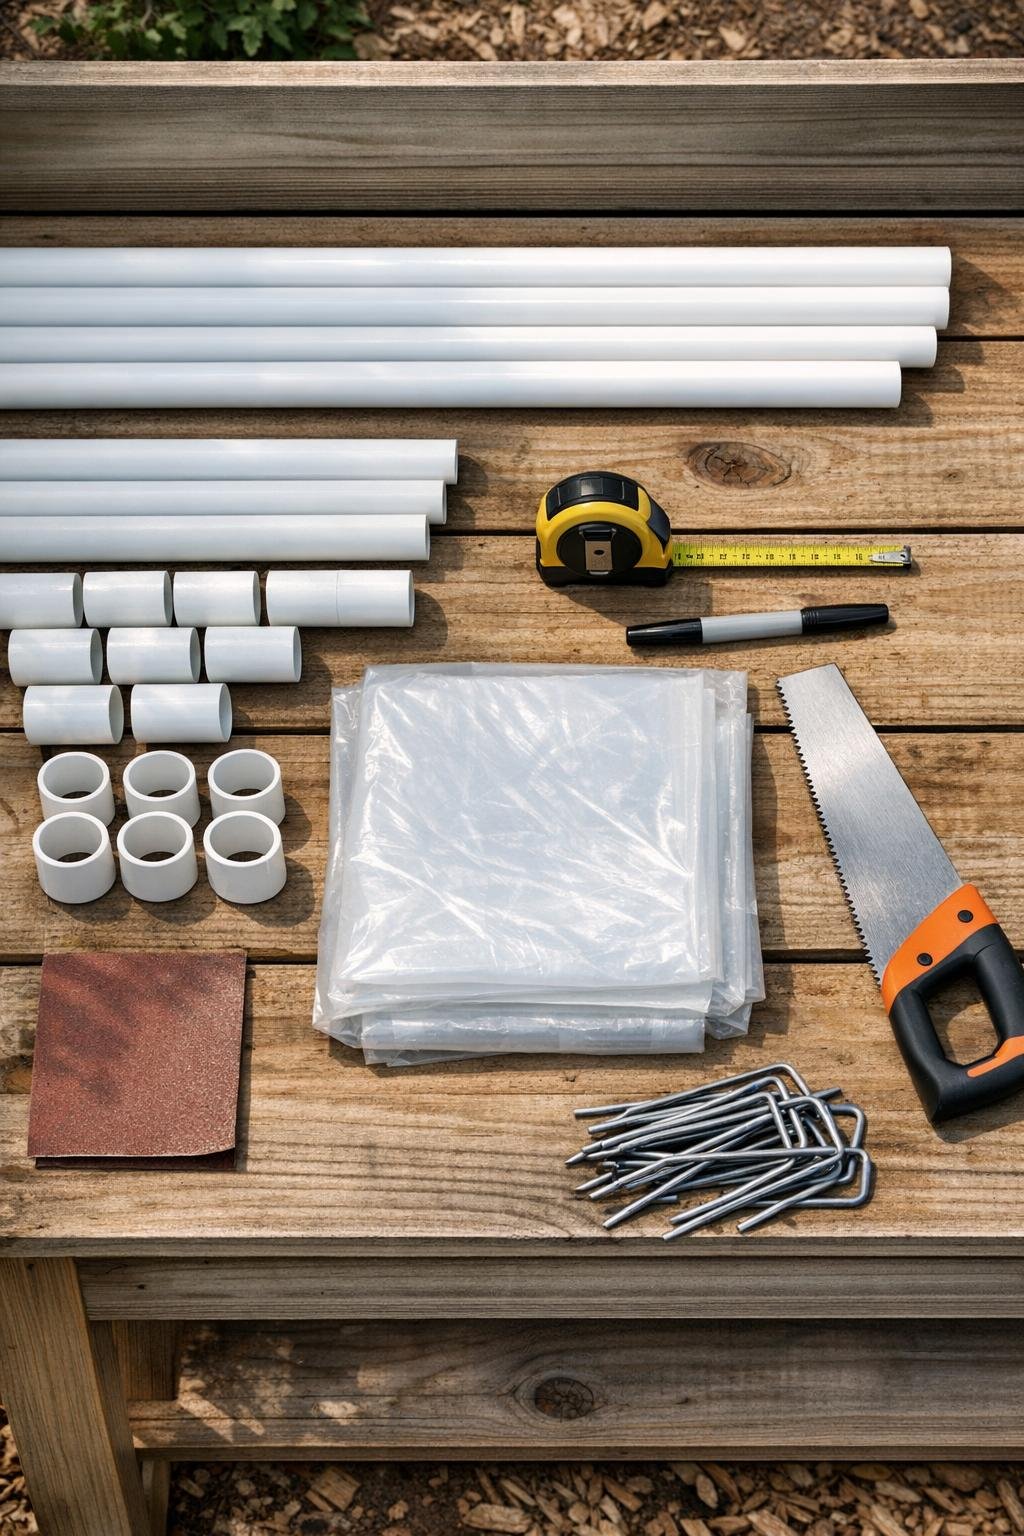
Materials
Instructions
1. Cut the 1/2-inch PVC into twelve 4-inch sleeve pieces, then cut a straight slit lengthwise down one side of each sleeve so it can flex open.
2. Trim the bottom edge off each sleeve by cutting away a narrow 1/2-inch strip, creating an open-bottom clip that can straddle the top edge of a raised bed without rocking.
3. Smooth any rough cut edges with sandpaper so the clips will not snag the plastic later.
4. Push two 10-foot PVC pipes into gentle hoops over the raised bed, spacing them evenly so the ends rest just inside the bed walls; use the third pipe for a center hoop if your bed is longer than 6 feet or you want extra support.
5. Snap the cut PVC sleeves over the top edges of the raised bed at each hoop end, then slide the hoop ends into those clips so the arches stay in place.
6. Press landscape staples into the soil just inside the bed corners and near each hoop end to keep the clips and hoop feet from shifting in wind.
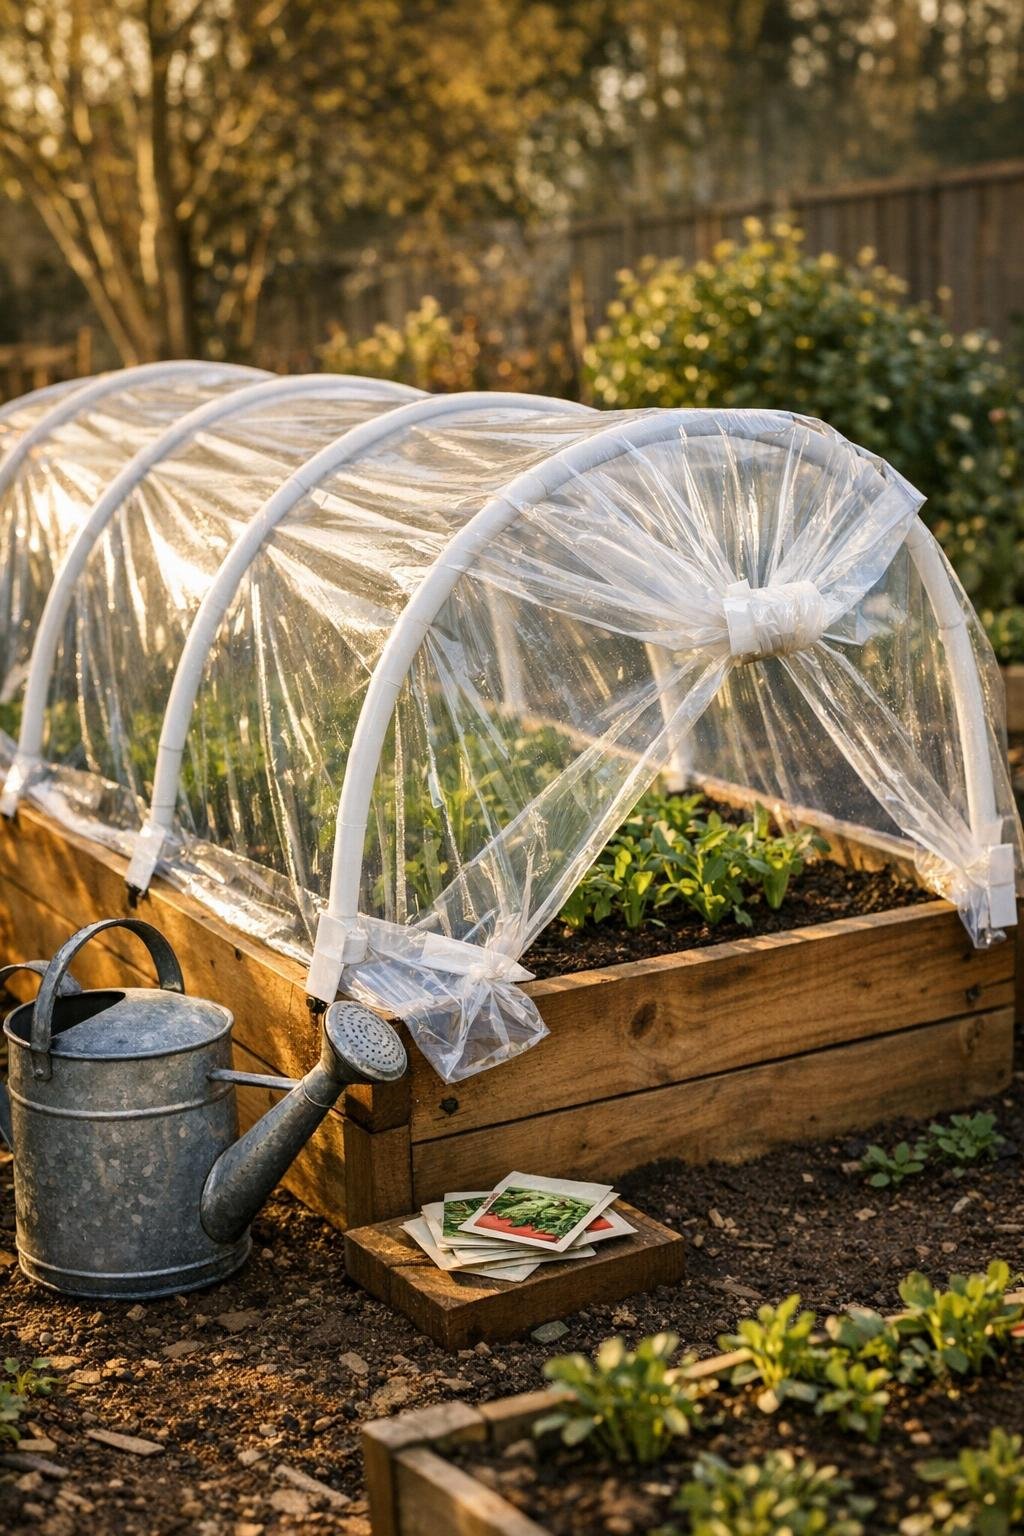
7. Drape the clear plastic drop cloth over the hoops, centering it so you have enough extra on all sides to reach the bed edges and still leave a little slack.
8. Clip the plastic to the bed by snapping the remaining PVC sleeves over the bed edge and the plastic at 12-inch to 18-inch intervals along both long sides.
9. Fold the plastic neatly at each short end like wrapping a loaf of bread, then secure those folds with zip ties and a strip of duct tape so the ends stay tidy and hold warmth.
10. Run nylon cord from one end of the tunnel to the other over the top centerline, tying it snugly to the bed frame to keep the plastic from billowing up.
11. Leave one end easy to open each morning for airflow on sunny days, then close it again in late afternoon before temperatures drop.
12. Add seedlings or direct-sown crops underneath once the soil has warmed, and monitor the inside temperature so tender plants stay protected without overheating.
Variations & Tips
For extra-cold nights: Throw an old blanket or frost cloth over the plastic after sunset, then remove it in the morning so light can get through.
For picky spring weather: I like to vent this tunnel anytime the day turns bright and mild, because trapped heat builds fast even when the air still feels chilly to us.
For salad crops: This setup is especially nice for lettuce, spinach, radishes, and baby kale, which all appreciate the warmer soil and wind protection.
If your bed is longer: Add another hoop every 2 to 3 feet so the plastic does not sag between supports.
To make it look tidier: Trim any very long plastic overhang after you test the fit, but leave enough length at the ends to open and close the tunnel easily.
Best family-garden use: If you garden with kids like I do, this is a nice project because they can help measure, hold the plastic, and check the “mini greenhouse” each day without getting into the harder cutting work.