
If you’ve ever come home with a grocery bag full of pinecones and then wondered what on earth to do with them, this is the project I’d make first. A pinecone topiary ball looks rich and full for fall, but it’s surprisingly simple to build with just a foam ball, hot glue, and a good pile of gathered cones. It gives you that cozy autumn look without needing fancy floral skills or a long shopping list.
I like this kind of project because it turns backyard “junk” into something that honestly looks boutique once it’s finished. It’s perfect for anyone decorating a porch, entry table, mantel, or dining centerpiece for fall, and it’s easy to customize depending on how natural or dressed-up you want it to feel.
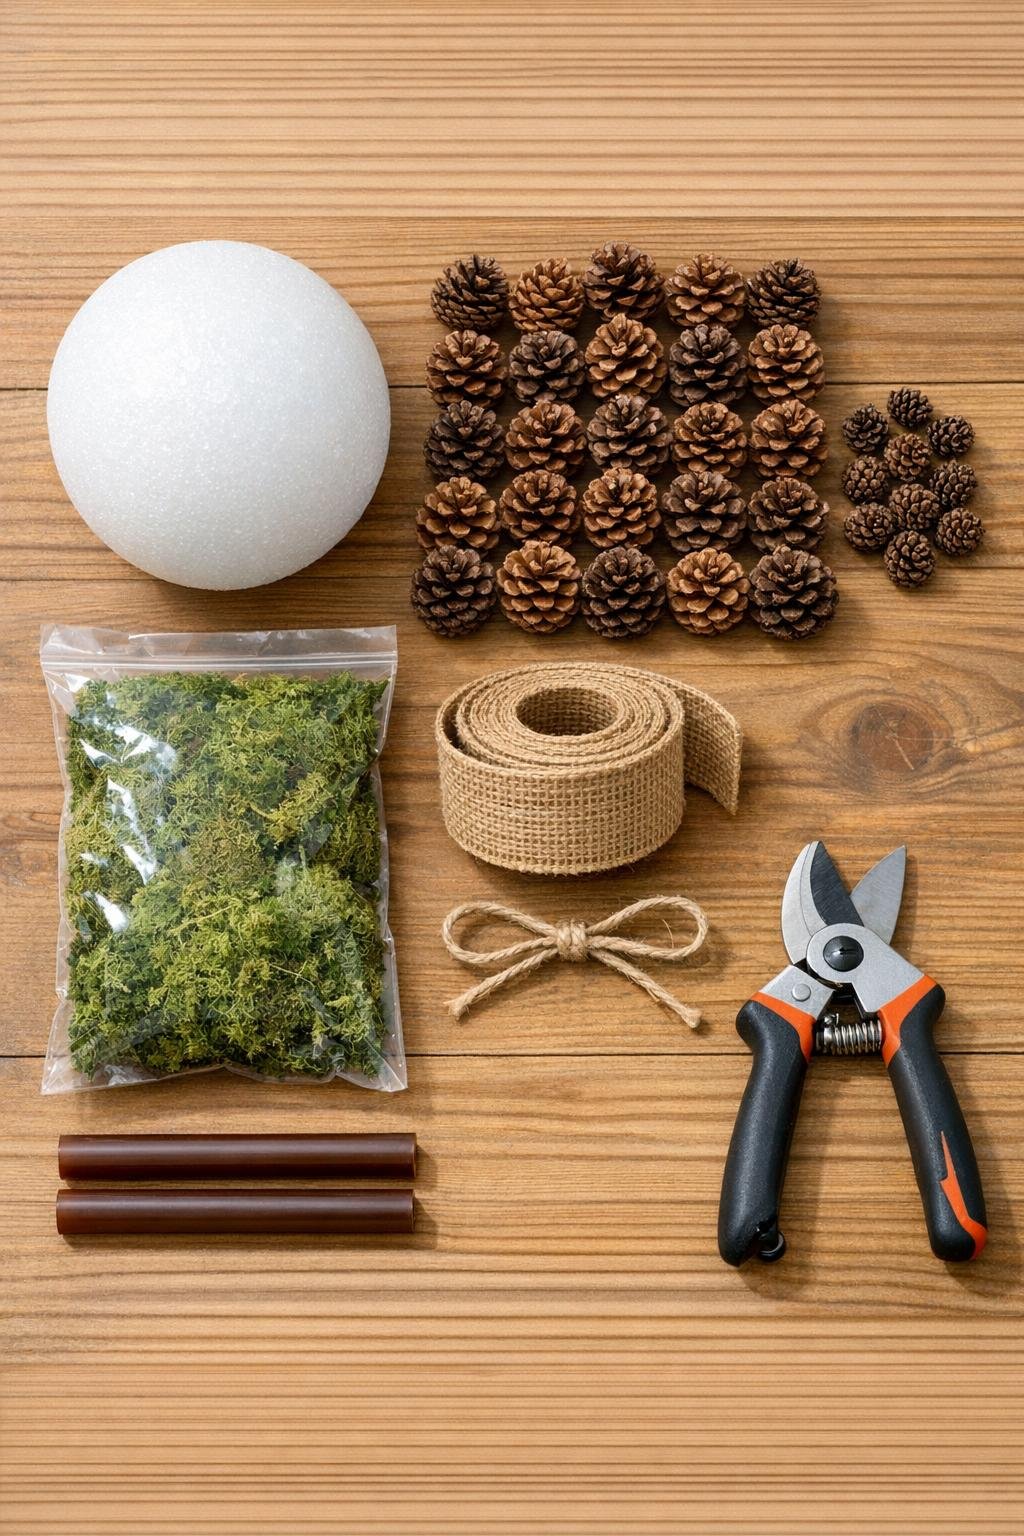
Materials
Instructions
1. Sort your pinecones by size and shake out any dirt or loose needles, then let them dry completely if they were gathered outside. Set aside the prettiest medium cones for the most visible areas and the smallest ones for gap filling.
2. If any cones have long stems or rough bottoms, trim them close with pruning shears so they sit flatter against the foam ball. This one step makes the finished topiary look much fuller and more even.
3. Tie the jute twine around the foam ball if you want a hanging topiary, or leave it plain if it will sit in a bowl, urn, or planter. Tuck the knot into the foam so it won’t show later.
4. Start at the top of the ball and hot-glue on your first pinecone, holding it in place for a few seconds until set. Add 5 to 6 more around it, keeping the cones snug so the foam doesn’t peek through.
5. Continue gluing pinecones in tight rows around the ball, rotating as you go and alternating sizes for a packed, rounded look. Press each cone close to its neighbors so the topiary looks lush instead of spotty.
6. Fill the entire ball with pinecones, leaving only the smallest cracks open. Use your mini pinecones in the last bare areas where full-size cones would stick out too far.
7. Pull tiny tufts of moss apart and tuck or glue them into any visible gaps between the cones. This softens the whole surface and gives it that finished, generous fall-market look.
8. Cut a 10- to 12-inch length of burlap ribbon and tie a simple bow if you want a dressed-up autumn accent. Glue the bow near the top for a hanging piece or to one side if the ball will be displayed in a bowl or urn.
9. Check the ball from every angle and add one more cone or a bit more moss anywhere the shape looks thin. This little inspection pass is what makes it look polished instead of homemade in a hurry.
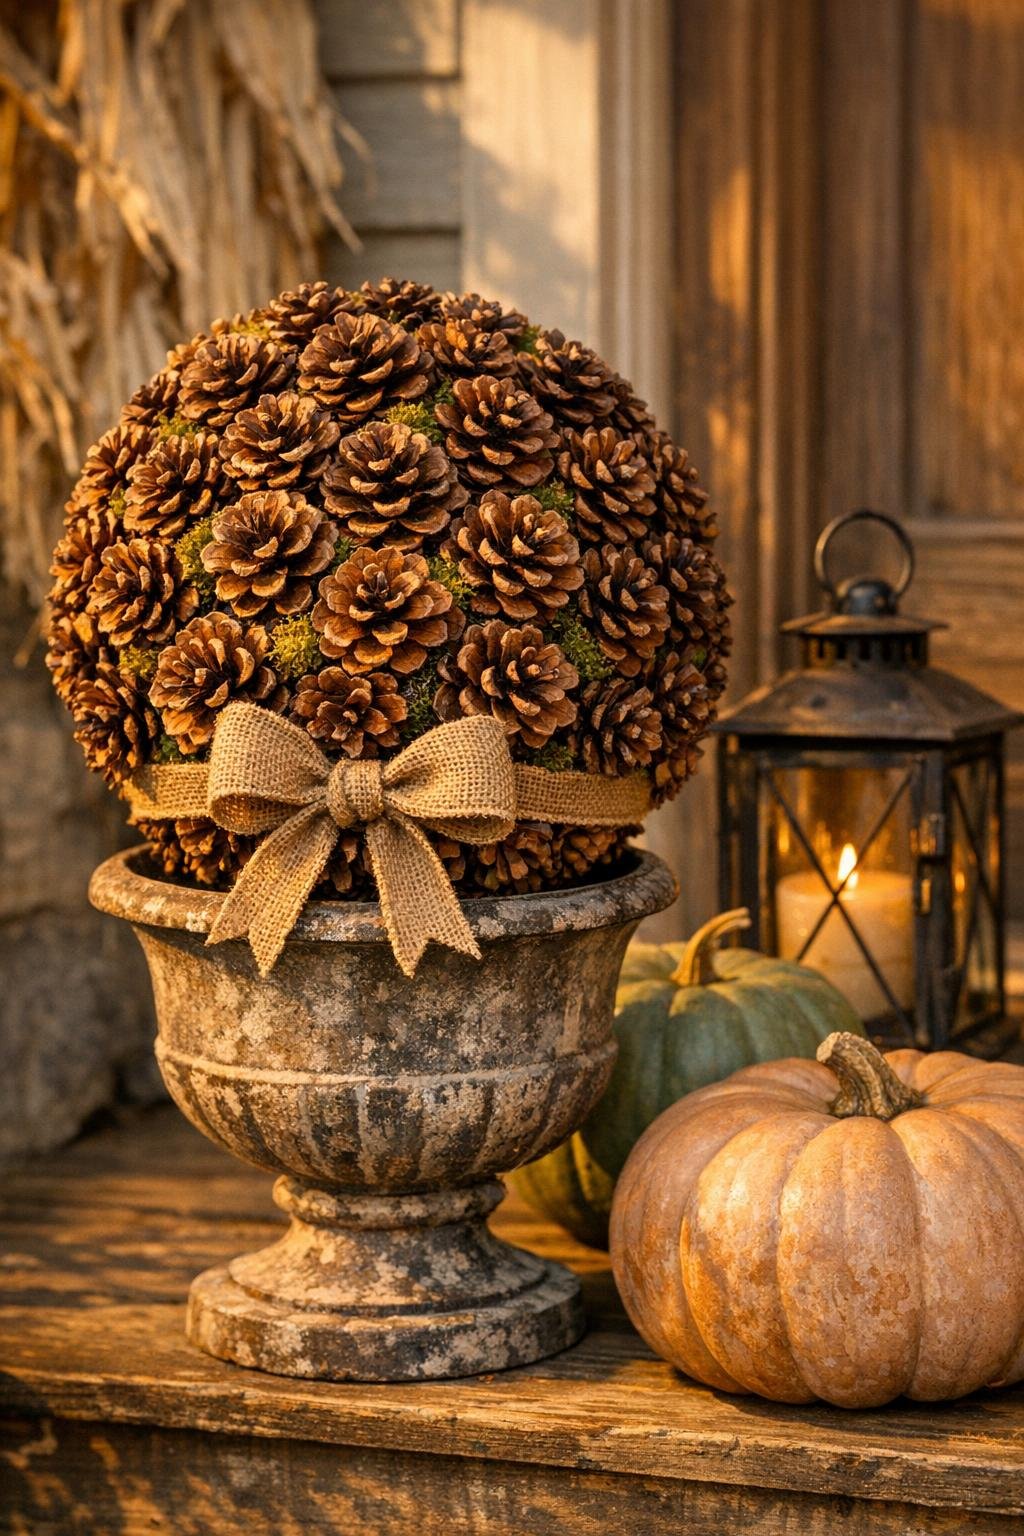
10. If you’d like, mist the finished topiary lightly with matte clear sealer and let it dry fully before displaying. Set it in a dough bowl, tuck it into a planter, or hang it where the pinecones can really show off their texture.
Variations & Tips
For a table centerpiece: Make two or three balls in slightly different sizes and pile them into a wooden bowl with a little extra moss around the base. I love this on a dining table because it feels special without blocking conversation.
For a porch urn: Set the pinecone ball on top of a hidden upside-down nursery pot inside the urn so it sits high and looks abundant. This is one of my favorite tricks when I want a fuller display without using more materials.
For a little sparkle: Dry-brush the tips of a few pinecones with bronze or soft gold craft paint after the glue has set. Keep it light so the natural texture still does the work.
For picky decorators: If your family likes fall decor more on the simple side, skip the bow and keep everything natural with just pinecones and moss. It still looks warm and lovely, just a bit more woodsy.
If your pinecones are very open: Use larger cones first and angle them slightly outward for a fluffier ball. Open cones actually give you more volume, which helps the project look extra full.
Best storage tip: Wrap the finished ball loosely in tissue paper and store it in a sturdy box after the season. That keeps the cones from getting crushed and makes it easy to pull out next autumn.