
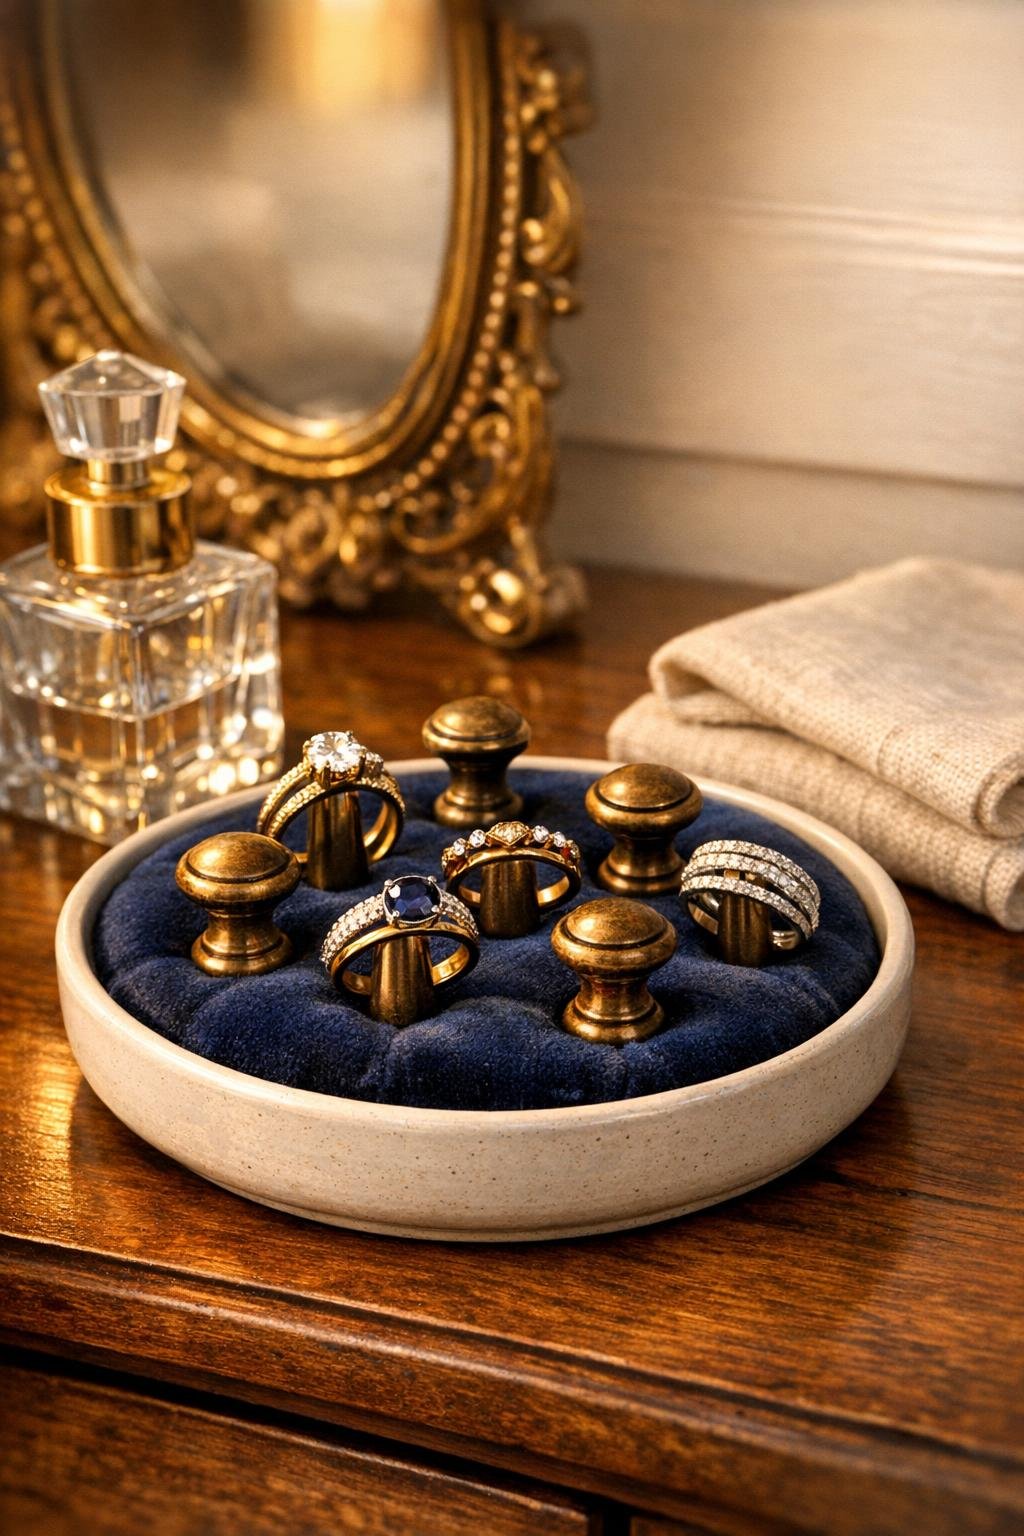
I love a bedroom accessory that looks polished on the nightstand but also solves a real little daily annoyance, and this ring holder does both beautifully. By setting small decorative drawer knobs into a shallow dish lined with velvet, you get several upright posts for rings plus a soft padded base for earrings, pins, or a watch at the end of the day.
This is the kind of project I’d recommend to anyone who wants something custom-looking without needing woodworking tools or a full afternoon. The antique brass and navy velvet combination has that rich, tailored feel I’m always drawn to in table settings and home details, and the finished piece looks far more boutique than its simple materials would suggest.
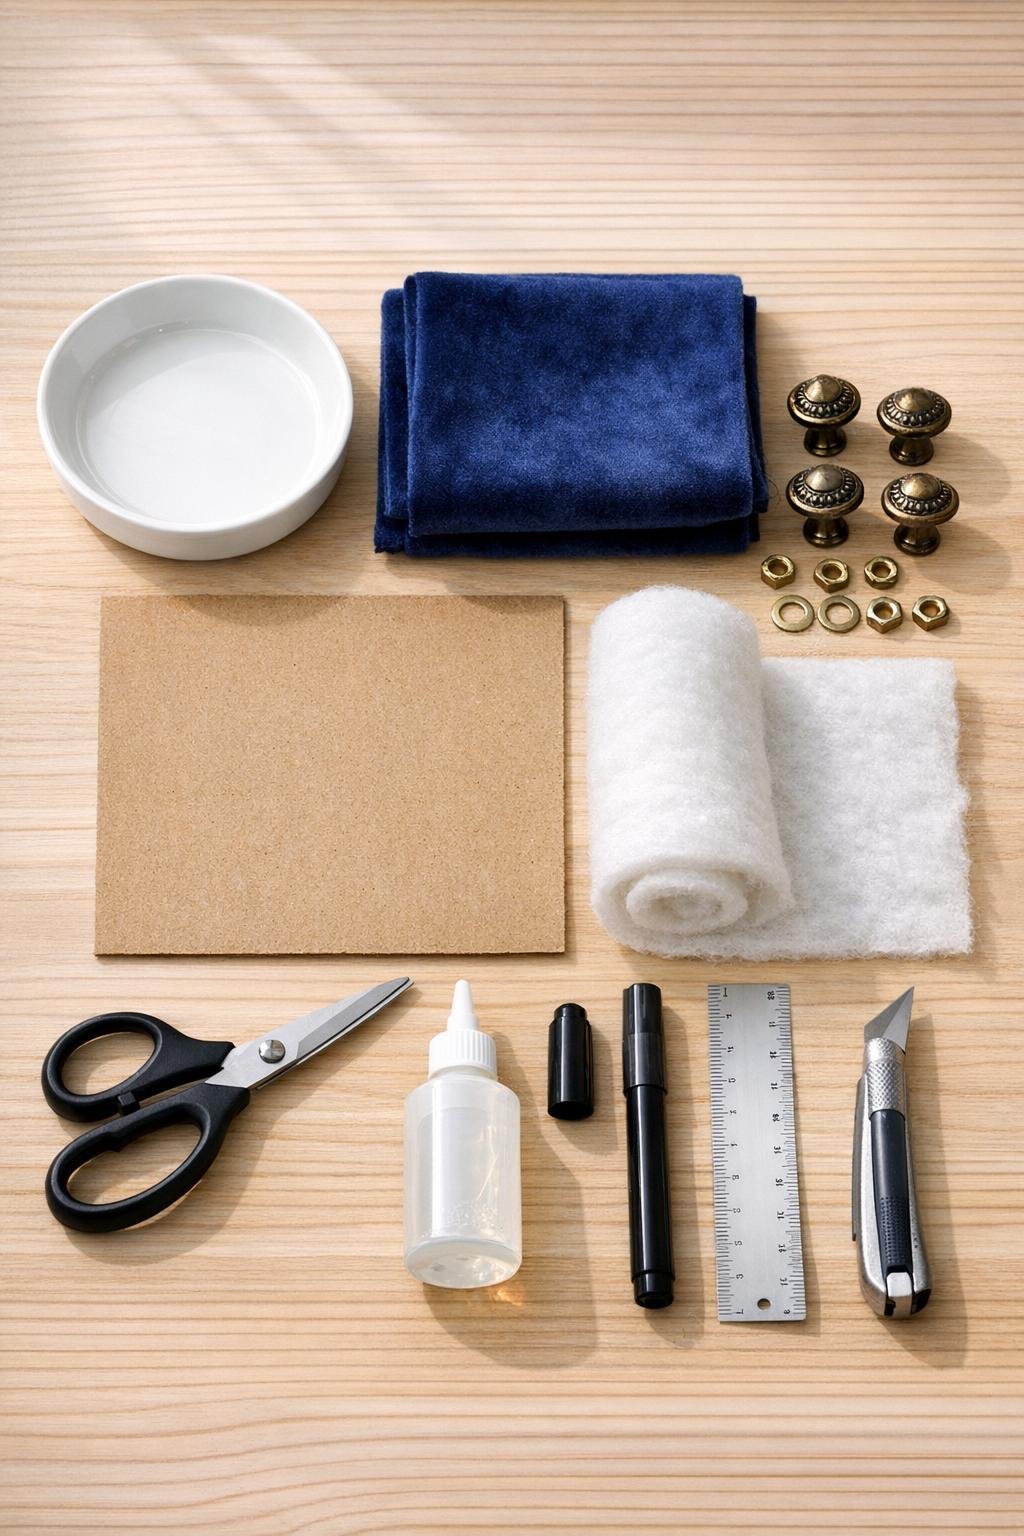
Materials
Instructions
1. Wash and dry the ceramic dish so the inside surface is free of dust and oils, then set it upside down on the paper and trace around it to make a template for the padded insert.
2. Cut the paper circle just slightly smaller than your traced line, test it inside the dish, and trim until it drops in easily without buckling.
3. Use that template to cut one cardboard circle and one batting circle the same size, then cut a velvet circle 2 inches larger all the way around so you have enough fabric to wrap smoothly.
4. Mark five evenly spaced knob positions on the cardboard: one in the center and four around it, keeping each outer mark about 1 1/4 inches in from the edge so rings have room to sit.
5. Pierce small holes at each mark with the craft knife, making them just large enough for the knob posts to pass through snugly.
6. Push the knob posts up through the cardboard from the back so the decorative tops sit on the front side, then secure each one with a washer and nut on the back and tighten by hand until stable.
7. Glue the batting to the front of the cardboard between and around the knobs, trimming small slits where needed so it fits flat without covering the knob bases too heavily.
8. Center the velvet right side down, place the knob-and-batting piece face down onto it, and cut small X-shaped slits in the fabric where each knob post area will need to come through cleanly.
9. Pull the velvet carefully up and around the knob tops so the fabric sits smooth across the padded surface, then glue the excess to the back of the cardboard a little at a time, keeping the front taut and wrinkle-free.
10. Let the wrapped insert rest for 15 to 20 minutes so the glue grabs, then test-fit it inside the dish and trim the wrapped edge if it feels too tight.
11. Run a thin bead of glue around the inside bottom of the dish and press the finished insert into place, making sure it sits level and the knobs stand straight up.
12. Allow the piece to cure fully according to your glue directions, then add rings to the antique brass knobs and use the velvet-covered base for smaller jewelry so the dish looks full, soft, and finished on the bedroom dresser.
Variations & Tips
Use an odd number of knobs: I find 5 knobs gives the nicest balance in a 6- to 7-inch dish. It looks generous without crowding the rings together.
Choose low, wide knobs: Decorative drawer knobs with a slightly broader top hold rings more securely than very pointed or narrow shapes. Antique brass also gives this project a mature, collected look.
Try a deeper jewel tone: Navy velvet is especially elegant in a bedroom, but emerald, plum, or charcoal velvet also works beautifully if you want the piece to coordinate with bedding or curtains.
Add more padding for stud earrings: If you plan to drop tiny earrings onto the base, use a double layer of batting so the dish has a plush, cushioned look and the earrings do not slide as much.
Make it gift-worthy: I like to tuck a finished ring holder into a gift box with a few tissue sheets and a ribbon. It feels thoughtful and custom, especially for birthdays, bridesmaids, or Mother’s Day.
Check the fit before gluing: This is my main practical tip from years of fitting liners into pans, tart rings, and serving pieces in the kitchen: always dry-fit first. A slightly smaller insert will sit more neatly than one that has to be forced into the dish.