
This little porch project is one of my favorite kinds of DIYs: inexpensive, fast, and cute enough to make it look like you spent way more time than you actually did. For this autumn wall planter, I use just two main items—dollar store tin buckets and old wooden fence pickets—to make a vertical porch accent that feels rustic, seasonal, and really full once it’s styled with fall stems.
I love projects like this because they fit real life. When I’m juggling work all week, I want something I can pull together in an evening without turning my garage into a disaster zone. If you’ve got a front porch, an empty wall spot, or even a narrow space by the door that needs some fall color, this is an easy way to add a lot of charm without taking up floor space.
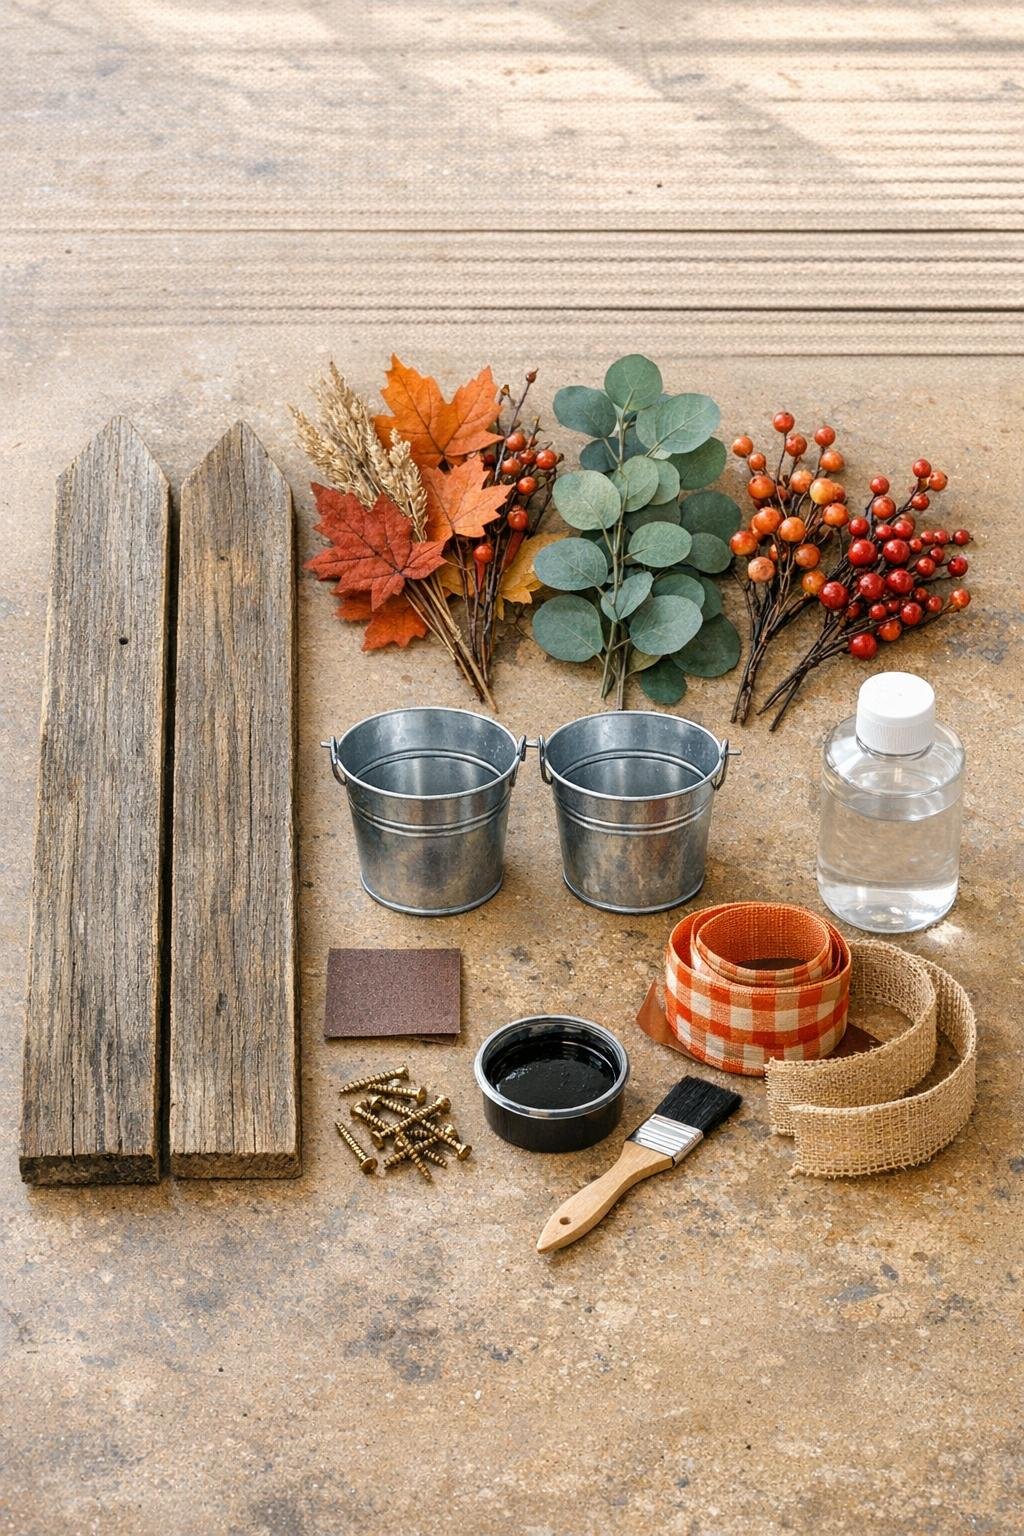
Materials
2 old wooden fence pickets, approximately 5 1/2 inches wide x 36 inches long
Instructions
1. Sand the fence pickets lightly to remove splinters and loose finish, then wipe away the dust so the paint and sealer will stick cleanly.
2. Paint the pickets with one light coat of black or deep brown craft paint, leaving a little wood grain visible for a weathered look, and let them dry completely.
3. Dry brush a tiny amount of white or cream paint across the raised grain and edges to give the boards that aged, porch-ready farmhouse finish.
4. Seal both pickets with a matte outdoor topcoat and let them dry fully before attaching anything to the front.
5. Place one tin bucket on each picket about 8 to 10 inches up from the bottom, then mark two screw points on the upper back edge area of each bucket so the bucket will sit centered and level.
6. Pre-drill small pilot holes through the bucket and into the picket, then screw each bucket firmly to the board; add a short machine screw with a nut if your bucket feels flimsy and needs extra support.
7. Trim the floral foam to fit snugly down inside each bucket, then tuck moss or crinkle filler around the top edge to hide the foam.
8. Start with the tallest fall stems in the back of each bucket, using 3 stems per bucket, and fan them out so the arrangement looks full and balanced from the front.
9. Add 2 more fall stems to each side, then fill the center with eucalyptus or lamb’s ear to soften the color contrast and make the planter look layered instead of flat.
10. Tuck in 2 berry or wheat picks per bucket near the front and outer edges so the arrangements feel extra full and have that finished fall texture.
11. Tie a ribbon into a simple bow for each planter and hot glue it near the bucket handle or just below the bucket rim for a polished little finishing touch.
12. Hang or lean the finished planters on your front porch wall, keeping them sheltered if possible so the paint and faux florals stay pretty through the season.
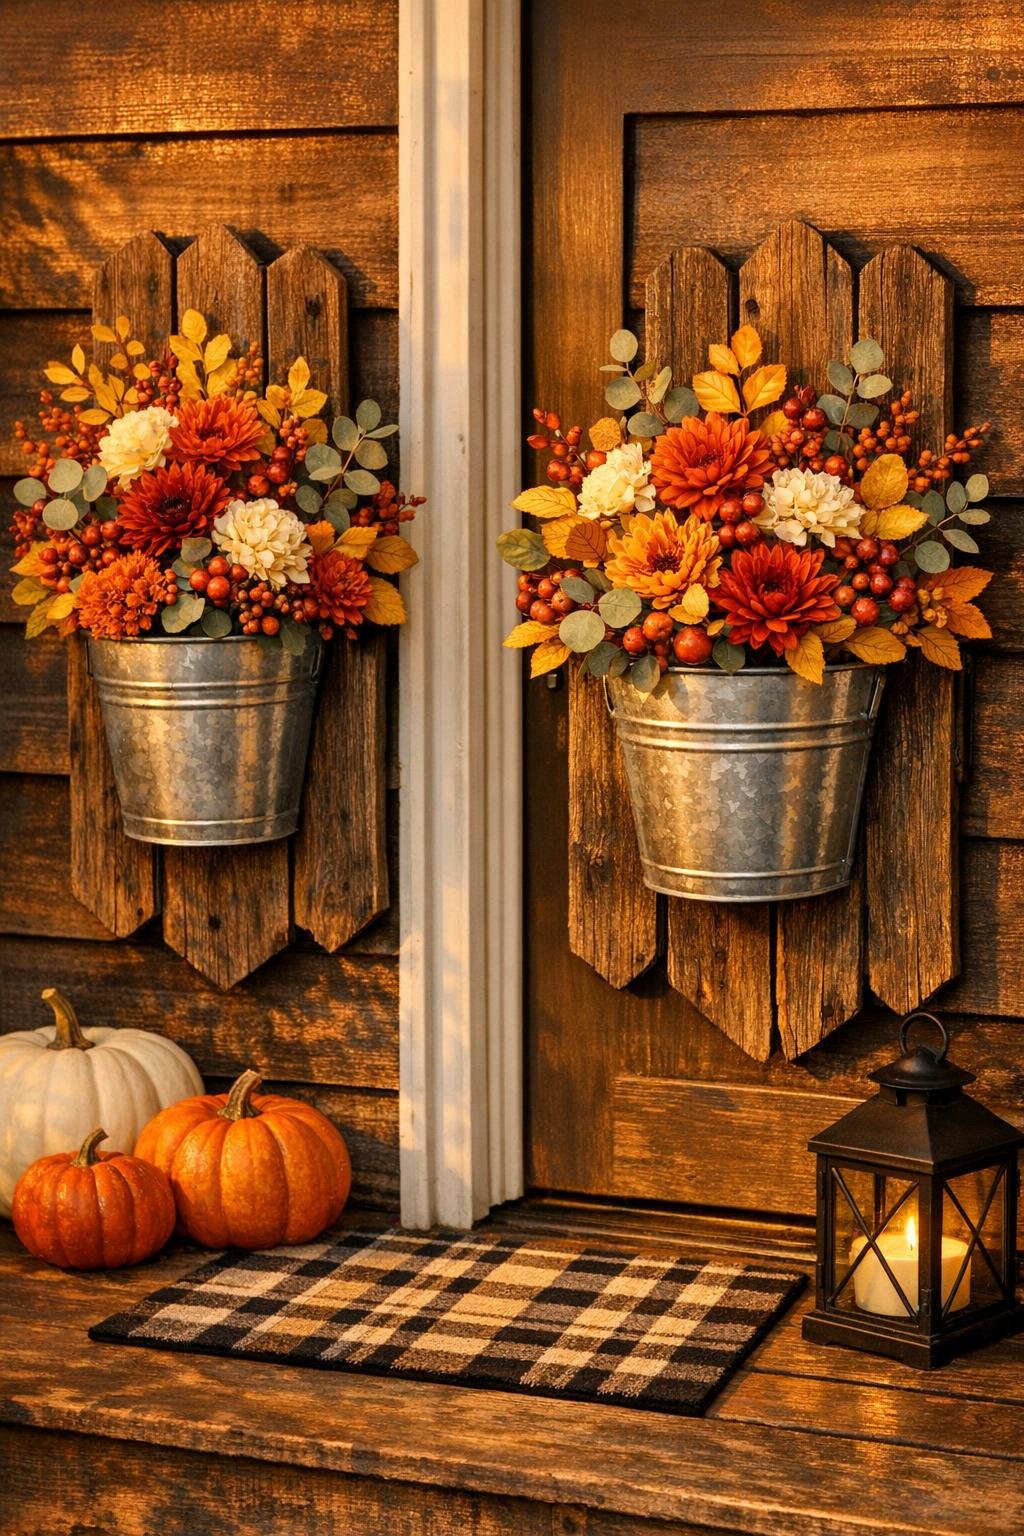
Variations & Tips
Use what you have: If your fence pickets are different widths or lengths, that’s totally fine; just keep the bucket centered and leave enough board showing above and below it so the piece still looks intentional.
Best porch colors: I love dark brown or black for contrast, but a muted sage, cream, or barn red would also be really pretty for fall if it works better with your porch.
Make it fuller: The trick to making dollar store florals look high-end is using enough stems. I’d rather pack the bucket generously and trim a little than end up with a sparse arrangement.
No-drill option: If you can’t drill through the buckets, heavy-duty exterior construction adhesive can help hold them in place, but screws are sturdier for outdoor use.
Swap the seasonal look: Once the base is made, you can change the filler all year long—evergreen at Christmas, lavender in spring, or bright greenery in summer—without rebuilding the planter.
Busy-weekend tip: I usually paint the pickets one night and assemble the florals the next day. Breaking it into two quick sessions makes this feel very manageable, even during a packed week.