
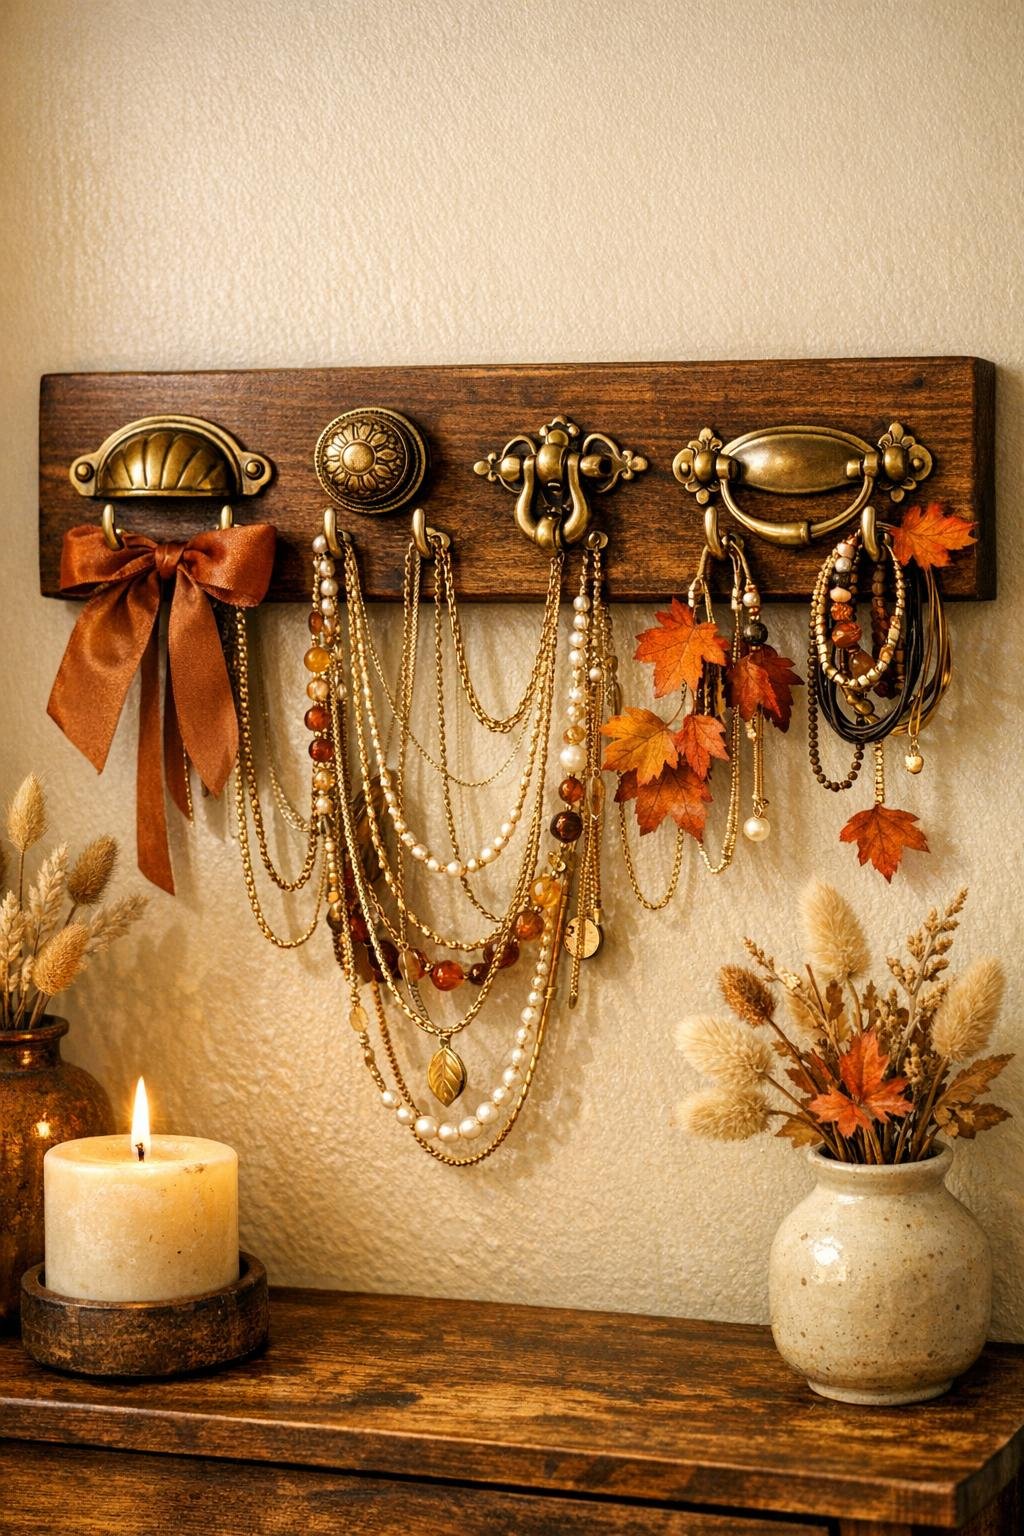
I love a thrift-store find that looks a little questionable in the cart and completely charming by the time it makes it onto the wall. This jewelry organizer is exactly that kind of project: four vintage-style brass drawer pulls mounted on a wood board, finished with warm fall color and simple details so it looks boutique-worthy instead of pieced together. It’s a quick afternoon DIY, but the end result has that custom home-decor feel people always assume cost way more than it did.
This is a great project if you want a prettier way to store necklaces, bracelets, and lightweight scarves without taking over your dresser. I’m always trying to make practical things look intentional, especially in the fall when I want every corner of the house to feel a little cozier, and this one hits that sweet spot between useful and decorative.
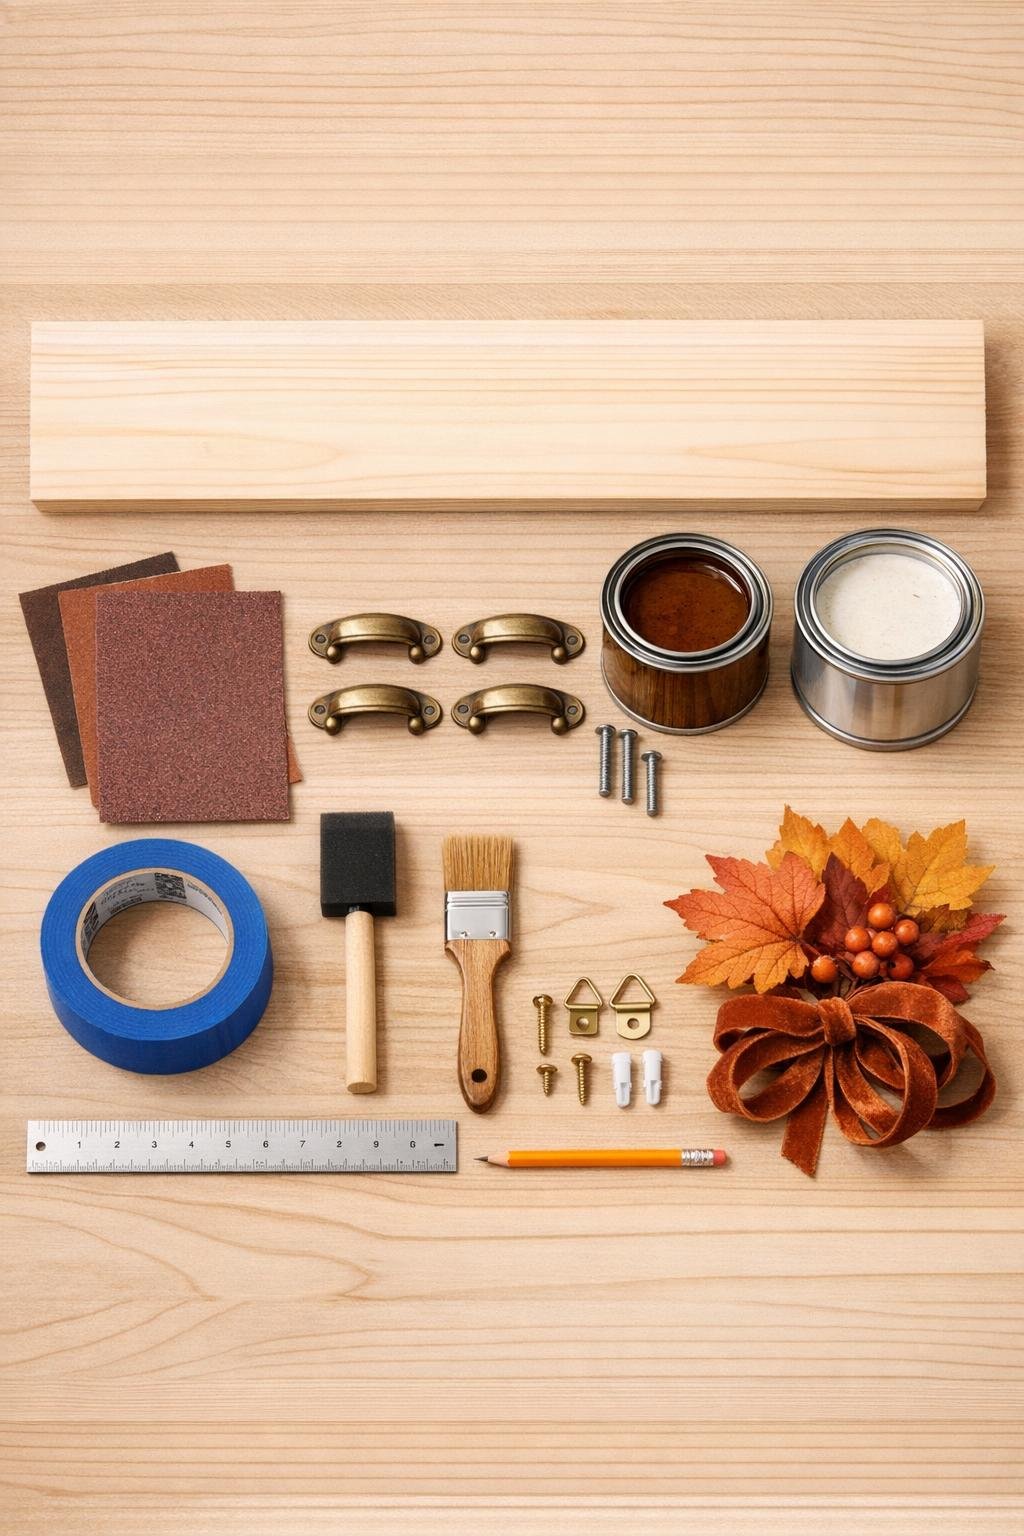
Materials
Instructions
1. Sand the front, back, and edges of the 24-inch board with 120-grit sandpaper, then smooth it with 220-grit so the finish looks clean and polished.
2. Wipe away all dust and brush on a medium coat of warm wood stain, covering the front, sides, and edges evenly; let it sit for a few minutes, then wipe off the excess.
3. After the stain dries, apply two thin coats of matte or satin clear topcoat, letting the first coat dry before adding the second for a smooth, durable finish.
4. Measure and mark the board for four evenly spaced drawer pulls, keeping them centered from top to bottom and spacing them about 4 1/2 inches apart across the length of the board.
5. Lay painter’s tape over the marked spots, redraw the hole placement on the tape, and test the spacing by setting each brass pull in place before drilling or screwing.
6. Attach the four brass drawer pulls securely with their mounting screws, tightening each one until snug so the handles sit straight and feel sturdy enough for layered necklaces and bracelets.
7. Turn the board over and install the two D-ring hangers about 3 inches down from each top corner, then twist on the hanging wire with a little slack.
8. Press a clear rubber bumper onto each back corner so the organizer hangs neatly and doesn’t scuff the wall.
9. Tie the velvet ribbon into a small soft bow and tuck in a few faux fall leaf sprigs at one top corner, attaching them lightly around the hanger area so the decoration frames the board without covering the pulls.
10. Hang the organizer on the wall and style it with several necklaces, bracelets, and a lightweight scarf or two so the full width feels generous and finished.
Variations & Tips
Deeper fall color: If you want a moodier look, use a darker stain like espresso and pair it with antique brass or slightly tarnished pulls for extra contrast.
Painted version: You can paint the board instead of staining it; creamy white, muted olive, and deep terracotta all look beautiful with brass in fall decor.
More storage: If your jewelry collection is a little out of control like mine tends to be by the holidays, use a 30-inch board instead of 24 inches and keep the same four pulls with wider spacing for chunkier pieces.
Best pulls to use: Drawer pulls with a little projection from the board work best because they hold multiple necklaces without everything sliding off.
Keep it wall-friendly: Rubber bumpers are a tiny detail, but they make the finished piece feel more professional and keep it from knocking against the wall every time you grab a bracelet.
Seasonal swap: Change the ribbon and faux stems through the year; velvet and leaves for fall, evergreen for winter, or a simple linen bow for everyday use.