
When I’m itching to get lettuce, radishes, or spinach started before the ground has really woken up, this is one of those wonderfully simple garden tricks I come back to. You’re basically using heat-stored cinder blocks and a clear cover to create a quick little warm pocket over a raised bed, which helps take the chill off the soil and gives seeds a better head start.
I love this project because it feels practical, inexpensive, and very doable even on a busy afternoon. If you have a raised bed, a couple of standard cinder blocks, and one common yard item like clear plastic sheeting, you can put together a temporary soil warmer that looks plain but works hard. It’s especially helpful for cool-season crops and for gardeners in places like mine where spring likes to tease us.
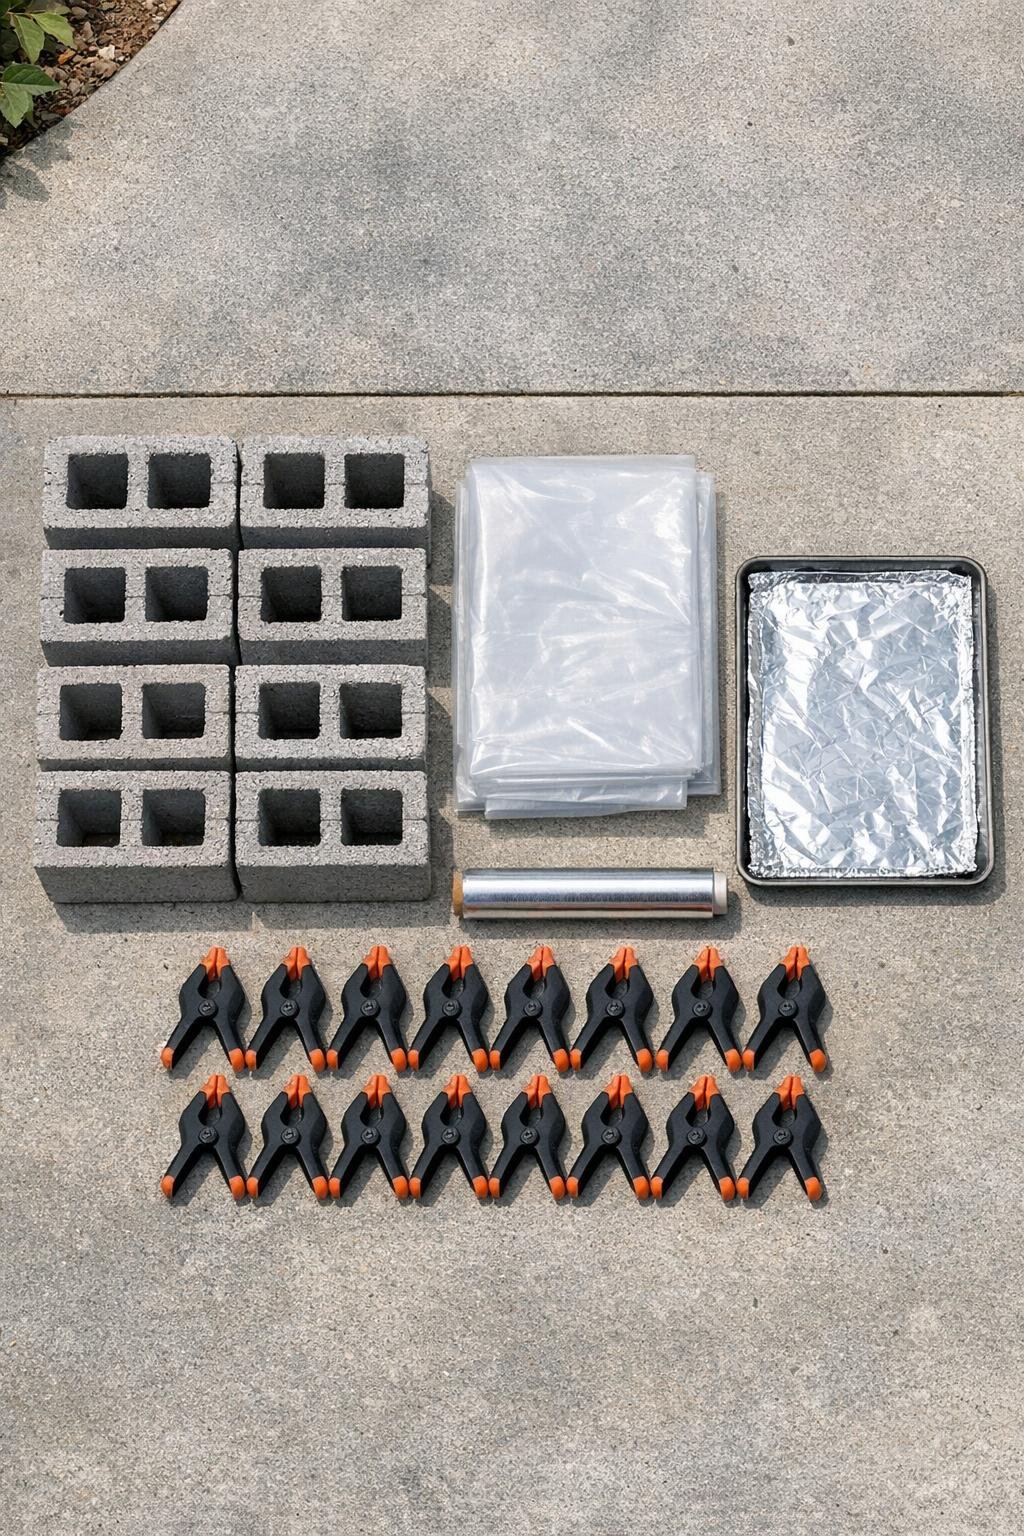
Materials
8 standard gray cinder blocks, 8 in x 8 in x 16 in
Instructions
1. Line the baking sheet tightly with aluminum foil, then set 2 cinder blocks on it and place the tray inside an outdoor grill with the grill off while you arrange the rest of your setup.
2. Heat the grill to low, close the lid, and warm the blocks for 20 to 30 minutes so they absorb steady heat without scorching or cracking from extreme temperature changes.
3. While those blocks warm, lay the remaining 6 cinder blocks flat around the outside edges of your raised bed, spacing them evenly to form a sturdy low frame for the plastic cover.
4. Water the top 2 to 3 inches of soil lightly if it is bone dry, because slightly moist soil holds and transfers warmth better than dusty dry soil.
5. Carefully move the heated cinder blocks from the grill to the center area of the raised bed, setting them on the soil with gloves or sturdy tongs and keeping them a few inches apart.
6. Drape the clear plastic sheeting over the entire bed so it forms a loose tent, then clamp it to the outer cinder blocks and weigh down any open edges with landscape bricks or scrap boards.
7. Leave the cover in place through the warmest part of the day so the sun and the preheated blocks work together to warm the soil under the plastic.
8. Vent one side by a few inches if the day turns sunny and mild, especially once the inside feels noticeably warm, to avoid overheating tender seedlings or cooking the soil surface.
9. In late afternoon or evening, close the vent back down so the stored warmth is held overnight and the soil loses heat more slowly.
10. Repeat the block-warming routine for 2 to 4 days before sowing, or continue using the cover after planting cool-season seeds to keep the bed consistently warmer during chilly spells.
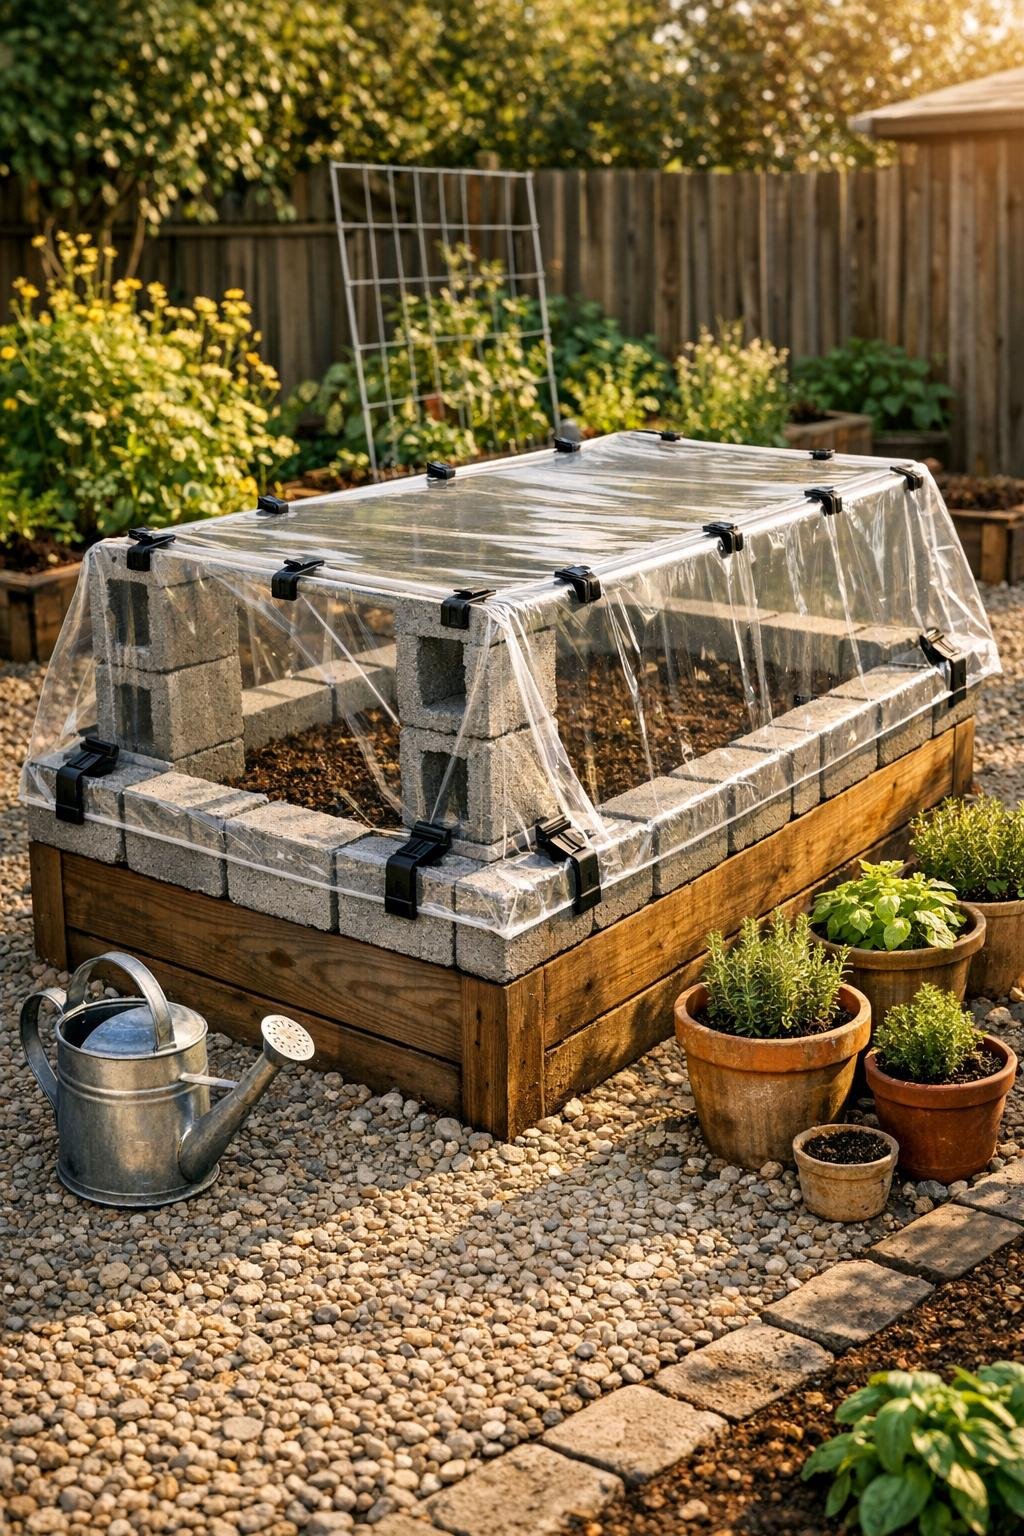
Variations & Tips
For smaller beds: Use 4 to 6 cinder blocks and a smaller sheet of clear plastic if your raised bed is 2 ft x 4 ft or similar. You just want enough coverage to trap warmth without big gaps.
For picky spring weather: If your temperatures bounce all over the place like ours often do, open the plastic during unexpectedly hot afternoons and close it again before sunset. That little bit of attention makes a big difference.
Best crops for this trick: I’ve had the best luck using this method before sowing or just after sowing spinach, lettuce, arugula, radishes, beets, and peas. It’s not meant for heat-loving summer crops yet; it’s really a boost for cool-season starters.
Keep it safe: Warm the blocks outdoors only, handle them with heavy gloves, and never move blocks that are extremely hot. You want them nicely warm and heat-holding, not dangerously overheated.
If you do not have clamps: You can pinch the plastic under the weight of the cinder blocks themselves or use scrap boards and bricks to hold the edges down securely. The goal is a snug cover that won’t flap open in the wind.
For better overnight performance: Seal the edges well before dusk and make sure the plastic is not touching emerging seedlings. Trapped air is part of what keeps the bed warmer, almost like tucking the soil in for the night.
When to remove it: Once seedlings are up and daytime temperatures stay comfortably above freezing, start venting more often and remove the cover for longer stretches each day. That helps young plants adjust instead of getting too soft under constant protection.