
By the end of garden season, I always seem to have a bundle of plant stakes, marker sticks, and little support rods leaning in a messy corner of the garage. This easy organizer turns cut plastic milk jugs into sturdy storage cups, then mounts them onto two simple dollar store basics so everything stays upright, sorted, and easy to grab when planting season rolls back around.
What I love most about this project is that it looks surprisingly tidy and useful for something made from odds and ends. If you like practical DIYs that save money and make your potting area feel more put together, this is the kind of afternoon project that earns its keep right away.
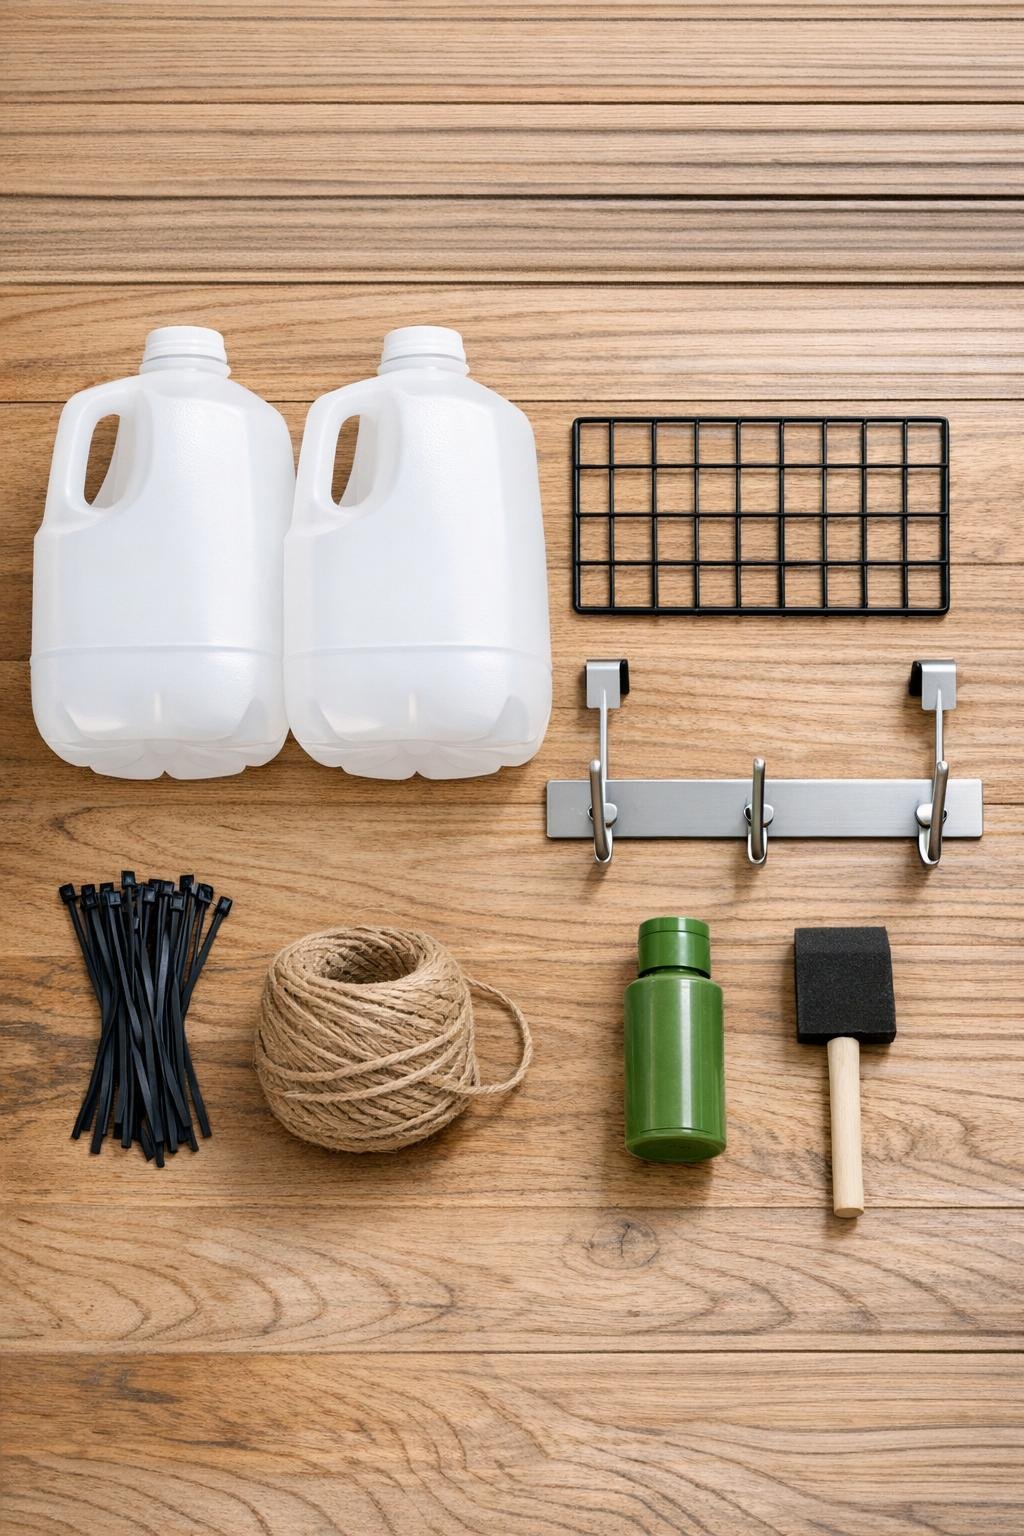
Materials
Instructions
1. Rinse the milk jugs well, remove any caps, and let them dry completely so the plastic is clean and stiff before cutting.
2. Mark a cutting line around the bottom of each jug 4 1/2 inches up from the base, keeping the line as level as you can so both cups sit evenly.
3. Carefully cut the bottoms off both milk jugs along the marked lines, then trim away any rough spots so you have two deep open bins with the flat jug bottoms still attached.
4. Lightly sand the outside of each jug bin and wipe them clean with rubbing alcohol or soapy water so paint will stick better.
5. Paint the outside of both bins with one solid coat, let them dry, and add a second coat for a more finished look; leave the insides unpainted if you want the project to be extra quick.
6. If you want a little extra polish, wrap jute twine once or twice around the upper edge of each bin and secure the ends neatly on the back.
7. Stand the wire grid panel upright and position the over-the-door hook rack across the top so the hooks face forward; this gives you a simple freestanding frame or wall-mountable backer.
8. Hold the first painted jug bin against the lower left side of the grid and fasten it through the jug handle area and sidewalls with 3 zip ties, pulling them tight so the bin cannot wobble.
9. Attach the second jug bin on the lower right side of the grid with 3 more zip ties, leaving a little space between the bins so stakes slide in easily without catching.
10. Trim the zip tie tails flush, then add felt pads to the back corners if the organizer will rest against a wall, shed door, or cabinet side.
11. Sort your end-of-season garden supplies into the organizer: tall bamboo stakes in one bin, tomato spirals or support rods in the other, and hang twine, gloves, or plant labels from the top hooks.
12. Set the organizer in your potting area, garage, or shed where the hooks and bins are easy to reach, and give the whole piece one final wipe so the finish looks clean and intentional.
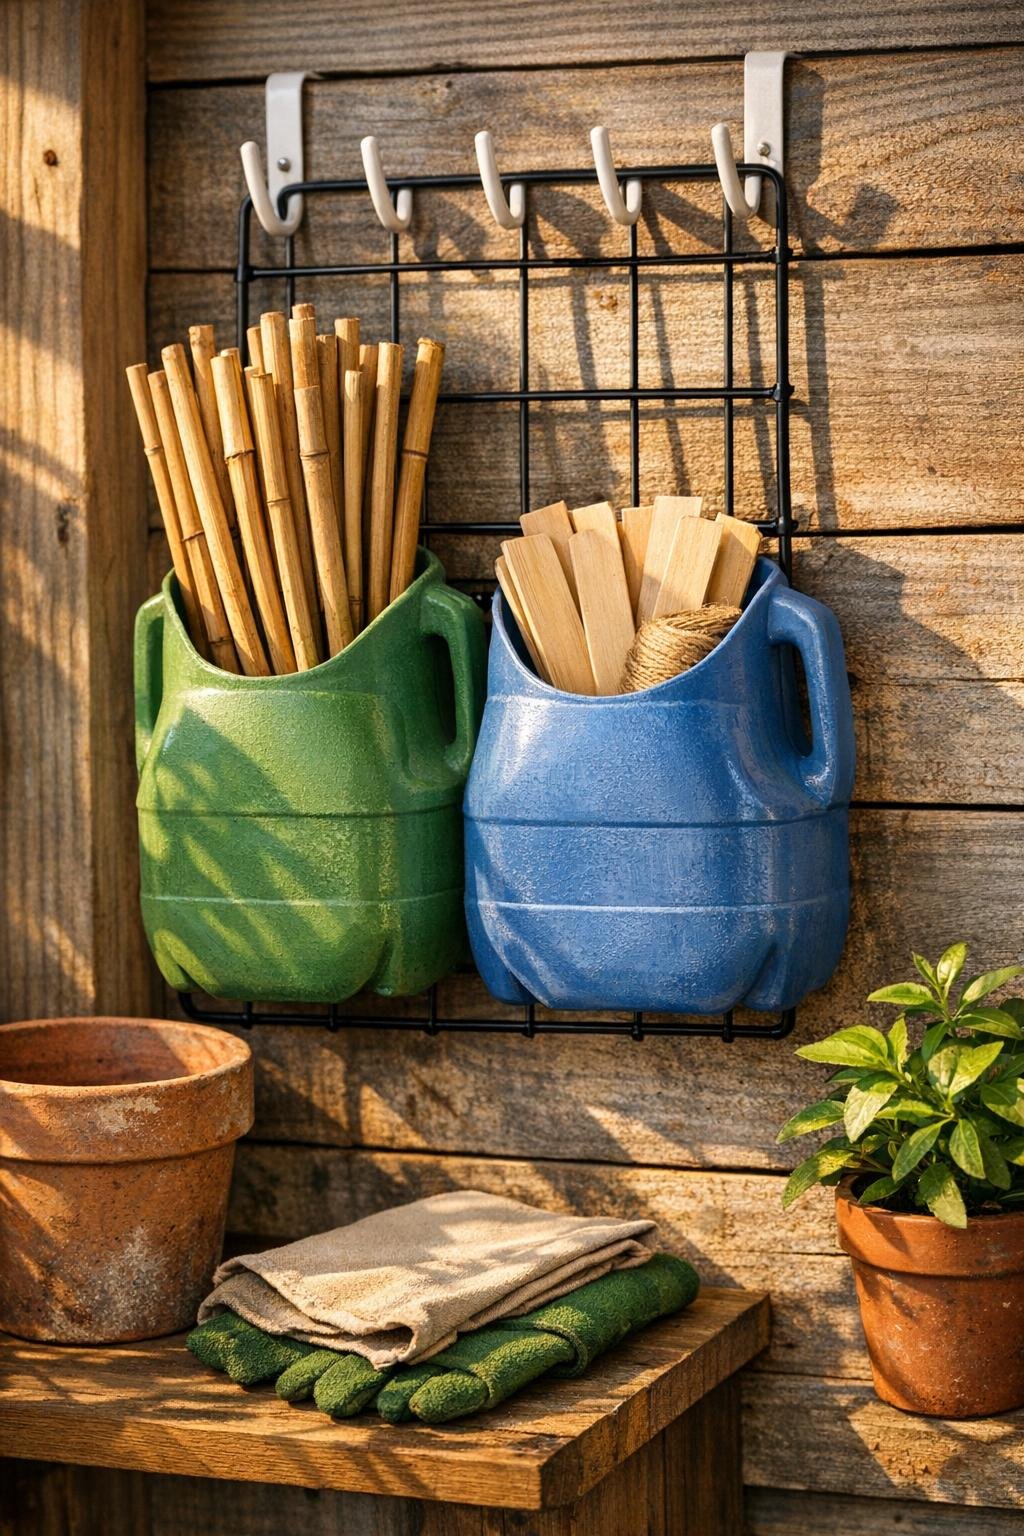
Variations & Tips
For more storage: Use 3 milk jugs instead of 2 if your wire grid is wider, and make one bin slightly shorter for small tags, clips, and seed scoops.
Best paint choice: Outdoor acrylic or spray paint made for plastic holds up best in a shed or on a covered porch; if your winters are hard like ours, a quick clear topcoat helps even more.
For picky organizers: In my house, everyone likes their own system, so I’d dedicate one bin to long stakes, one to short markers, and the hooks to gloves or snips so nobody has to dig around.
Wall-hanging option: If you do not want it freestanding, skip the over-the-door use and simply screw the hook rack and grid onto the inside of a shed wall or cabinet door.
Cutting tip: A utility knife starts the opening neatly, but sturdy scissors are often easier for following the cut line once you pierce the plastic.
Make it prettier: Add a soft sage, black, or galvanized-metal look with paint so the organizer blends in with your garden tools instead of looking like recycled plastic.