
I love a project that takes a perfectly ordinary kitchen item and gives it a second life, and this one does exactly that. A simple dollar store baking sheet becomes the base for a reusable magnetic advent calendar board that feels interactive, tidy, and genuinely fun to use all December long. It is especially good if you want something more durable than a cardboard calendar but do not want to spend boutique-decor money to get it.
The key is keeping it practical from the very first minute: not every cheap baking sheet is magnetic, and that one little test in the store aisle saves the whole project. Once you have the right pan, the rest is straightforward—some strong magnets, a neat 4-by-6 grid of tins, and small treats or notes tucked inside. I appreciate projects like this the way I appreciate a good pantry shortcut in the kitchen: simple ingredients, smart technique, and a payoff that comes back year after year.
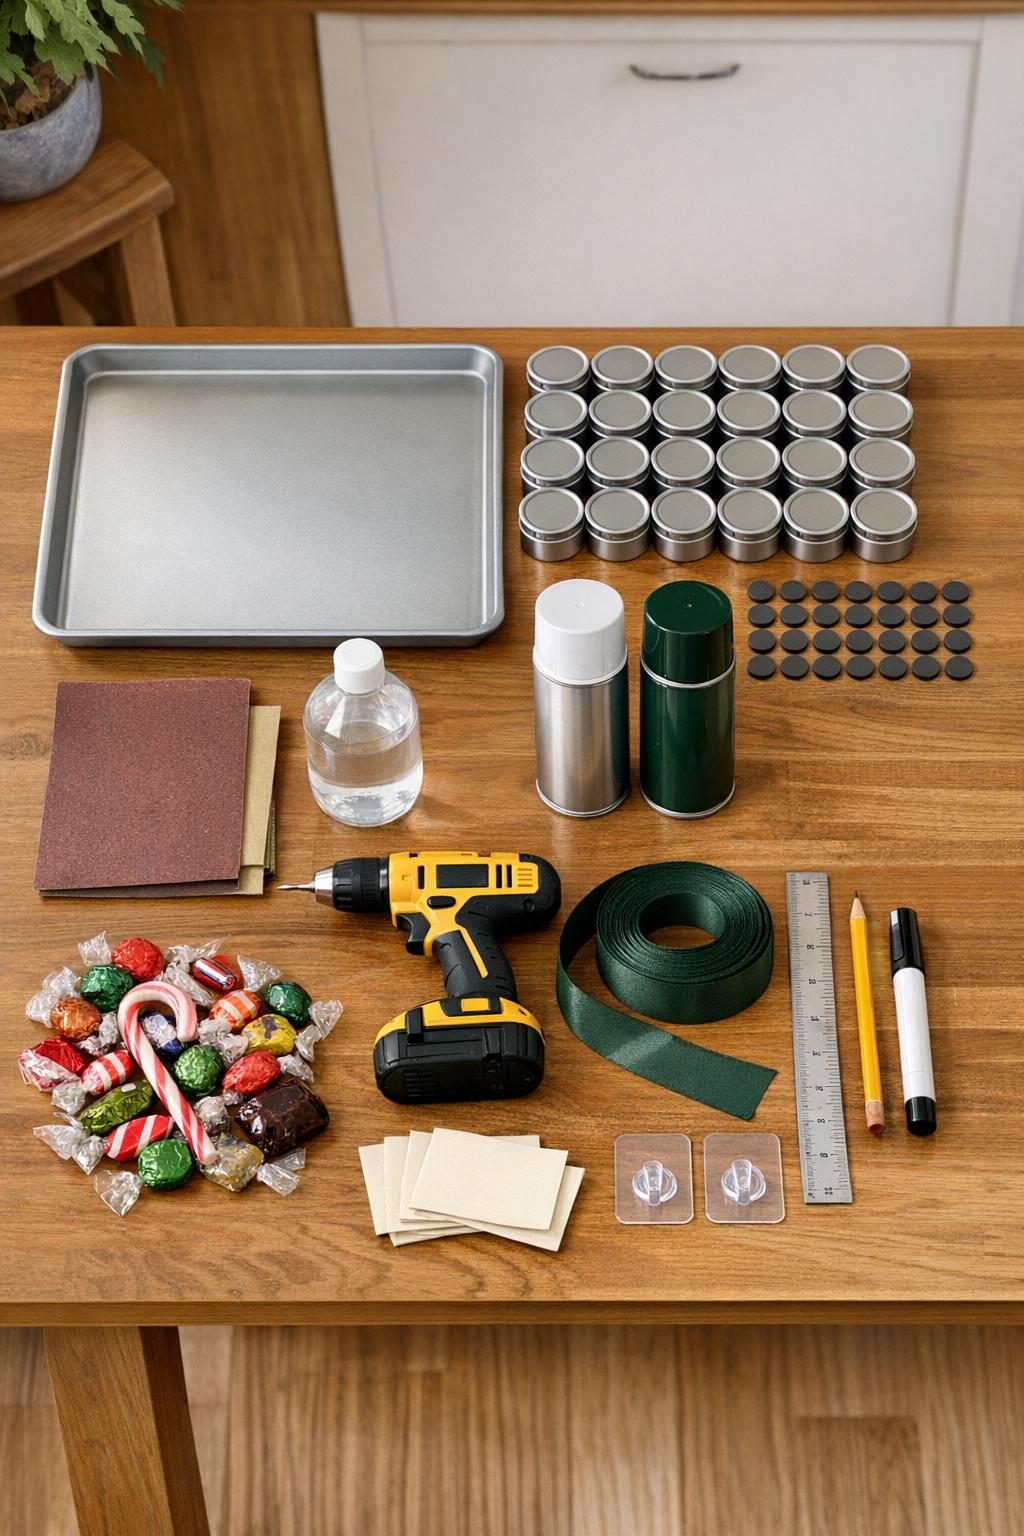
Materials
1 steel baking sheet, about 13 x 18 inches, tested in the store with a fridge magnet to confirm it is magnetic
Instructions
1. Start in the store aisle with a fridge magnet and test the baking sheet before you buy it; if the magnet slides right off, the pan is aluminum and will not work for this project.
2. At home, wash and dry the baking sheet, then wipe it with rubbing alcohol so primer and paint can stick properly.
3. Lightly scuff the front of the pan and the rim with medium-grit sandpaper, then wipe away the dust with a clean cloth.
4. Spray on a thin coat of metal primer, let it dry, and add a second light coat if needed for even coverage.
5. Spray the baking sheet deep green or matte black in 2 to 3 light coats, letting each coat dry before the next; if you want extra durability, finish with a light clear sealer once the color coat is fully dry.
6. Decide how you will hang it: drill one hole centered near the top rim for ribbon, or plan to mount it with two removable hooks that are honestly rated for a few pounds, because 24 filled tins get heavy.
7. If using ribbon, drill the hole slowly through the rim, thread the ribbon through, and knot it securely into a hanging loop.
8. Use a ruler and pencil to mark a grid with 4 columns across and 6 rows down, spacing the 24 tins evenly so they fit with a little room between them.
9. Number the tins from 1 to 24 with a paint marker, keeping the numbers large and clear enough for kids to spot quickly.
10. Attach one strong adhesive magnet to the back of each tin, press firmly, and let the adhesive set as directed; use strong magnets only, because flimsy fridge magnets will start dropping loaded tins almost immediately.
11. Fill each tin with one small candy, one folded activity note, or both if they fit comfortably, then snap the lids on securely.
12. Place the tins onto the board following your numbered grid, checking that each one holds firmly and does not slide when the board is upright.
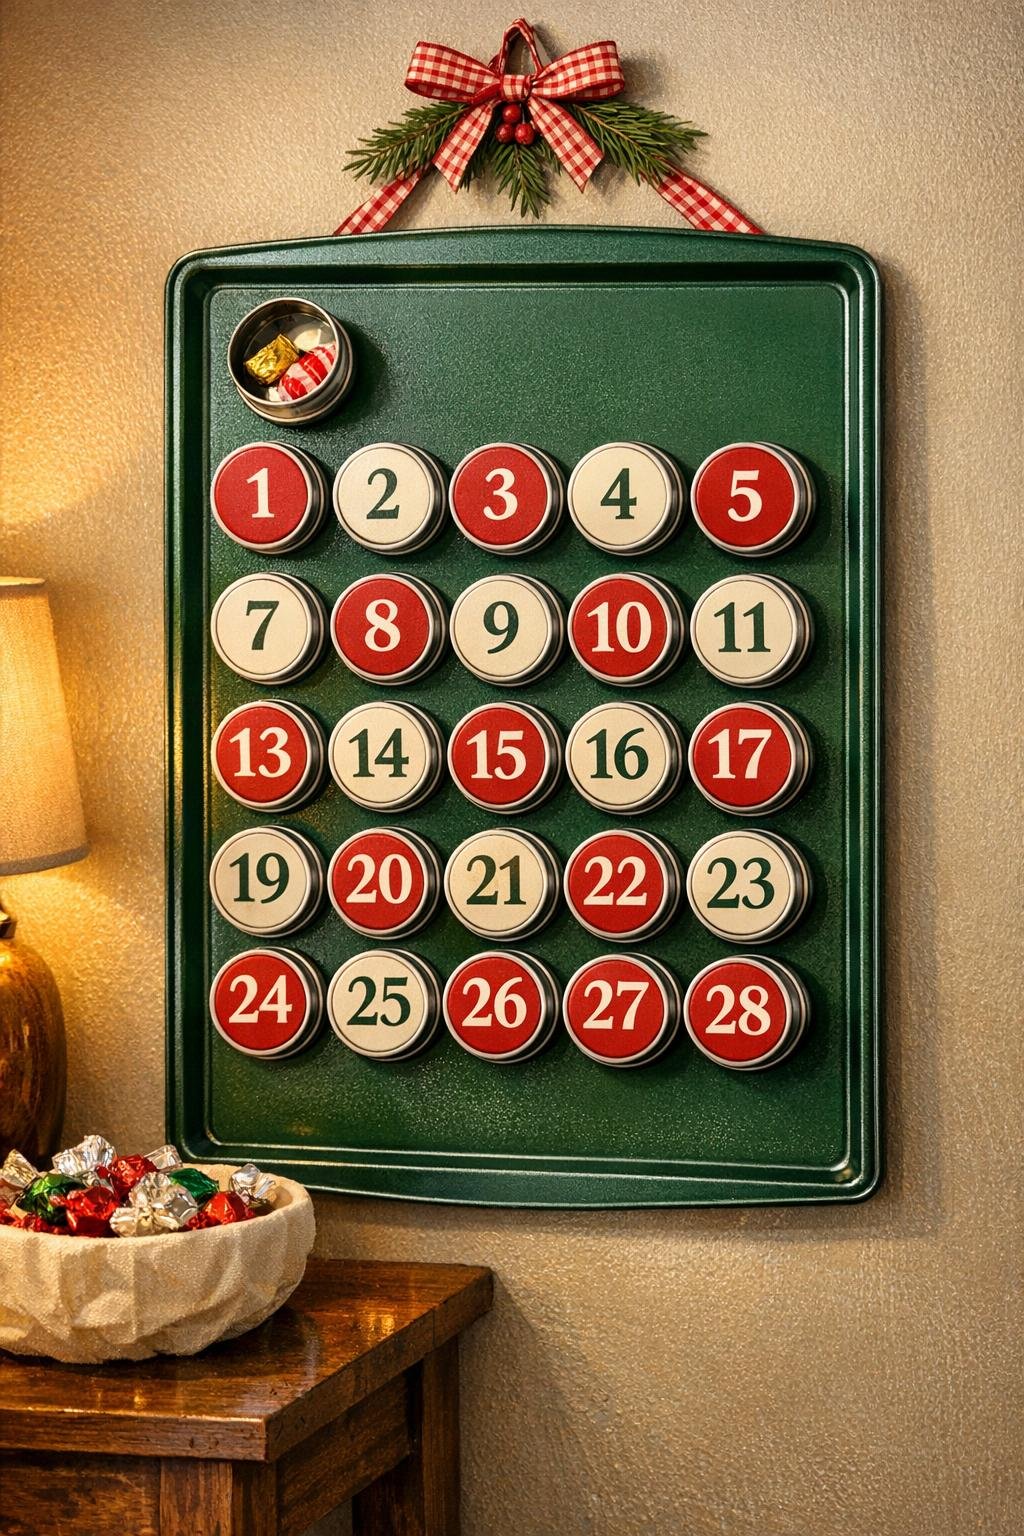
13. Hang the board in portrait orientation on the wall, either by the ribbon loop or on two sturdy removable hooks, and test the full weight before December begins.
14. Use it interactively all month: each day, have the kids find that day's tin, open it, and move the empty tin to the top of the board once the treat or activity is done.
Variations & Tips
Best board choice: If you remember only one thing, let it be the magnet test in the store. Plenty of bargain pans are aluminum, and that one quick check is the difference between a smart project and an annoying return.
Magnet strength matters: I would not trust thin souvenir-style fridge magnets here. A filled tin needs a strong magnet with real hold, especially once children start taking tins on and off every day.
Easy filling ideas: Small chocolates, jelly beans, stickers, coins, and folded notes all work well. For activity notes, keep them short and cheerful: “cocoa night,” “read a holiday book,” or “drive to see lights.”
Color options: Deep green and matte black look polished and grown-up, but cream, red, or brushed gold can also be lovely. Just be sure to scuff and prime first so the finish lasts more than one season.
Numbering shortcut: If hand-lettering is not your favorite task, use small number stickers on the lids and seal them with a dab of clear topcoat. It gives a tidy result without much effort.
Kid-friendly setup: Hang the board low enough for children to reach safely, but not so low that toddlers can pull all the tins off at once. In my experience, waist to chest height for the intended age works best.
Storage tip: At the end of the season, nest the empty tins in a small box and wrap the board in an old towel or kraft paper. Because the base is metal rather than cardboard, it stores beautifully and comes back looking fresh next year.
Budget reality: This is very doable for around $15 if your dollar store has the pan and tins, and assembly takes about an hour plus drying time for paint. It is one of those projects that looks more elaborate than it is, which is my favorite kind of homemade win.