
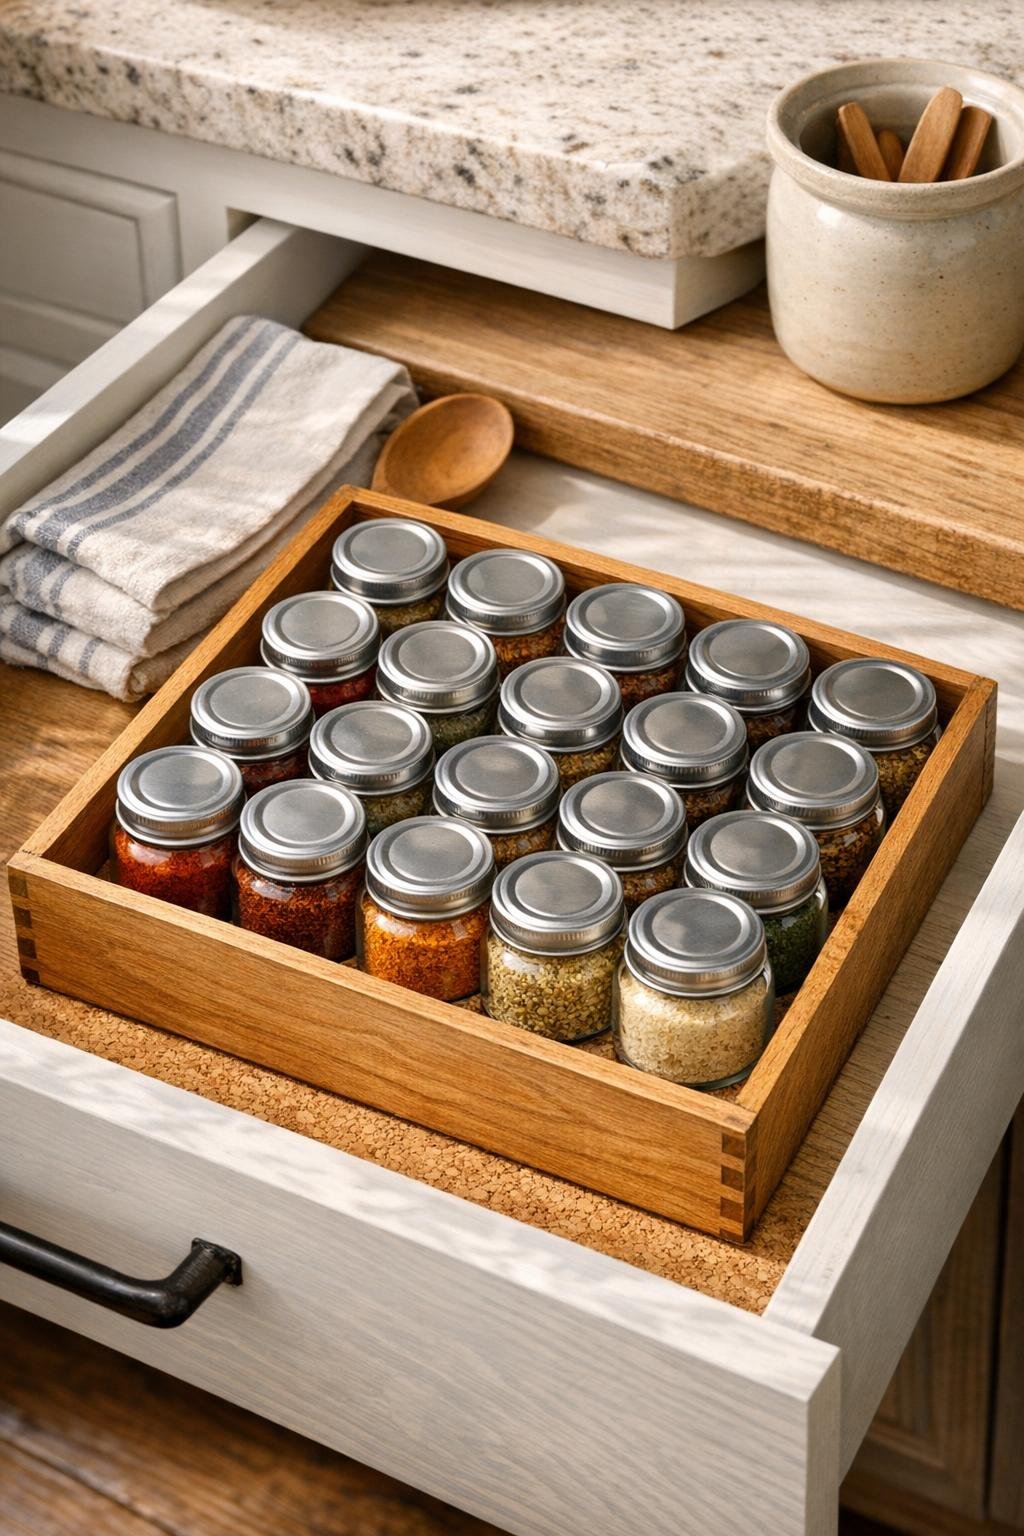
I’ve always believed the handiest kitchen helpers are the ones that make everyday cooking feel easier without taking over the whole room. This little spice drawer does exactly that. By fitting small glass baby food jars into a shallow wooden tea box lined with cork, you end up with a tidy, easy-to-see organizer that keeps your spices together, upright, and right where you need them.
It’s a wonderful project for anyone with a crowded cabinet, a jumble of mismatched spice bottles, or a soft spot for practical storage that still looks charming. It reminds me of the sort of clever household fix my generation never wasted money replacing if we could make it better ourselves, and this one comes together simply but looks polished when it’s done.
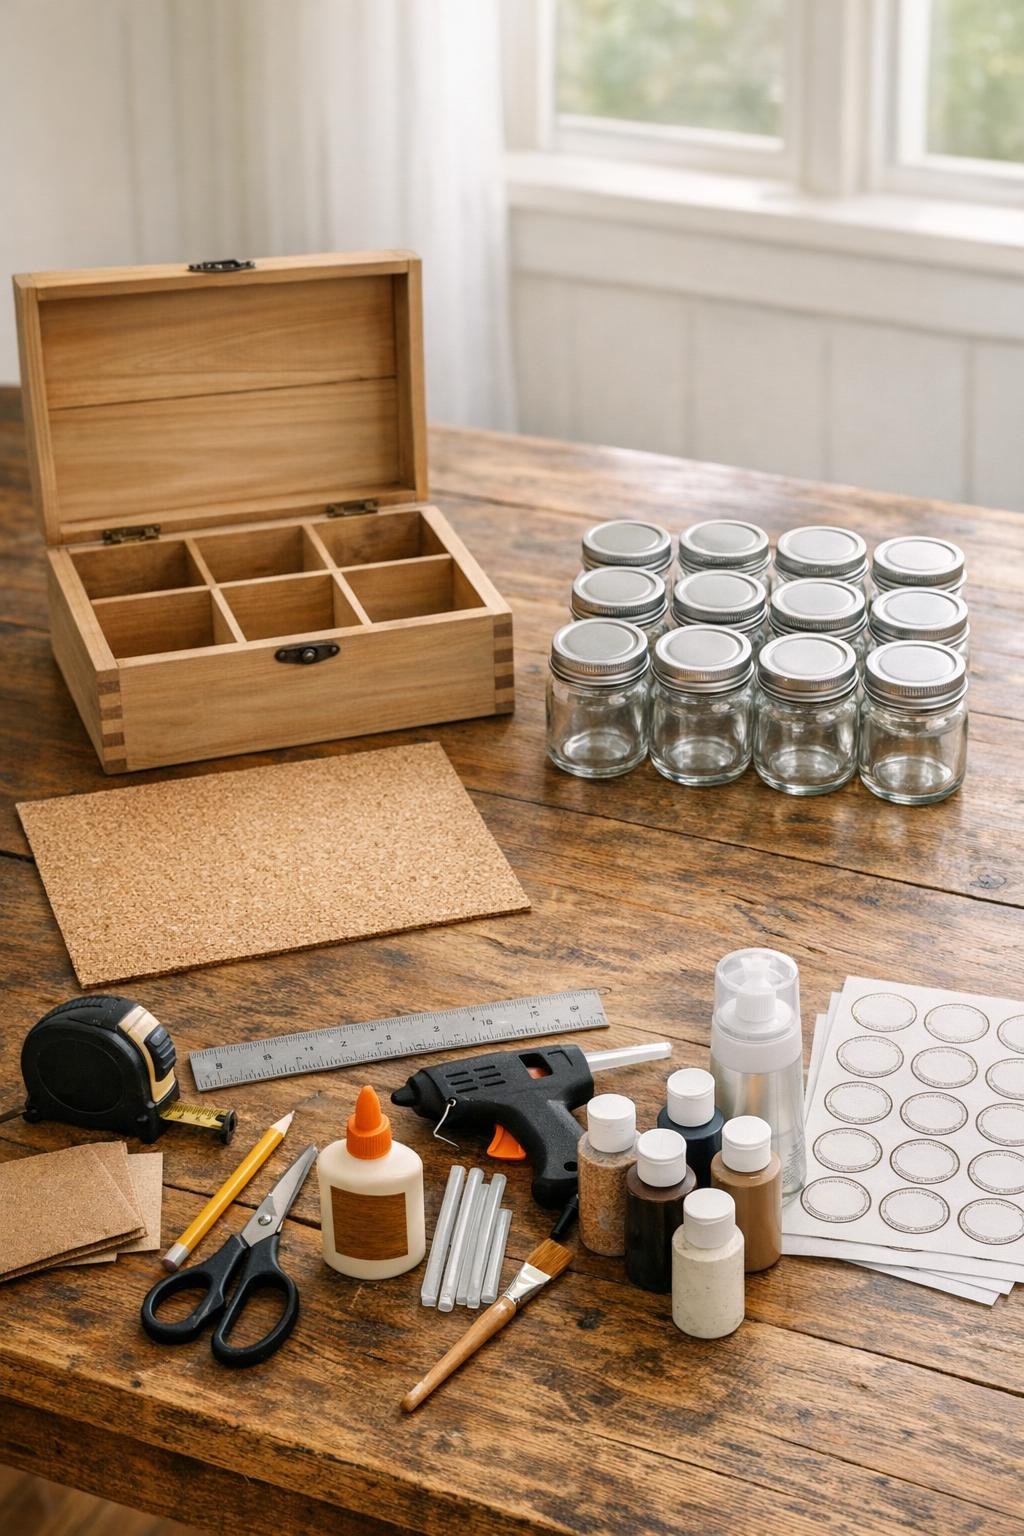
Materials
Instructions
1. Empty the tea box completely and check that your baby food jars fit inside in neat rows; a 3-by-4 layout usually gives the nicest, fullest use of space.
2. Lightly sand the inside edges, top rim, and outer surface of the wooden box so it feels smooth and ready for a clean finish.
3. Paint or stain the outside of the tea box if you’d like a more finished look, then let it dry fully before moving on; I like a warm natural wood tone or a soft creamy paint for a classic kitchen feel.
4. Measure the inside bottom of the tea box and cut a piece of cork liner to fit snugly from edge to edge.
5. Spread a thin, even coat of wood glue across the bottom of the box, press the cork in place, and smooth it flat so there are no bubbles or lifted corners.
6. Let the glue set for at least 30 minutes, then test the jars inside again to be sure they sit evenly and do not wobble.
7. If you want the jars held firmly in a drawer, add a pea-sized dot of hot glue beneath each jar position, then press the empty jars onto the cork in tidy rows and let the glue cool completely.
8. Remove the jar lids, wash and dry the jars thoroughly, and fill each one with a different spice, leaving about 1/2 inch of space at the top so the lids close cleanly.
9. Label the lids or the fronts of the jars clearly so you can identify each spice at a glance when the box is tucked into a kitchen drawer.
10. Brush a thin coat of clear matte sealer or finishing wax onto the outside of the box for a polished surface, keeping the finish off the cork and inside rim where the jars sit.
11. Set all the labeled jars back into the box in even rows, grouping baking spices together and savory spices together if that suits the way you cook.
12. Slide the finished tea-box organizer into a shallow kitchen drawer or set it on a shelf, and give it one final check to make sure every jar sits secure and easy to reach.
Variations & Tips
Use what you have: If you already have a tea box with dividers, keep them in place if the jars fit neatly between them; it saves time and can help keep each row straight.
For a non-slip finish: Cork does a lovely job of softening the bottom and reducing sliding, but adding those tiny dots of hot glue under each jar makes the whole organizer much steadier in a busy drawer.
Make it prettier: A painted rim, a darker stain, or even a simple wax finish can turn this from a plain organizer into something that looks right at home in a well-loved kitchen.
Choose practical spices: I’d fill the front rows with the seasonings you reach for most often, like garlic powder, cinnamon, paprika, black pepper, oregano, and chili powder, and tuck the occasional-use ones toward the back.
Try lid labels instead: If your drawer is deep enough that you’ll be looking down from above, labels on the lids are the easiest to read and make this organizer especially handy during weeknight cooking.
Keep it clean: Wipe the box with a barely damp cloth and remove jars now and then to shake out any stray spice dust from the cork lining.