
This little living room shelf is one of my favorite kinds of DIY: quick to build, useful right away, and polished enough to look like a boutique find. The idea is wonderfully simple—mount two black metal L-brackets, wrap them in natural jute twine for warmth and texture, then slide a narrow wooden cutting board on top to create a compact floating plant shelf.
I love projects like this because they soften practical hardware with a more organic finish, which is especially nice in a city living room where every bit of warmth helps. If you want a small shelf for a trailing pothos, a candle, or a tiny stack of books without hauling out a full woodworking setup, this is an easy afternoon project with a very satisfying payoff.
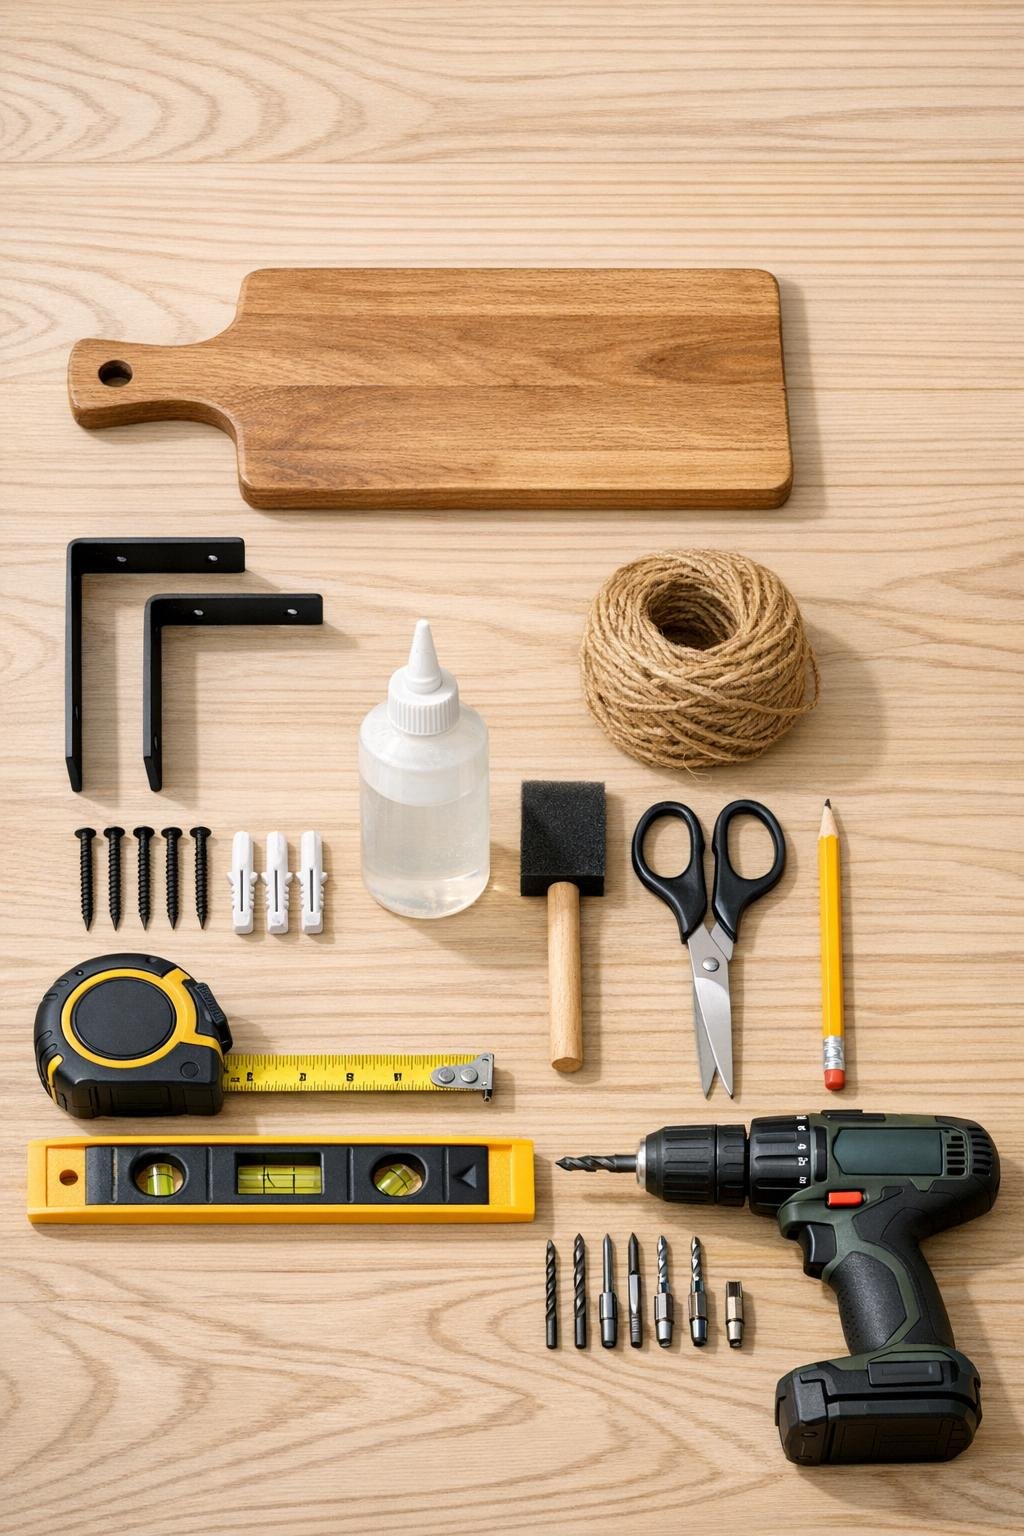
Materials
1 narrow wooden cutting board, 18 inches long x 6 inches wide x 3/4 inch thick
Instructions
1. Decide where the shelf will go and mark a level line for the top of the brackets, keeping the placement at least 8 inches wide so the cutting board sits fully supported.
2. Hold the two L-brackets against the wall with the horizontal arms facing up, space them 10 to 12 inches apart, and mark all screw holes; if you can catch one stud, even better.
3. Drill pilot holes or insert wall anchors at the marked spots, then screw the brackets firmly into place and check once more with the level before tightening fully.
4. Cut a long length of jute twine and brush a thin coat of craft glue onto one bracket arm, then begin wrapping the twine snugly around the metal, pushing each wrap tightly against the last so no black metal peeks through on the wrapped sections.
5. Continue wrapping both the vertical and horizontal visible parts of the first bracket, trimming and gluing the end neatly on the underside; repeat on the second bracket so the coverage looks full and even.
6. Let the glue set for 15 to 20 minutes so the twine does not shift, then wipe the cutting board clean and lightly sand any rough edges if needed for a smoother finished shelf.
7. Slide the narrow wooden cutting board onto the two bracket arms, centering it so the overhang looks even on both sides and the handle end faces the direction you prefer.
8. If you want the shelf more secure, drive one short screw up through the underside of each bracket into the bottom of the cutting board, or add felt pads between bracket and board for a no-slip fit without extra holes.
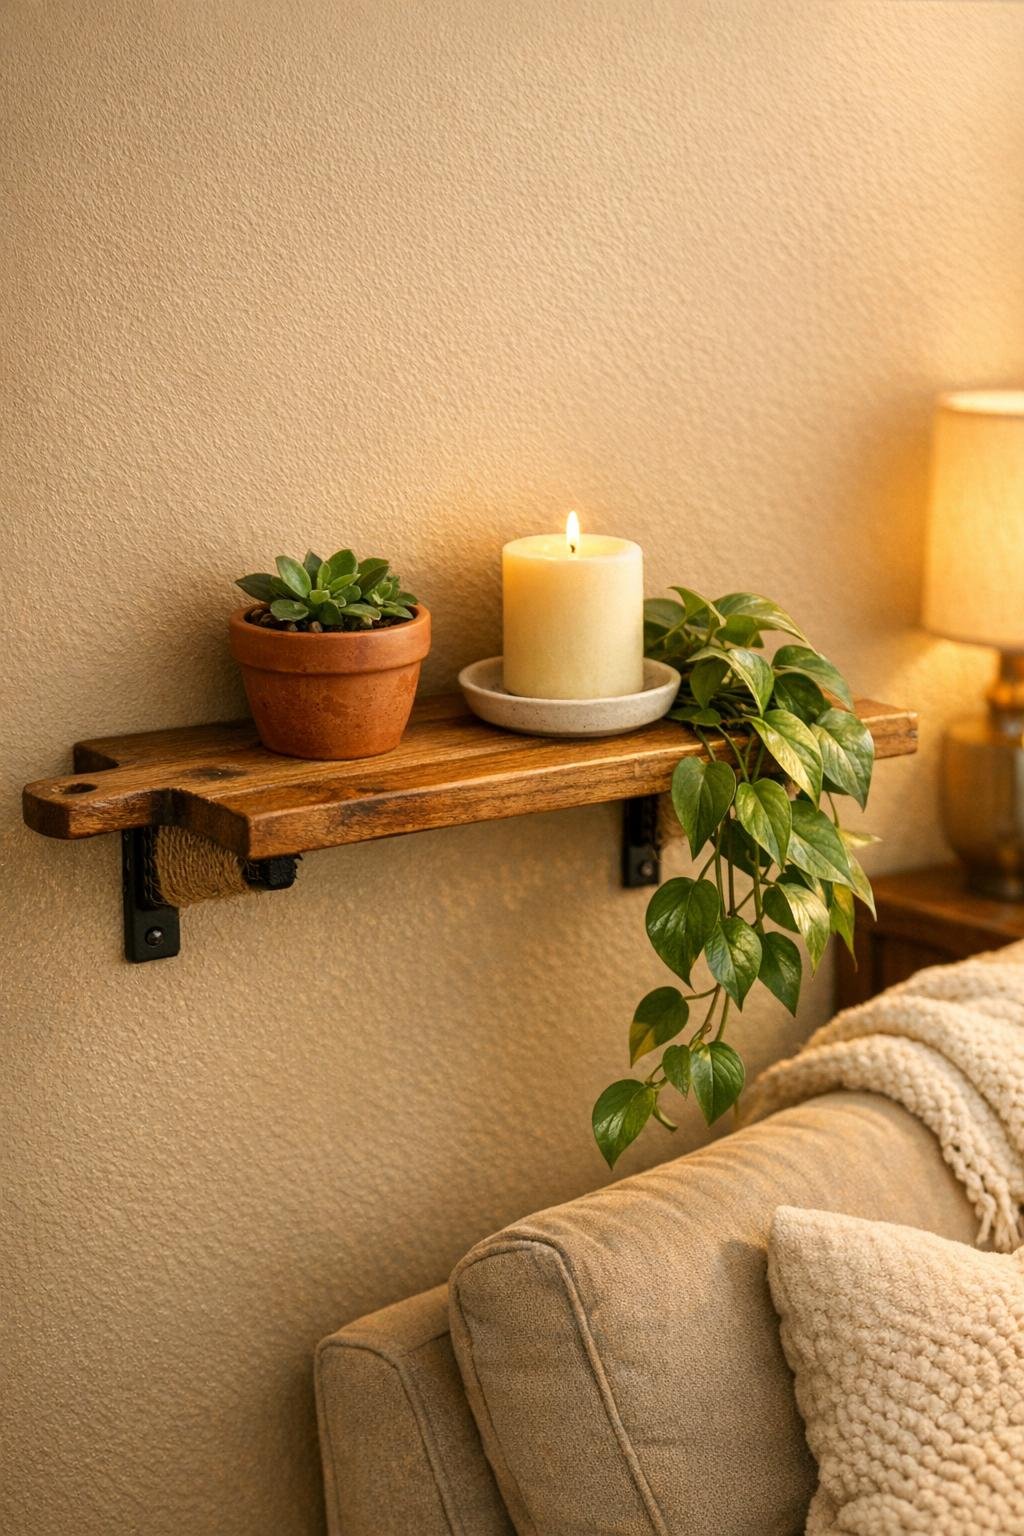
9. Style the shelf with two or three small plants, keeping the heaviest pot near a bracket, and add one finishing touch like a tiny candle or framed mini print so it feels intentional rather than crowded.
Variations & Tips
For a fuller shelf display: Use an 20-inch cutting board instead of an 18-inch one if your wall space allows it; that extra length makes room for a trailing plant, a second small pot, and one decorative accent without the shelf looking skimpy.
For a richer wood finish: Rub the cutting board with food-safe mineral oil or a clear furniture wax before mounting it. I do this often in my kitchen, and it works here too—it deepens the grain and makes an inexpensive board look much more substantial.
For cleaner twine wrapping: Work in 6- to 8-foot lengths of twine instead of one giant piece. It is much easier to keep the rows tight and straight, and you will get a tidier, more tailored finish.
For heavier planters: Keep the decor lightweight unless the shelf is anchored into studs or mounted with heavy-duty wall anchors. Small terracotta pots, nursery pots slipped into baskets, or faux plants are ideal for this size shelf.
For a more finished look: Wrap the bracket arms all the way to the wall-facing corners and glue the ends underneath where they do not show. Those hidden finishing details are a bit like proper garnish on a plated dish—they are small, but they make the whole project feel complete.
For a different style: Swap natural jute for black rope, white cotton cord, or even thin leather lacing. The structure stays the same, but the mood can shift rustic, coastal, or more modern depending on what suits your living room.