
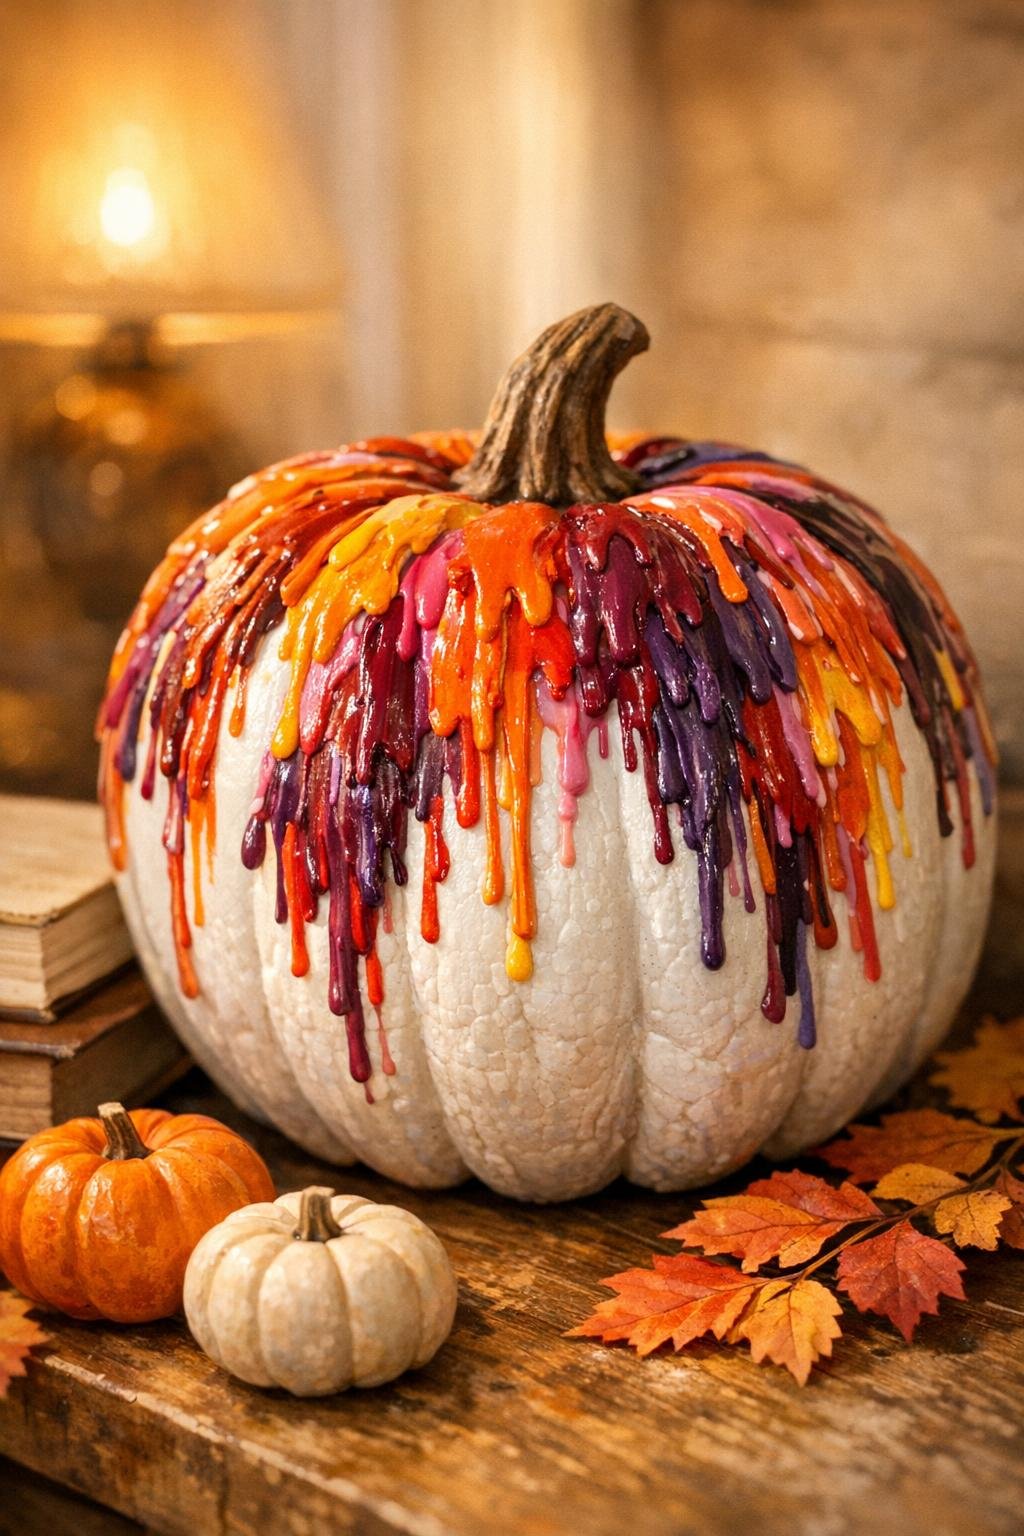
Broken crayons are one of those supplies I can never quite justify tossing, and this little project is exactly why. By melting them over inexpensive foam pumpkins, you get those rich, painterly drips that look playful, colorful, and surprisingly polished once they set. It is a fast craft with a big visual payoff, and because the pumpkin already has the shape built in, most of the work is simply arranging color and letting heat do its thing.
I especially like this for anyone who wants Halloween or fall decor that feels bright instead of spooky. If you can peel paper, place crayons, and handle a heat tool carefully, you can make this. The finished pumpkins look great on an entry table, bookshelf, or covered porch, and they are also a smart way to use up all those broken bits from the crayon box instead of buying specialty craft supplies.
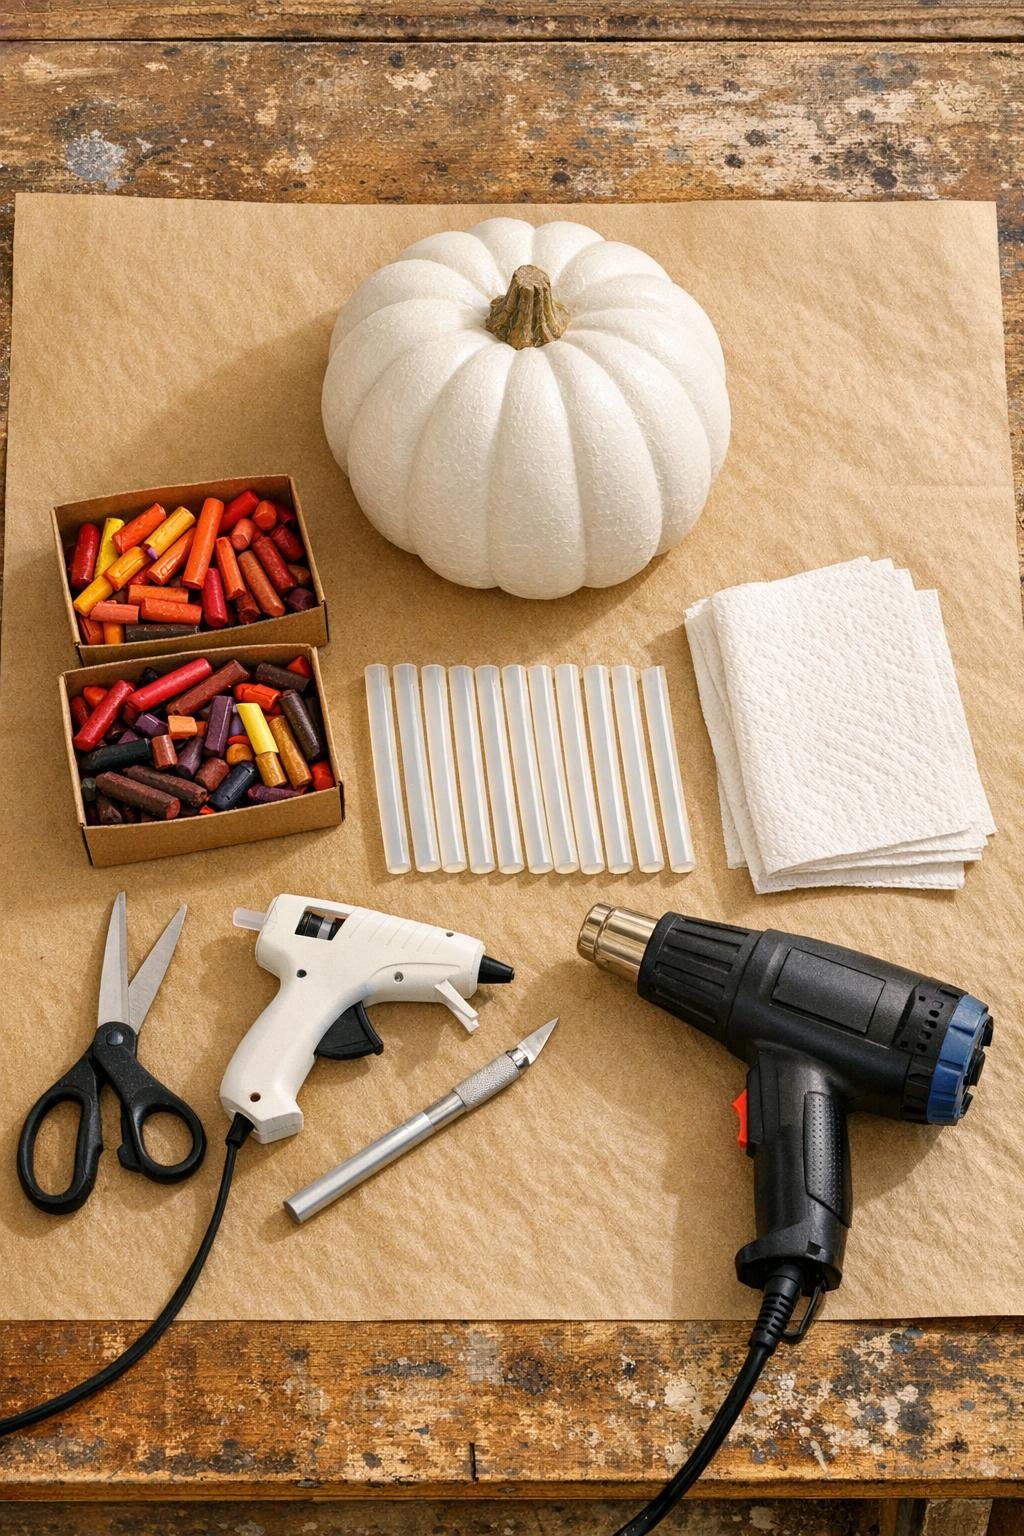
Materials
Instructions
1. Cover your work surface with the kraft paper and set the foam pumpkin in the center so melted wax can drip freely without sticking to the table.
2. Peel all paper from the crayons, then sort them into a color order you like; I usually blend oranges and reds first, then tuck in yellow and a few deeper shades for contrast.
3. Trim any extra-long crayon pieces with scissors or a craft knife so most pieces are 1 to 2 inches long, which helps them line the pumpkin evenly.
4. Place a ring of hot glue around the top shoulder of the pumpkin, just below the stem, and press the crayon pieces into the glue with the points or broken ends facing downward.
5. Fill the ring generously so the crayons sit close together with very little white space; this fuller coverage is what gives you dramatic drips instead of a sparse striped look.
6. Plug in the heat gun and set it to a low setting if possible, then hold it 4 to 6 inches from the crayons and begin heating one small section at a time.
7. Rotate the pumpkin slowly as the wax softens so the drips travel down all sides; keep the heat moving to avoid gouging the foam or blasting one area too hard.
8. Continue melting until the wax runs about halfway to three-quarters of the way down the pumpkin, layering colors over each other for a fuller, more painterly finish.
9. If you see thin spots near the top, glue in a few extra crayon pieces between the first layer and melt again to build denser coverage.
10. Aim the heat gun briefly at any stiff or awkward drips to soften and smooth them, but stop as soon as the flow looks natural and balanced.
11. Let the pumpkin cool completely for 20 to 30 minutes until the wax is firm and no longer tacky to the touch.
12. Wipe away any loose crayon crumbs, then tie a short piece of satin ribbon around the stem if you want a simple finishing touch that makes it look styled rather than straight from the craft table.
13. For a little extra durability, mist on a very light coat of clear matte sealer from a distance and let it dry fully before displaying.
Variations & Tips
Color palette: For a more classic fall look, stay with orange, rust, golden yellow, and deep red. If you want something more playful, add teal, magenta, and purple in small amounts so the pumpkin still feels seasonal.
Pumpkin size: A medium pumpkin gives the best balance of easy handling and dramatic drips. Tiny pumpkins can work, but the wax reaches the bottom too quickly and you lose that long cascading effect.
Crayon placement: Pack the crayons tightly around the top. In cooking, I always say good coverage matters for even results, and the same rule applies here: a full ring melts more beautifully than widely spaced pieces.
Heat control: Keep the heat gun moving and use patience instead of high blast. Foam can pit if overheated, so several short passes are safer than one aggressive pass.
Less mess: If you expect heavy dripping, set the pumpkin on an upside-down disposable bowl under the kraft paper so the wax can fall away from the base instead of pooling around it.
Stem finish: A ribbon is the easiest upgrade, but you can also brush the stem with a little gold craft paint after the wax cools for a dressier centerpiece look.
Display idea: These look best grouped in odd numbers. I like pairing one larger crayon pumpkin with two smaller plain pumpkins because it gives the bright wax drips room to be the star.