
This is one of those delightfully low-effort projects that looks far fussier than it really is. You start with a plain foam ball and a few bunches of dollar store poinsettias, and in about 30 minutes you can turn them into a full, festive hanging decoration that looks much more expensive than the supply list suggests.
I especially love this one for busy weeks because it gives you a big holiday payoff without dragging out every craft bin I own. The one trick that makes it work is simple but important: don’t pull the flower heads off clean. Snip each bloom with about a 1-inch stem stub still attached, dip that stub in hot glue, and push it into the foam. It holds so much better than trying to glue flat flower heads onto the surface.
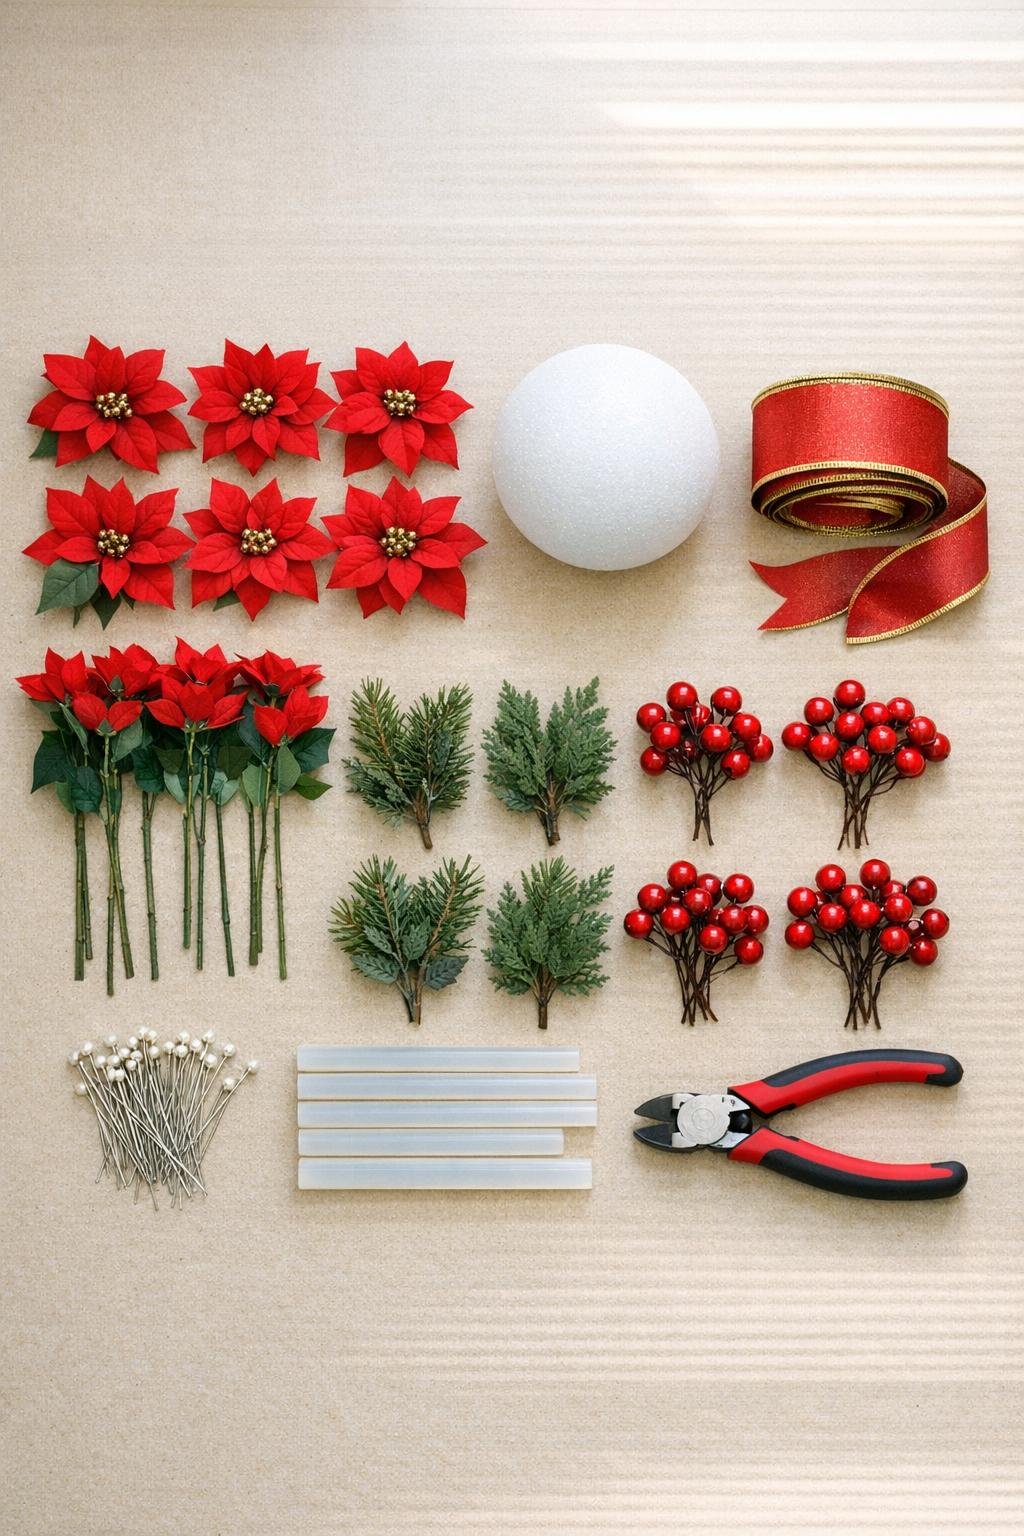
Materials
Instructions
1. Snip the poinsettia blooms off the stems, leaving about a 1-inch stem stub on each flower head. That little stub is the anchor, and it locks into the foam far better than a flat flower head ever will.
2. Cut a 30- to 36-inch length of ribbon, fold it into a hanging loop, and pin both raw ends deep into the top of the foam ball. Add hot glue at the pinned ends and press them in securely, because attaching the ribbon after the flowers are on will crush your work.
3. If you want a bow, tie one now from an extra 18 to 24 inches of ribbon and pin it right at the base of the hanging loop. Keep it compact so it frames the top without taking over the whole ball.
4. Add a dot of hot glue to the stem stub of the first poinsettia and push it straight into the foam near the top. Start a tight ring around the hanging loop so the flowers hide the mechanics right away.
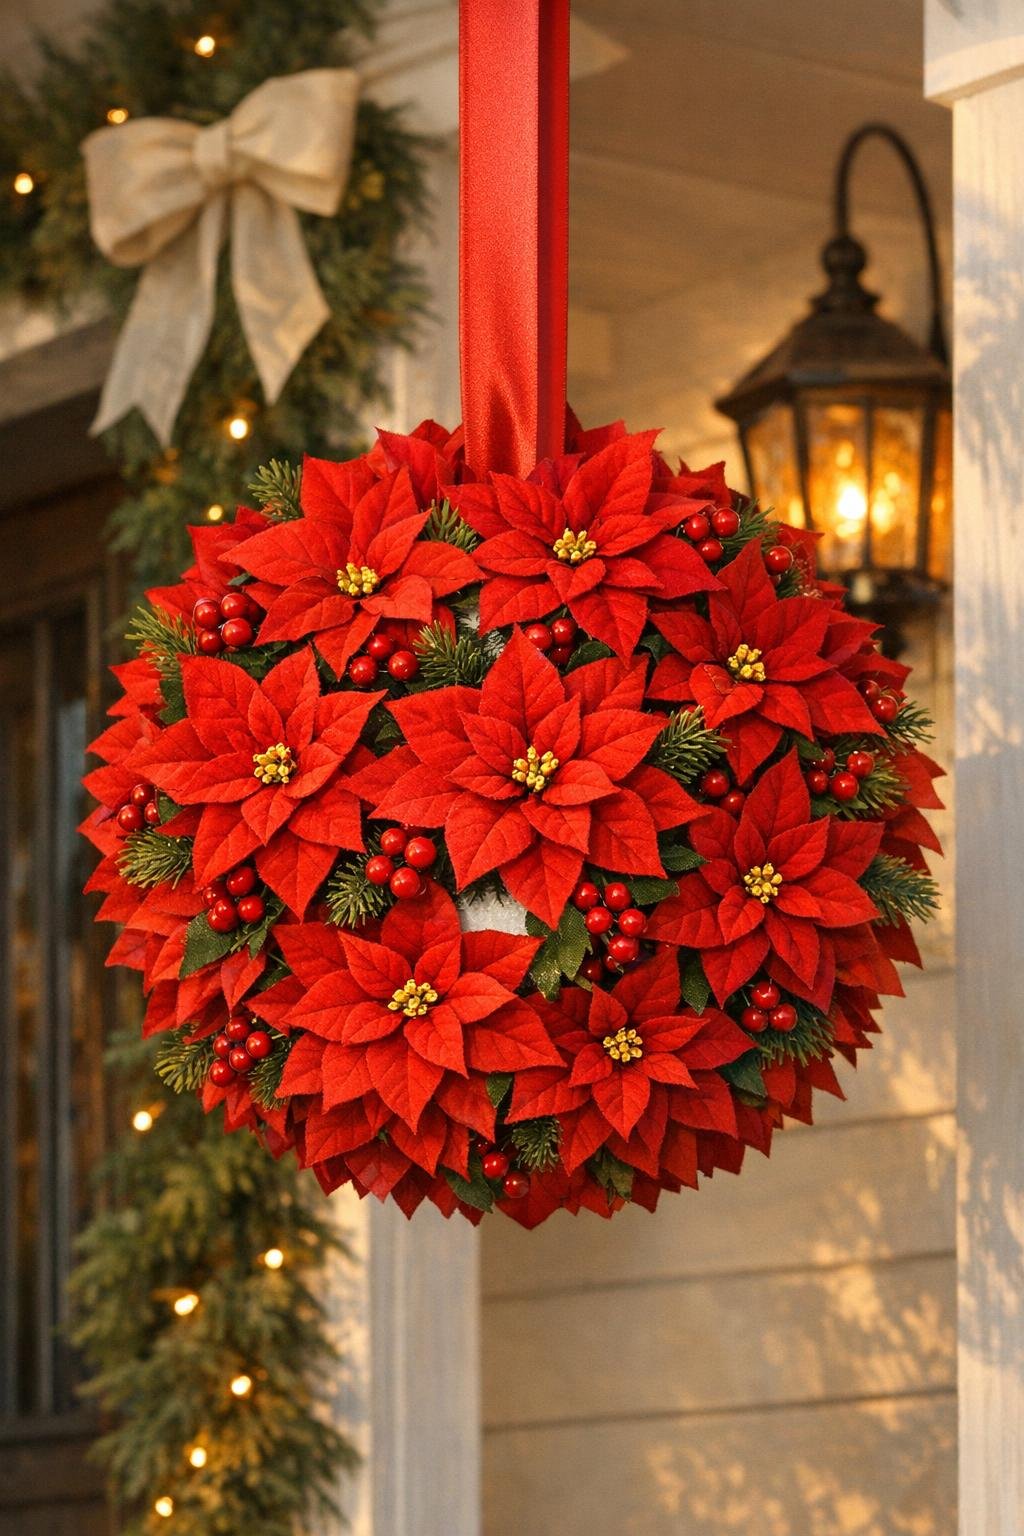
5. Keep adding flowers in close rings, working your way around the ball and then downward. Crowd them in on purpose; gaps are what make this kind of project look cheap, and packing the blooms tight is what gives it that lush store-display look.
6. Tilt the ball as you work and fill every visible area, tucking the flower heads so they overlap slightly. If a stem feels loose, pull it out, add a little more hot glue to the stub, and push it back into a fresh spot.
7. Turn the ball over and finish the bottom with the last poinsettias, keeping the spacing just as full as the top and sides. I usually stand back at this point and check it from arm’s length, because thin spots show up fast once you stop staring at one section.
8. Cut faux greenery into short pieces and tuck them into any shallow areas with a dab of hot glue on the stem ends. Add small berry clusters the same way, spacing them lightly so they brighten the whole ball without covering the poinsettias.
9. Fluff the petals, straighten the ribbon loop, and adjust the bow if you added one. Let the glue cool for a few minutes before hanging.
Variations & Tips
Color mix: Use mostly red poinsettias with 6 to 10 white or glitter-edged blooms mixed in if you want a little contrast without losing the classic holiday look.
Budget reality: Two or three dollar store bunches, usually about $5 to $8 total, is enough to cover a 6-inch ball nicely. That’s one reason I love this project so much—it genuinely is one of those rare quick crafts that stays inexpensive and still looks full.
Fastest assembly tip: Prep all the flower heads first before you touch the foam ball. Once everything is snipped and sorted, the actual assembly moves very quickly.
How to hide gaps: If you can still see foam, don’t leave it and hope no one notices. Tuck in greenery scraps and berry picks wherever coverage looks thin; those little fillers make the whole piece look finished.
Where to hang it: This looks especially pretty in a doorway, from a porch light, or tied to a stair rail. I like places where it can hang freely and show off the round shape from all sides.
Outdoor note: Artificial flowers do well on a covered porch, but direct rain and strong sun will wear them out faster and can fade the color by January. If you’re decorating outside, keep it somewhat protected.
Size option: For a larger statement piece, move up to an 8-inch foam ball and buy an extra bunch of poinsettias. The method stays exactly the same; you just need more blooms to keep that dense, generous coverage.