
There’s something mighty satisfying about turning a plain old soup can into something that glows like it came from a little country gift shop. For this rustic fall luminary set, I use cleaned tin cans, a simple nail and hammer, and a handful of easy finishing touches to make a group of lanterns that cast the prettiest dotted light across a porch, mantel, or supper table. It’s one of those projects that looks far fancier than the work involved, which has always been my favorite kind.
I especially love this for folks who enjoy decorating for autumn without spending a fortune. Around here, we’ve always saved what we could, reused what still had life in it, and dressed things up with a bit of paint, twine, and candlelight. If you can hold a hammer steady and don’t mind a little tap-tap-tapping, you can make a whole glowing set in an afternoon.
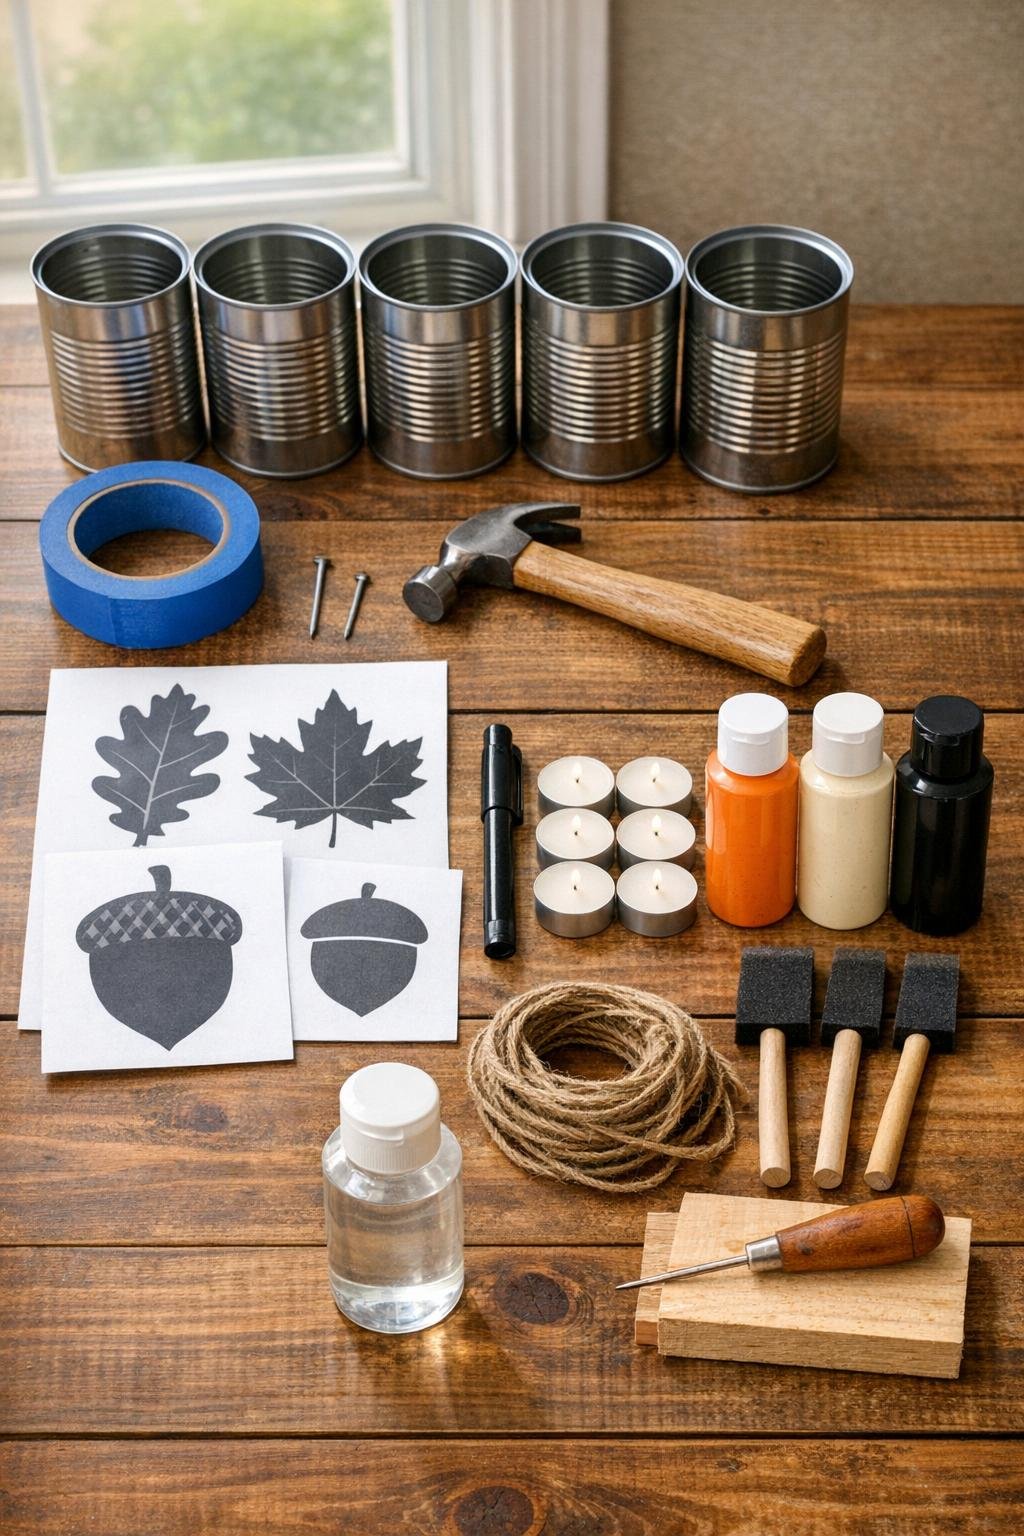
Materials
Instructions
1. Wash the soup cans well, remove every bit of glue, and smooth the rim if needed so the cans are safe to handle. Fill each can with water and freeze them solid so the sides stay firm while you punch the design.
2. Draw or trace simple fall shapes like maple leaves, acorns, and small pumpkins onto printer paper, then cut them out. Keep the designs bold and not too fussy, since larger shapes show up best once the candle is glowing inside.
3. Tape one paper template onto each frozen can and use an awl or push pin to mark dots around the outline, spacing them about 1/4 inch apart. Add a few extra scattered dots around the main shape so the finished glow looks full and twinkly rather than sparse.
4. Set one can on the wood block and, following your dot marks, tap the small nail through the can with light, controlled hits. Turn the can as you go and keep the holes evenly spaced to create a clean pattern.
5. Switch to the larger nail for a few accent holes if you want brighter highlights in the center of the design or around the top edge. Repeat the punching on all 5 cans, using a mix of leaf, acorn, and pumpkin motifs for a coordinated set.
6. Let the ice thaw enough to slide out, then dry the cans thoroughly inside and out. Lightly sand any rough spots around the holes so the surface feels neat and finished.
7. Paint the outside of two cans matte black, two cans cream, and one can burnt orange, using thin coats so the punched pattern stays crisp. Leave a little silver showing at the inside rim if you like, because that bit of metal catches candlelight beautifully.
8. When the paint is dry, brush or spray on a clear matte sealer and let it cure completely. This gives the cans a more polished look and helps them hold up through the whole fall season.
9. Wrap twine around the upper third of each can three or four times and knot it snugly, then tuck in a small ribbon bow or a short cinnamon stick if you want a cozier harvest touch. Keep the embellishments simple so the glowing punched design remains the star.
10. Place one LED tea light in each can and group the luminaries together in a cluster of three and two for the nicest display. Once lit, the tiny punched holes throw warm speckles of light that make the whole set look richer and more detailed than you’d expect from a stack of soup cans.

Variations & Tips
For a safer glow: I recommend LED tea lights instead of real candles, especially if you’re setting these near leaves, ribbon, or on a family table. You still get that lovely flicker without worrying over an open flame.
For easier punching: Don’t skip freezing the water inside the cans. That old trick keeps the metal from buckling, and it makes the whole project much less frustrating.
For a fuller pattern: If a design looks too plain, add extra dots around the main shape and a ring of holes near the top edge. In my experience, more light points make the luminary look far more dramatic once evening comes.
For a porch set: Make 7 or 9 cans instead of 5 and vary the heights by mixing standard soup cans with slightly taller vegetable cans. A grouped collection always looks more generous and finished than a lone lantern or two.
For a farmhouse finish: After the paint dries, lightly sand the raised areas and edges to let a bit of the silver metal peek through. That little bit of wear gives the cans a mellow, timeworn look I find especially charming in autumn.
For holiday crossover: The same method works beautifully with stars, pine trees, or snowflakes once fall is over. I’ve reused this idea more than once when I wanted simple seasonal décor without buying something new.