
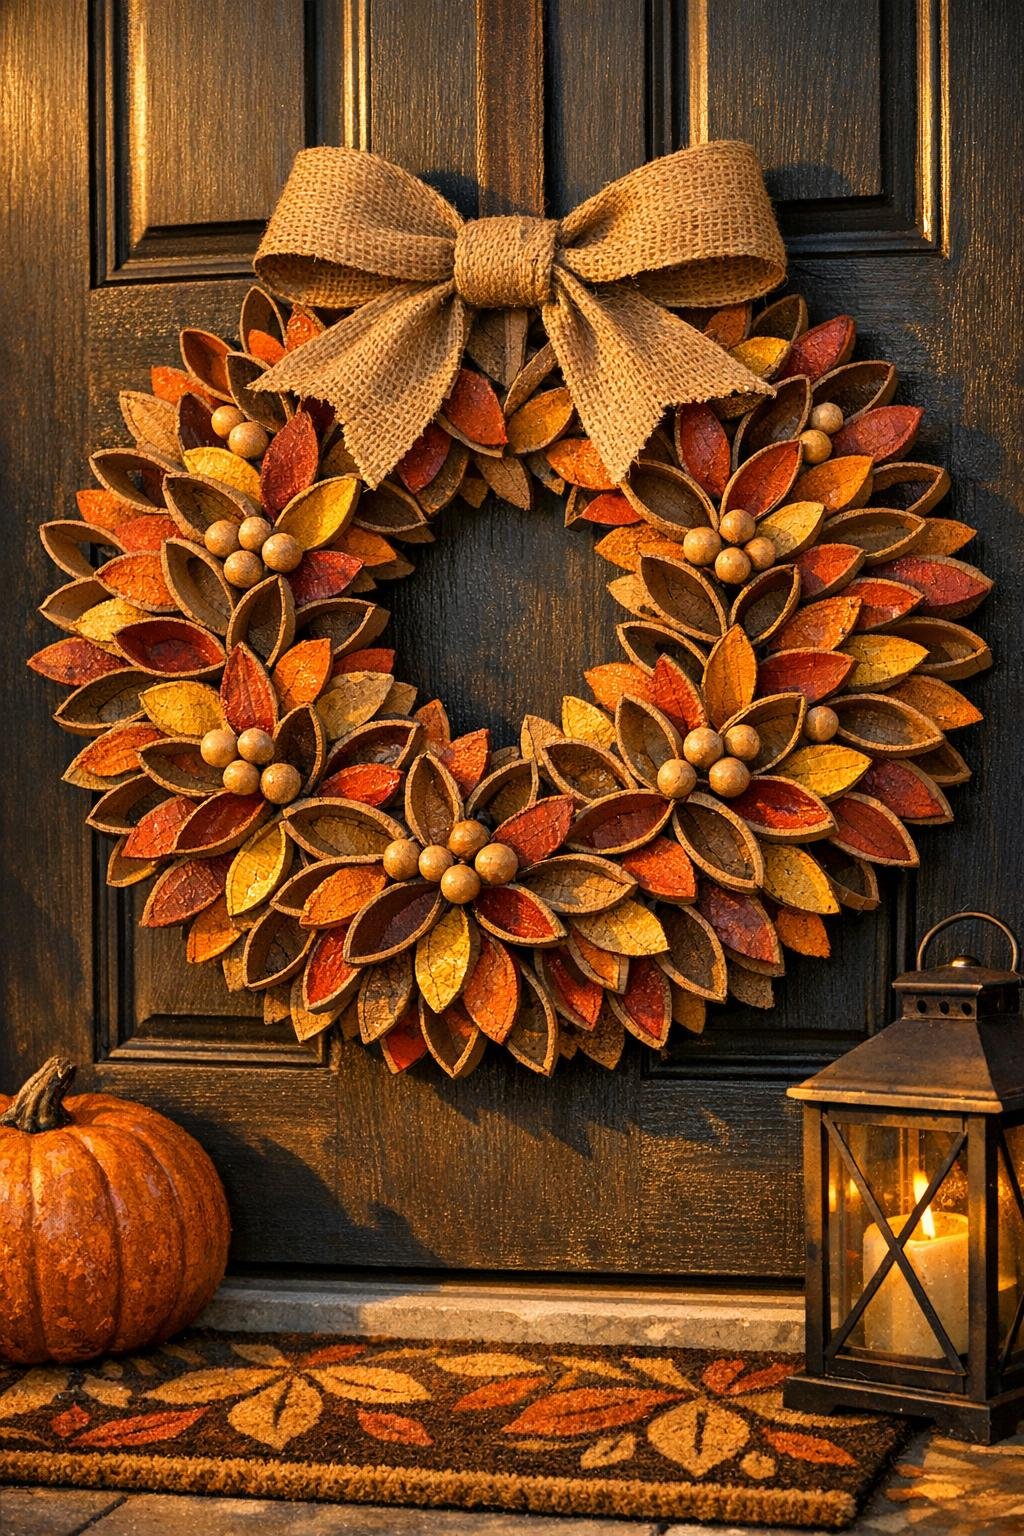
There is something so satisfying about turning the simplest household leftover into a wreath that looks far more special than the materials would suggest. For this harvest wreath, I slice plain brown paper towel rolls into rings, shape and layer them like petals, and build them into a full, flower-like design that feels warm, rustic, and perfect for fall decorating.
I love projects like this because they are budget-friendly, easy to do at the kitchen table, and forgiving enough for beginners. If you enjoy seasonal decorating but do not want to spend a fortune on supplies, this is the kind of craft that gives a big, beautiful payoff with very ordinary materials.
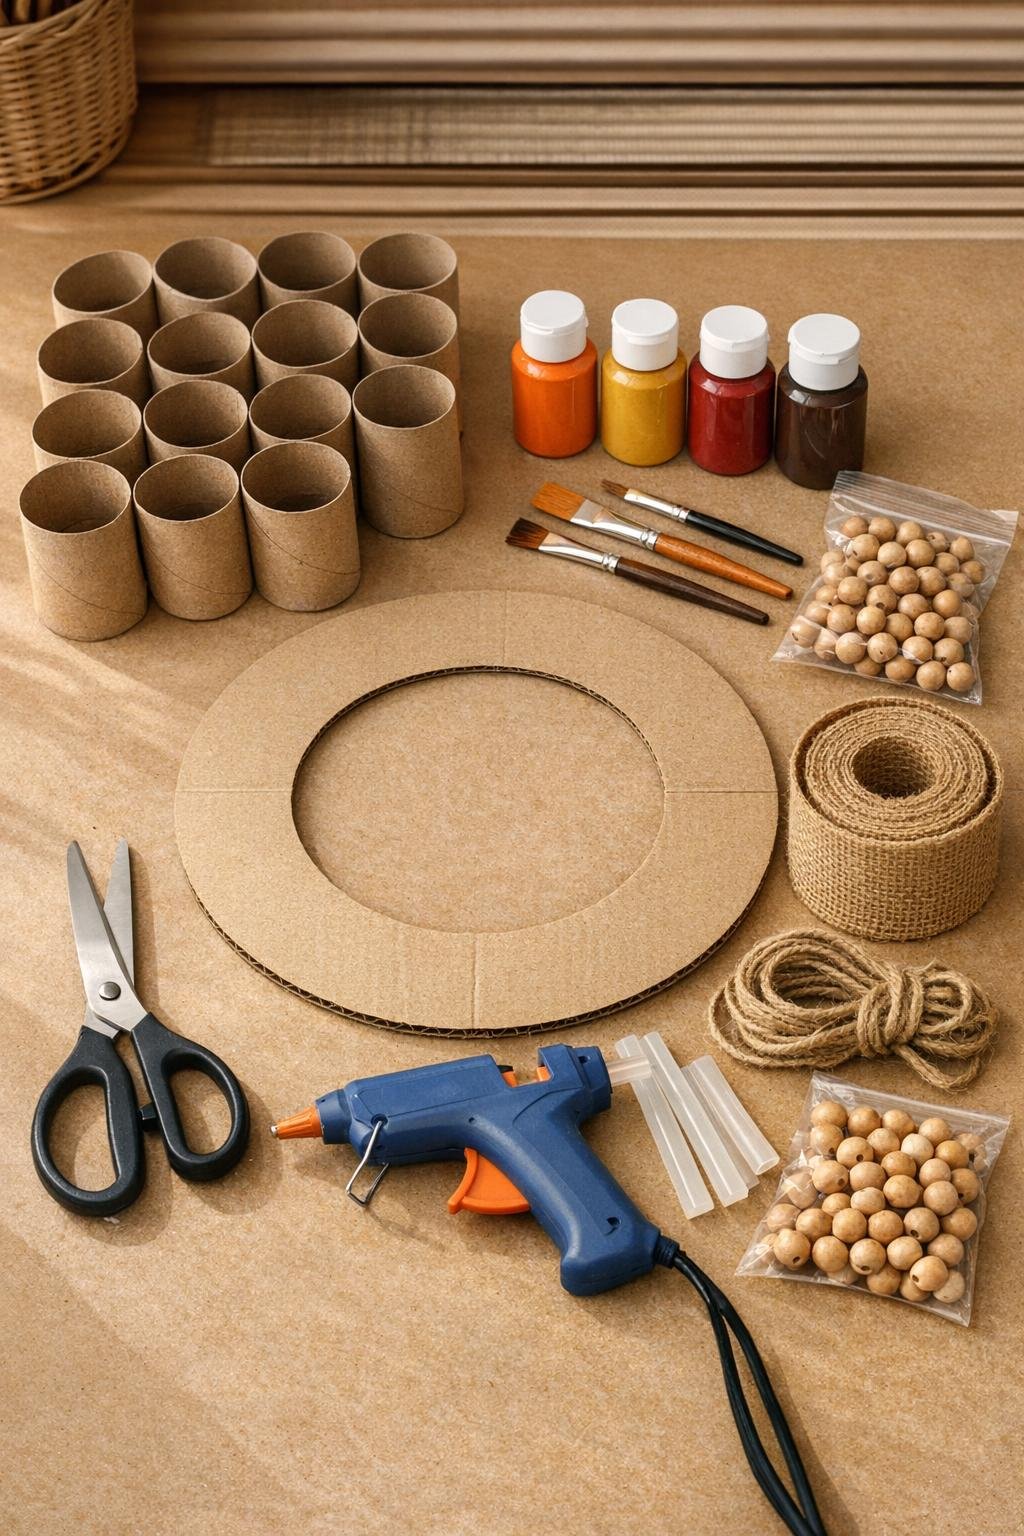
Materials
14 empty paper towel rolls, standard size, brown cardboard
Instructions
1. Cover your work surface with wax paper, then flatten each paper towel roll lightly with your hand so it is easier to slice evenly. Cut all the rolls into 1/2-inch rings, keeping the cuts as straight as you can.
2. Pinch each ring gently at two opposite sides to sharpen the oval into a petal shape. Set aside about 12 of the nicest rings to use as the inner flower layer and keep the rest for the fuller outer layers.
3. Paint roughly one-third of the rings orange, one-third mustard yellow, and one-third deep red, leaving a little brown cardboard still visible at the edges for a rustic harvest look. Paint both sides and let them dry completely.
4. Arrange 18 to 20 petals around the cardboard wreath base, overlapping them slightly so the base will be hidden. Glue each petal down at the bottom point and at one side where it touches the next petal.
5. Add a second layer of 18 to 20 petals between the first-layer petals, angling them slightly inward to create a fuller, flower-like wreath. Mix the colors as you go so the whole wreath looks balanced and rich.
6. Build a smaller inner flower by gluing the 12 reserved petals into a tight ring around the center opening, overlapping them generously. If you still see open spots, fill them with extra petals until the wreath looks dense and finished.
7. Dot brown paint lightly along a few petal edges and in the center areas to add depth, then glue wooden beads in small clusters near the middle for a polished, seed-like accent. Let all glue and paint dry for 15 to 20 minutes.
8. Tie a simple hanging loop from the jute twine and glue it securely to the back top of the wreath. Make a full burlap bow with two 6-inch loops on each side, glue it at the bottom or upper side of the wreath, and fluff it so it frames the petals without covering them.
Variations & Tips
Kid-friendly version: If you are crafting with kids, pre-cut the rings for them and let them help with pinching petals and painting. I always find that children love choosing where the colors go.
More harvest texture: Tuck in a few small faux leaves or short sprigs of raffia between the petal layers if you want an even fuller fall look. Keep the extras light so the cardboard petals still stay front and center.
For picky decorators: Not everybody loves bold fall colors, so you can make this in softer shades like cream, sage, and muted terracotta for a quieter farmhouse style. It keeps the same pretty petal effect with a gentler palette.
Stronger structure: If your wreath will hang on an exterior door that gets a lot of use, add a thin line of glue wherever petals overlap. That extra bit of glue helps the layers stay crisp and sturdy.
Easy storage tip: Store the wreath flat in a shallow box with tissue paper over the top so the petals do not get crushed. I slide seasonal wreaths under a guest bed, and it saves so much closet space.
Finish touch: A light coat of matte sealer can help protect the paint and keep the wreath looking fresh through the whole season. Make sure the paint is fully dry before spraying or brushing it on.