
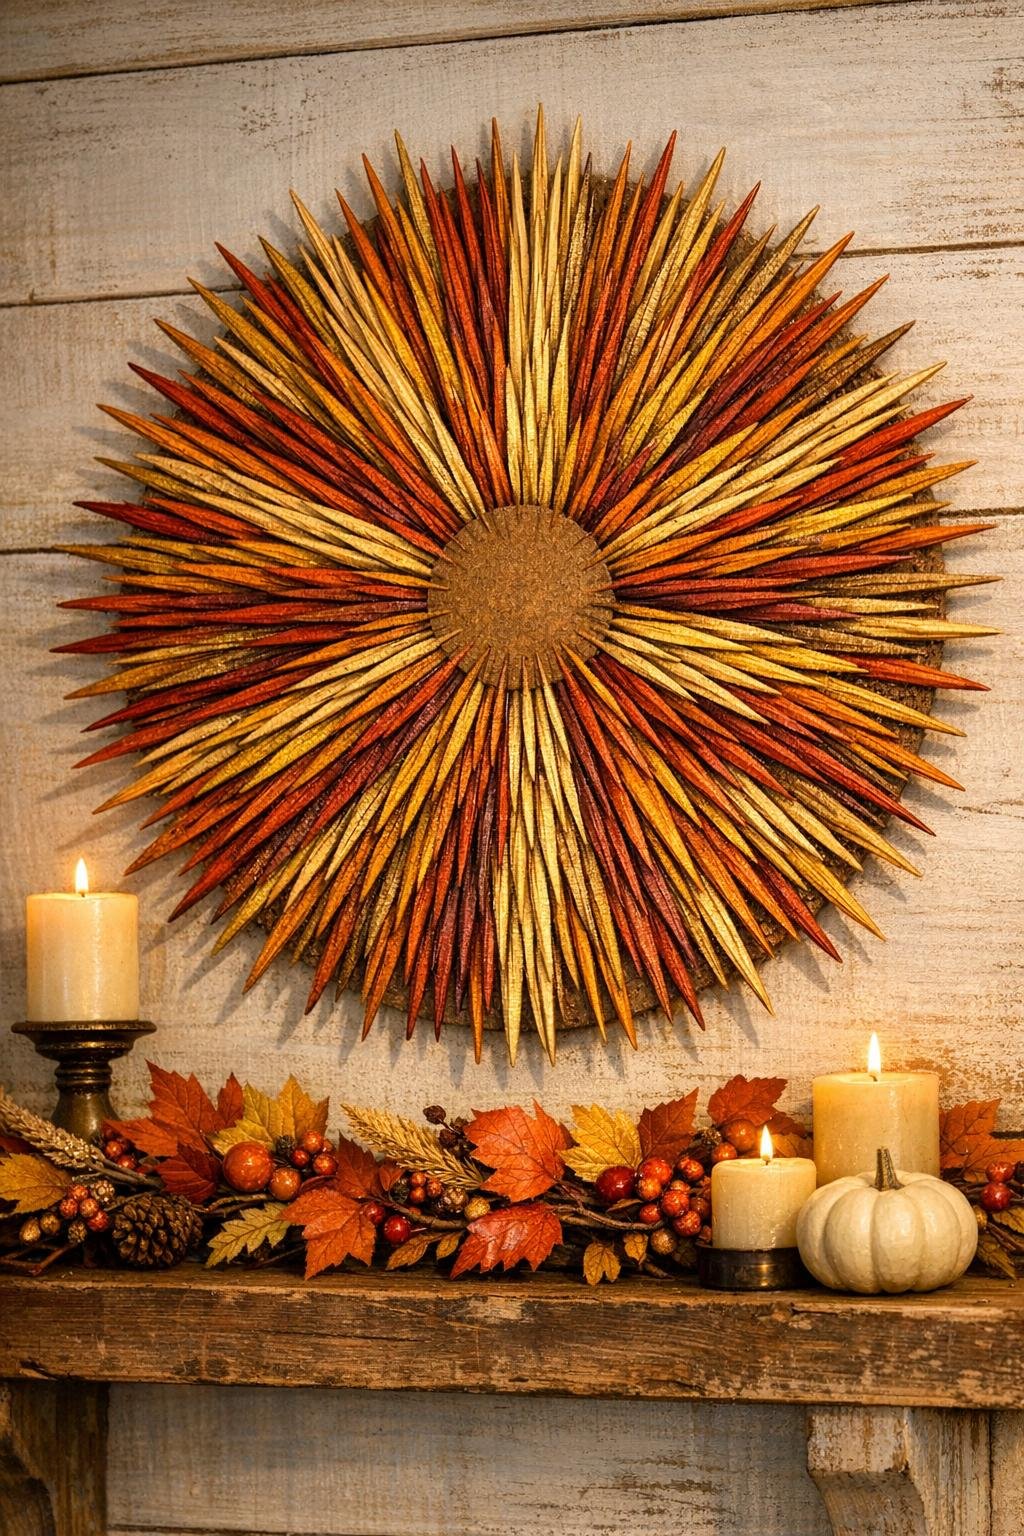
This giant harvest starburst looks like one of those boutique fall decor pieces you’d pay far too much for, but it’s really just toothpicks, cardboard, glue, and a little patience. I love projects like this because they take very ordinary materials and turn them into something warm and dramatic, and this one has that perfect sunburst shape that feels right at home from early September all the way through Thanksgiving.
If you can glue in rows and enjoy a relaxing afternoon craft, you can make this. I designed this version to be nice and full, with layered rays and a rich harvest finish, so it reads as intentional wall decor instead of a quick kid craft. It’s the kind of project I’d make while soup is simmering on the stove and the kitchen table is already covered in everyday life anyway.
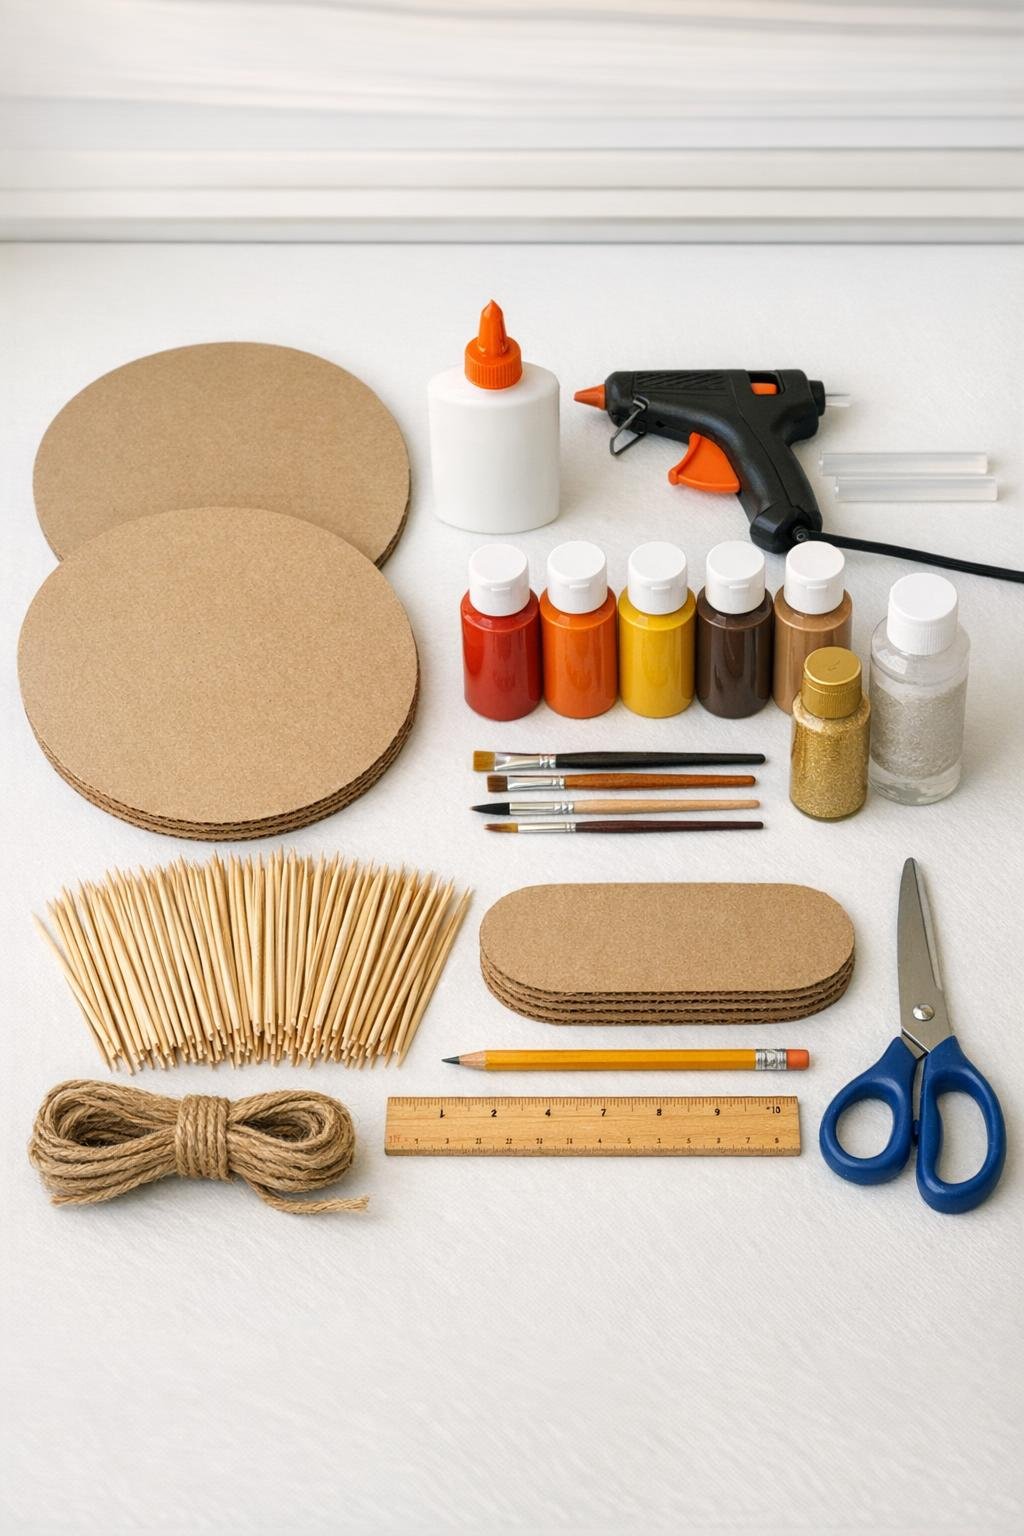
Materials
Instructions
1. Cover your work surface with parchment paper and place one 12-inch cardboard circle in front of you. Use a ruler to lightly mark a small center point and divide the circle into 16 evenly spaced sections like a pie.
2. Glue toothpicks onto the circle in radiating lines, starting at the outer edge and aiming the points inward so the rounded ends create the outside burst. Keep the rows tight and follow your guide marks so the rays stay even all the way around.
3. Fill the entire first cardboard circle with this first layer until no cardboard shows except a tiny center spot about 1 inch across. Let the glue set for 10 to 15 minutes so the base layer does not slide when you add more.
4. Add a second layer of toothpicks between the first rays, gluing them slightly raised and overlapping so the starburst looks fuller and more dimensional. Use about 140 to 160 toothpicks for this layer, concentrating the longest visual rays around the outer half.
5. Trim the second cardboard circle down to a center cap about 4 inches wide, then glue it over the middle to lock the inner toothpick ends in place and strengthen the piece. If you want a cleaner back, glue the felt circle over the reverse side now.
6. Hot glue a loop of jute twine to the back or attach a sawtooth hanger before painting, making sure it is centered and secure. This is much easier to do now than after the starburst is finished and sealed.
7. Paint the toothpick rays in sections using burnt orange, mustard yellow, and deep red, blending the colors loosely as you move around the circle. I like to keep the outer tips a little lighter and warmer so the whole piece has that glowing harvest look.
8. Dry-brush metallic gold lightly across the outer edges and a few raised rays so the texture catches the light without covering all the warm colors underneath. Add a fuller gold coat to the small center cap for a polished focal point.
9. Let the paint dry completely, then spray or brush on a thin coat of clear sealer to reduce shedding and help the finish last through the season. Allow it to dry flat according to the product directions.
10. Hang the finished starburst on a wall, over a mantel, or on a covered porch where the layered rays can really be seen. Fluff and straighten any rays that shifted, and touch up paint if needed.
Variations & Tips
Natural wood version: If you prefer a quieter look, skip the full paint treatment and just stain the center cap a warm walnut shade, then dry-brush a little gold on the tips. It still feels dressy, but the wood stays front and center.
Picky crafter shortcut: If gluing all 400 toothpicks sounds like a lot, make the first layer complete and reduce the second layer to every other section. You’ll still get a nice full starburst, just with a little less depth.
For a bigger statement: Use 14-inch cardboard circles and 500 to 550 toothpicks if you have a larger wall to fill. I’d keep the same color palette, just widen the painted bands so the scale still looks balanced.
Better durability: Hot glue sets faster, but I like using white craft glue for most of the rays and hot glue only where I need extra hold. That combination gives you time to adjust the spacing without sacrificing strength.
Family-friendly color ideas: Try cream, sage, and gold for a softer look, or go with rust and copper if you want something a little moodier. When I’m decorating around family spaces, I usually match whatever throw blankets and table linens are already out so everything feels pulled together.
Where to display it: This piece looks best where light can hit the raised toothpick layers from the side. A mantel, entry wall, or covered porch is ideal, because the dimension is what makes this project look so much fancier than the materials suggest.