
I’m always looking for little ways to make the garden season feel less chaotic, especially once seed packets start multiplying in my mudroom, potting bench drawer, and somehow every tote bag I own. This project turns a red metal coffee can and two simple shed staples into a sturdy fall seed envelope organizer that keeps everything upright, visible, and easy to sort when I’m planning next year’s beds. It has that satisfying “why didn’t I do this sooner?” kind of payoff.
If you like practical DIYs that don’t require a whole afternoon, this one is for you. The finished organizer is roomy enough for a generous stack of seed envelopes, tough enough for a shed or garage, and polished enough to leave right on a potting bench. I designed it to be simple but still look finished, which is honestly my favorite kind of project when I’m squeezing in garden chores after work.
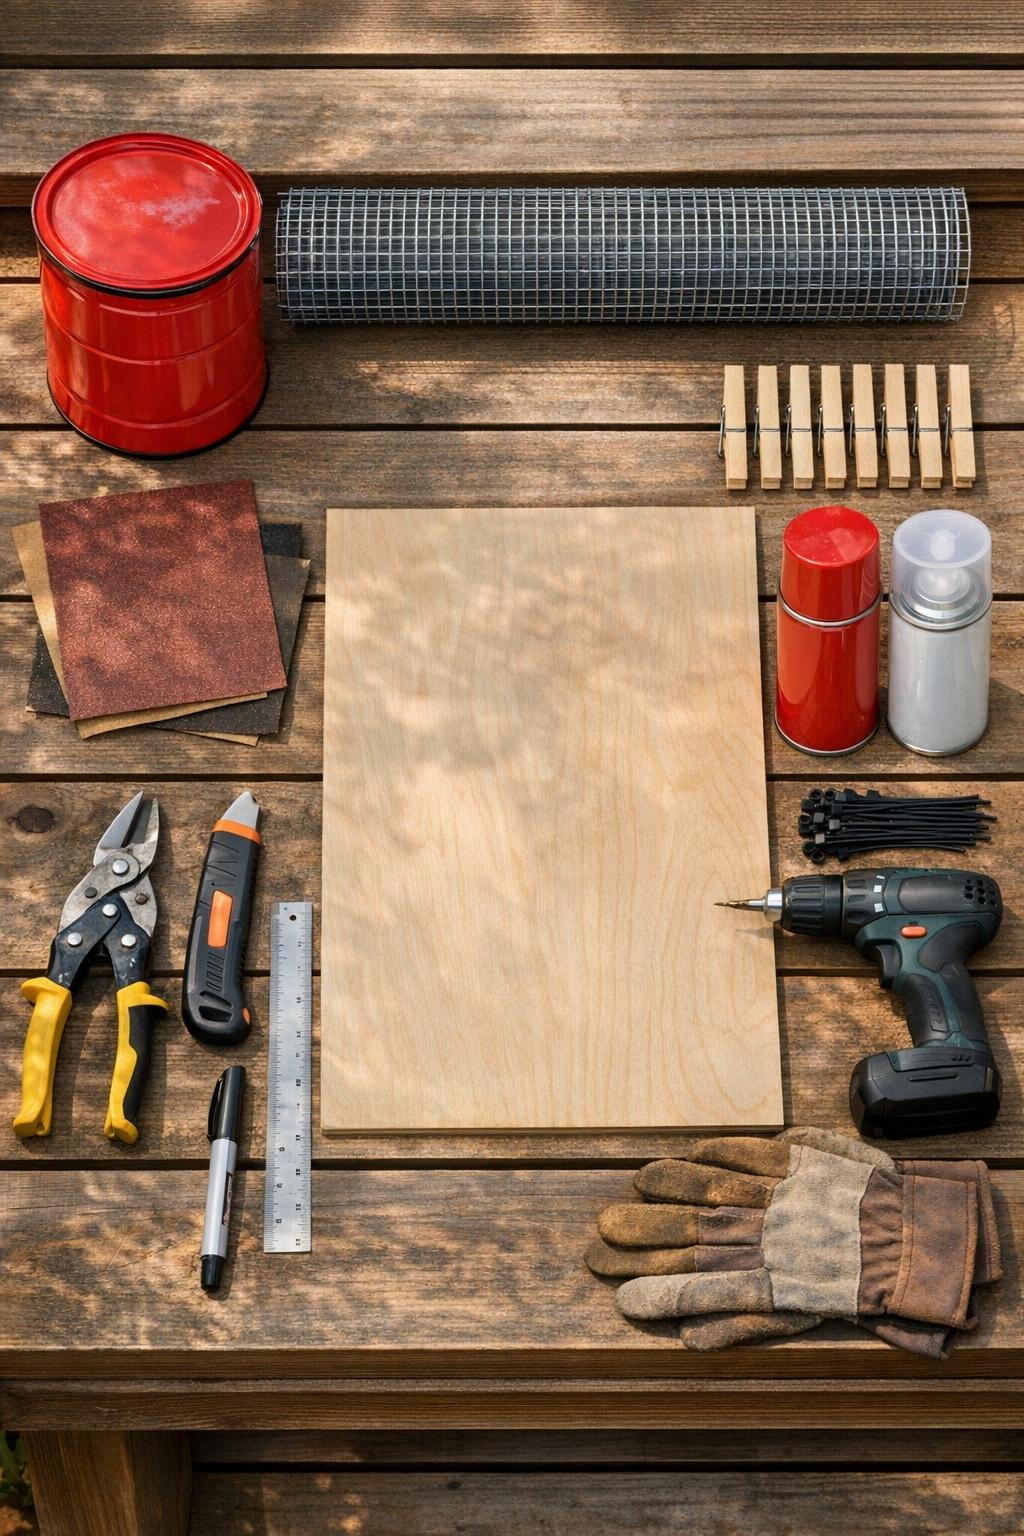
Materials
Instructions
1. Wash and dry the metal coffee can, then use tin snips to cut away the bottom cleanly so you’re left with an open-ended cylinder. Smooth the cut edge with 120-grit sandpaper, then 220-grit until it feels safe to handle.
2. Cut the plywood into a 10-inch x 14-inch base if needed, then lightly sand all edges and corners. This gives the organizer a solid footprint so it won’t tip over once it’s loaded with seed envelopes.
3. Cut the hardware cloth to a 10-inch x 14-inch panel and check that it fits flat on top of the plywood with a small wood border showing around the edges. Trim any sharp wires and bend in any poky ends with pliers.
4. Center the coffee can upright on the hardware cloth and trace around it, then cut a circular opening about 1/2 inch smaller than the traced line. Snip short tabs around the circle and bend them upward so the can will sit snugly in the opening.
5. Push the open coffee can down into that center opening until it stands straight, then fold the wire tabs tightly around the can’s outside wall. The can becomes the main seed pocket while the surrounding grid will hold clipped category packets.
6. Attach the hardware cloth panel to the plywood base with zip ties spaced every 2 to 3 inches around the perimeter. Pull each one tight so the top feels firm and doesn’t sag.
7. Clip the 12 clothespins around the outer hardware cloth grid, spacing them evenly on the long sides and corners. These give you quick spots to sort seed packets by type like greens, roots, flowers, and herbs.
8. Mask off any areas you don’t want painted, then spray the plywood edge and clothespins red to match the coffee can, using 2 light coats. Let everything dry fully, then add 1 coat of clear matte sealer for a more finished, weather-friendly surface.
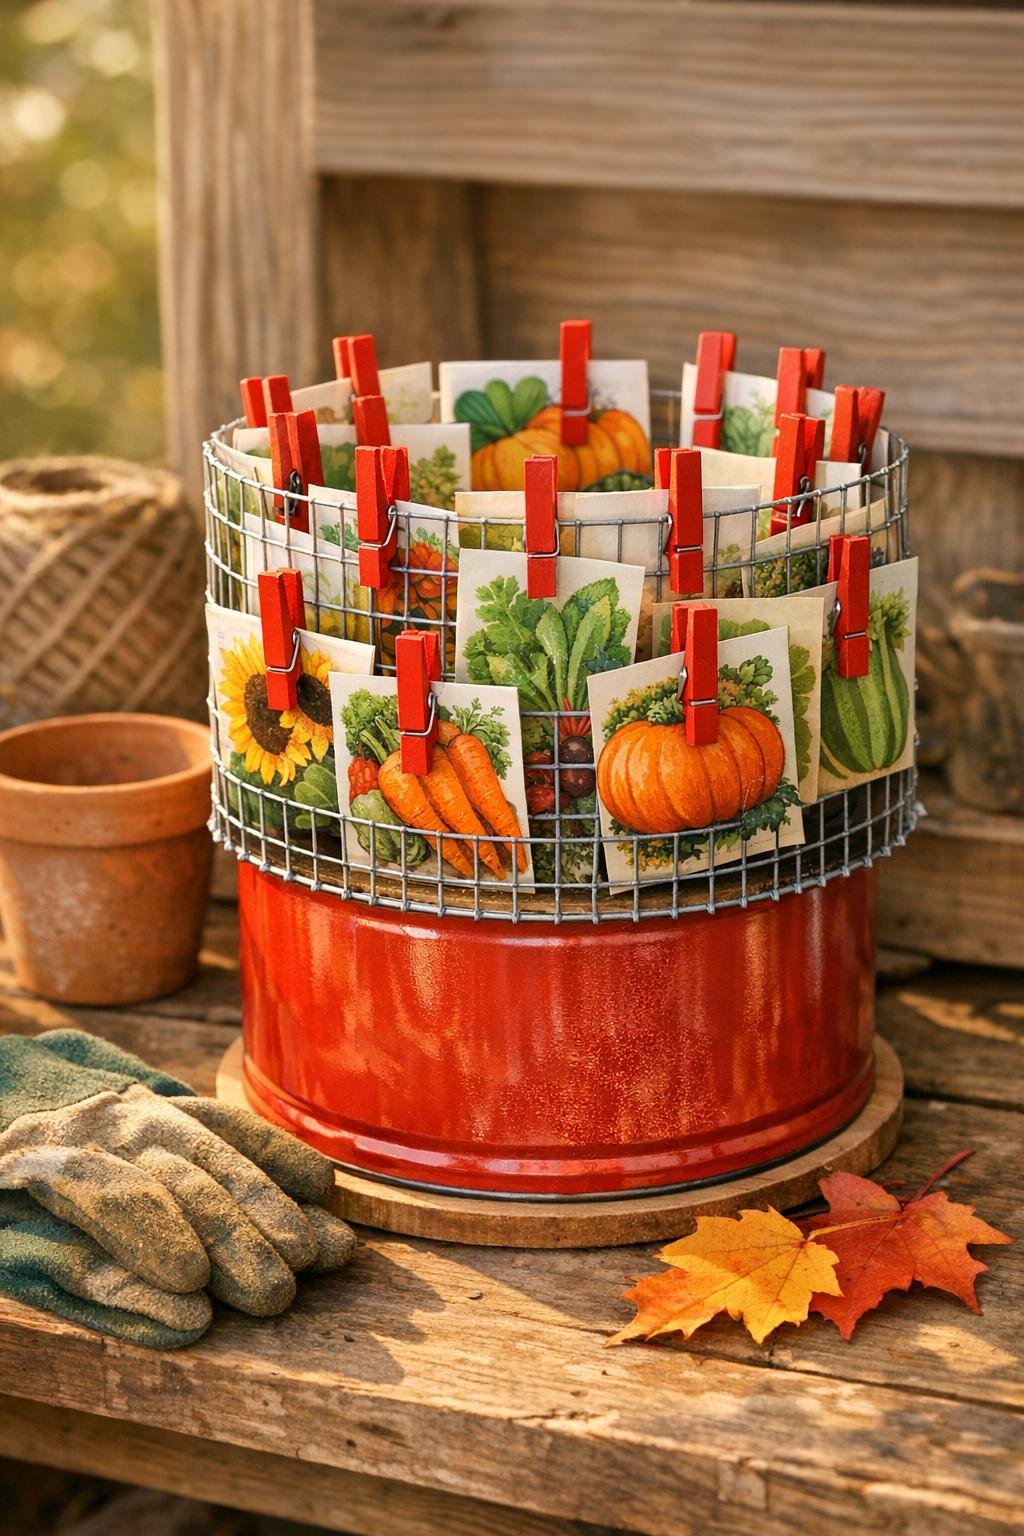
9. Once dry, load the center can with a thick stack of seed envelopes standing upright, then clip additional packets around the outside by season, planting month, or garden bed. Fill it generously so the organizer looks full, useful, and easy to browse at a glance.
Variations & Tips
Add dividers: If you save cereal box cardboard, cut a few tall dividers for inside the can so you can separate fall sowing seeds from spring favorites. I do this when my seed stash gets out of hand, which is basically every year.
Use a wood scrap base: If you have an old shelf panel or crate piece in the shed, use that instead of thin plywood as long as it’s at least 10 x 14 inches. A slightly heavier base actually makes the organizer feel even sturdier.
Keep the metal edge safe: Don’t skip sanding the cut can edge well. If it still feels sharp, press a strip of folded painter’s tape over the rim temporarily while you work, then remove it before sealing.
Try a category system: I like keeping the center packed with current-season seeds and using the clipped outer packets for varieties I need to remember to plant next. It saves me from shuffling through every single envelope when I only have a few minutes before dinner.
Make it more weather resistant: If your organizer will live in a damp shed, use an outdoor polyurethane or extra clear sealer coat on the wood base and clothespins. Store the seed packets in a covered spot so moisture doesn’t curl the envelopes.
Swap the finish: Red looks cheerful and ties back to the coffee can in the hero setup, but matte black, olive green, or cream also work beautifully for a more farmhouse or vintage garden look.