
There is something ridiculously satisfying about turning the tiniest nature finds into something that looks elegant and intentional, and this acorn cap candle cluster is exactly that kind of project. You’re filling real acorn caps with short wicks and melted dollar store wax, then grouping all 20 together into a glowing little centerpiece that feels equal parts woodland and cozy holiday table.
I love projects like this because they look far fussier than they really are. On a busy weeknight, I can melt a cheap jar candle, line up my acorn caps on a tray, and knock this out in under an hour. If you like easy seasonal décor, nature crafts, or little handmade details for a dinner table, mantel, or coffee table, this is a very doable project with a big payoff.
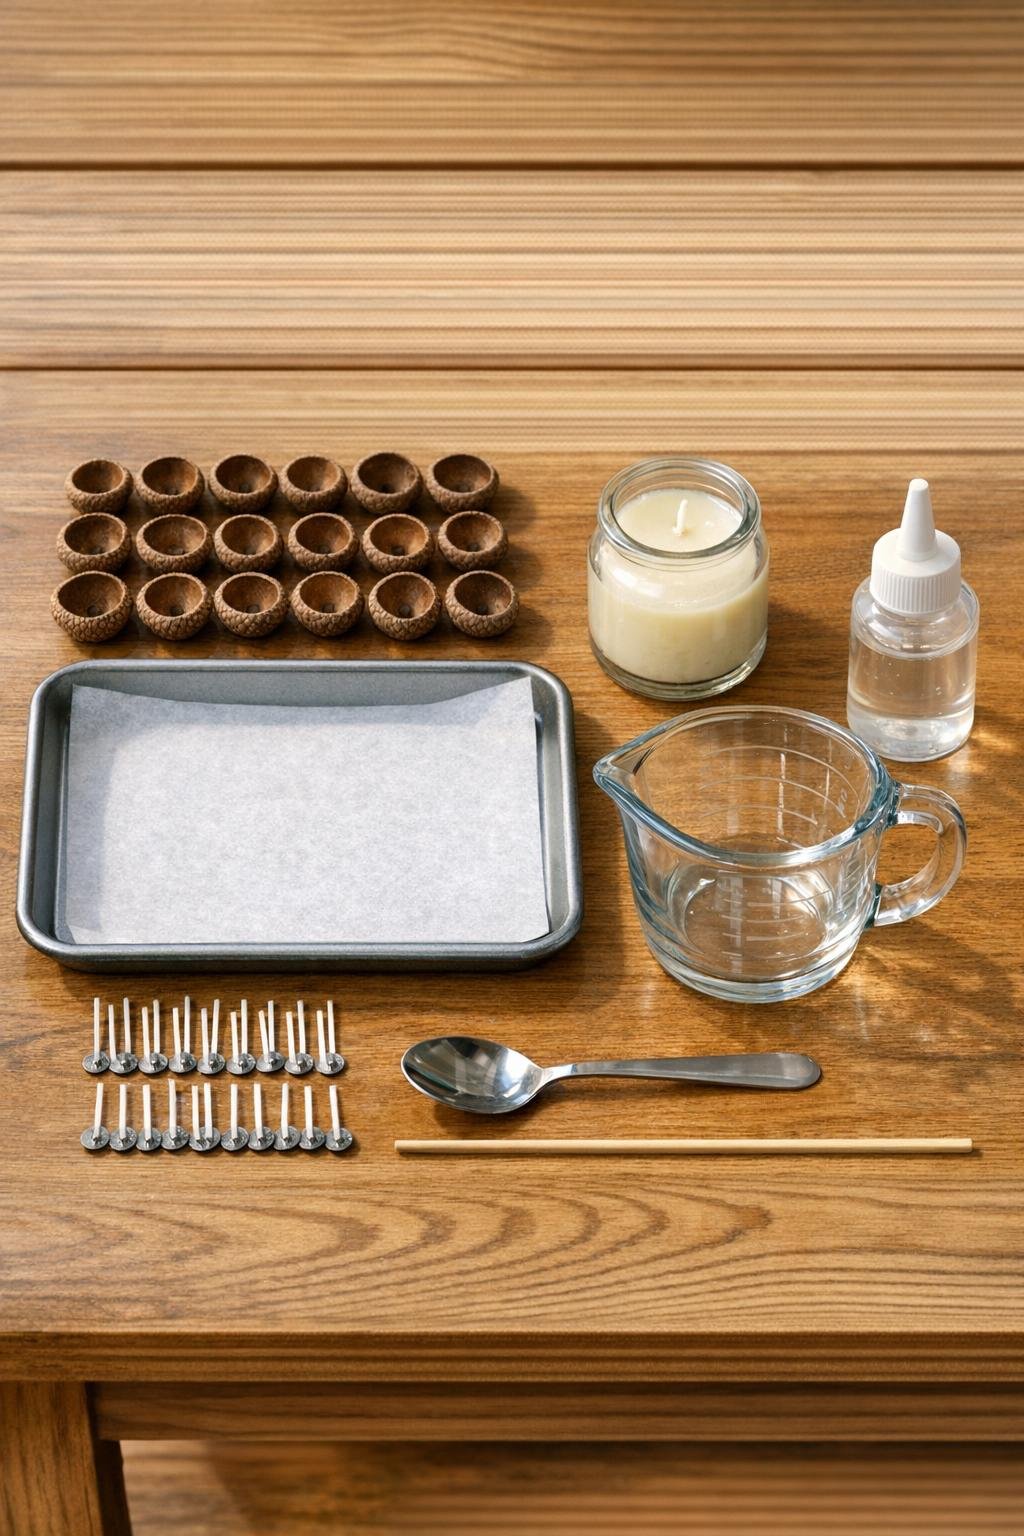
Materials
Instructions
1. Sort through your 20 acorn caps and choose the deepest, most cup-shaped ones so they hold a generous amount of wax and sit upright without wobbling.
2. Brush out any dirt, loose bits, or stem pieces from the caps, then let them dry completely if you washed them.
3. Line a small baking sheet or tray with parchment paper and arrange the acorn caps in a tight clustered grouping so they support each other and stay level while you pour.
4. Place one short wick in the center of each acorn cap, pressing the metal tab flat to the bottom; add the tiniest dab of glue under the tab if a wick wants to tip over.
5. Let any glue set for a few minutes, then straighten the wicks with your fingers or a skewer so each one stands roughly centered.
6. Cut or scoop the wax from the dollar store candle into a glass measuring cup, removing any old wick pieces or metal tabs as you go.
7. Melt the wax using short bursts in the microwave or a double boiler, stirring between heats until fully smooth and pourable.
8. Carefully pour the melted wax into each acorn cap, filling them almost to the rim for a fuller, more dramatic finished cluster.
9. If any wicks lean after pouring, nudge them back to center with a skewer before the wax starts to set.
10. Let the candles cool completely for 30 to 45 minutes, then top off any caps that formed a dip in the middle with a second small pour of melted wax.
11. Trim each wick to about 1/4 inch so the flames stay small and proportional to the acorn caps.
12. If you want a dressier finish, lightly brush the outer rim of a few acorn caps with a whisper of gold paint or pearl mica, keeping most of the natural brown texture visible.
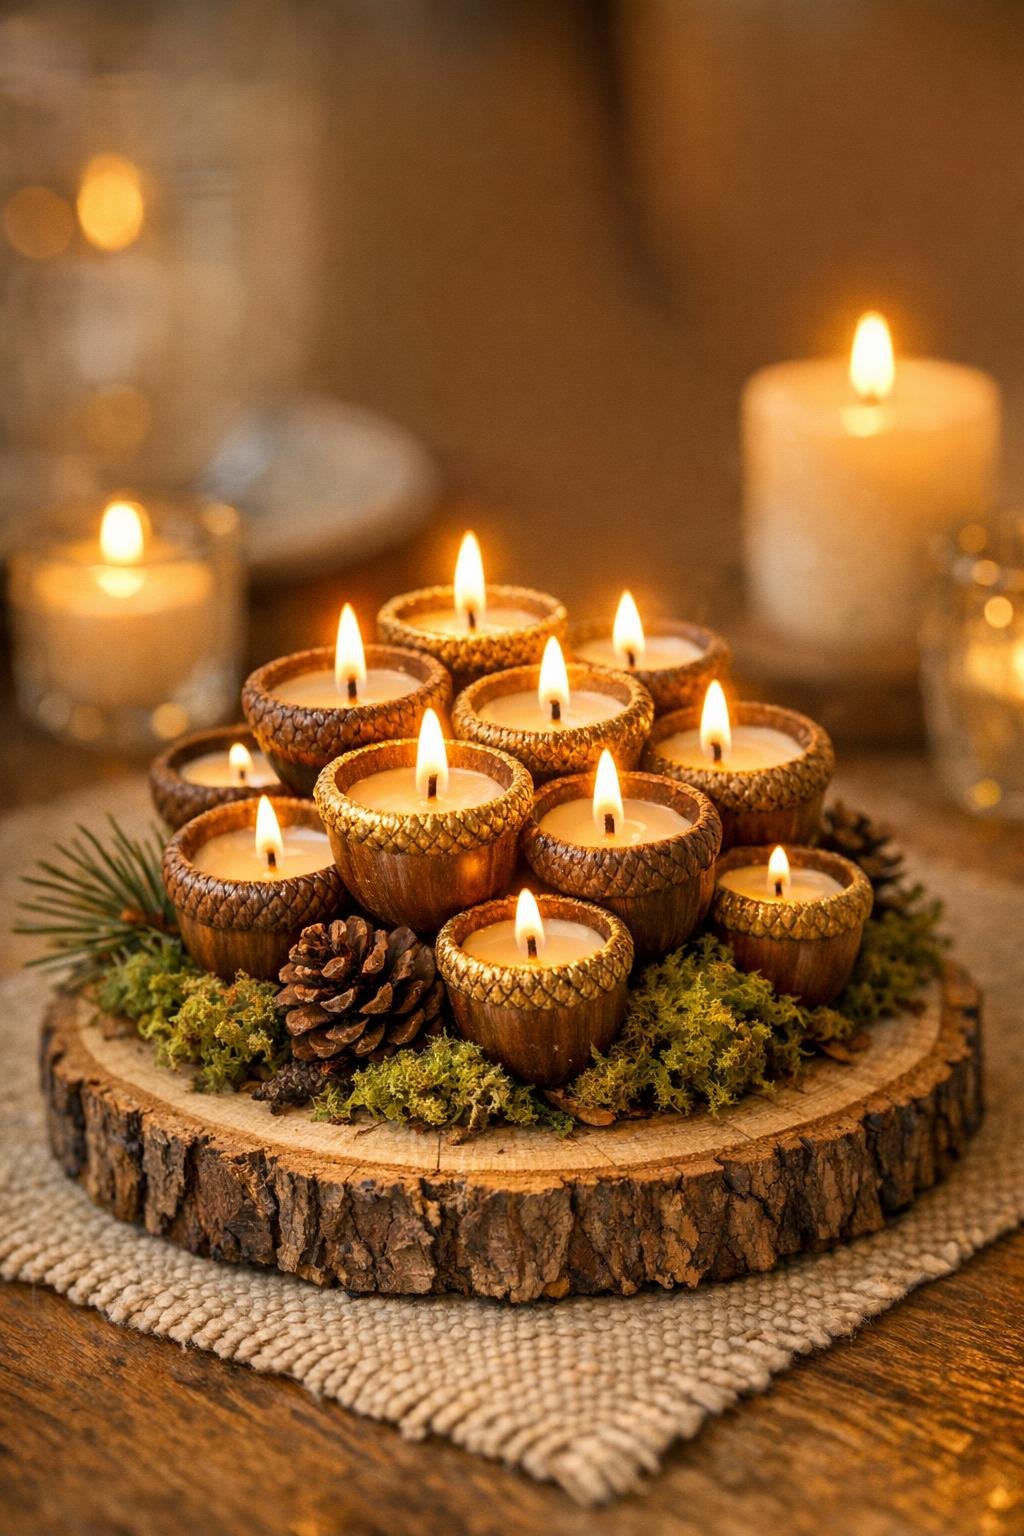
13. Transfer the finished candles to a wood slice, shallow dish, or moss-lined tray, keeping all 20 grouped closely together so they read as one lush candle cluster instead of separate pieces.
14. Light only a few at a time for the prettiest glow and the safest burn, especially if you’re styling them for a dinner table or mantel.
Variations & Tips
For a fuller display: I like to keep all 20 candles packed close together on one base instead of scattering them around. The cluster looks richer, glows better, and feels much more “finished.”
If your acorn caps wobble: Nestle them into a thin layer of moss, coarse salt, or a little melted wax on the display tray. That helps them sit flat without changing the look.
Wax options: Any plain dollar store candle works here, but softer container candle wax is usually easiest to melt and pour. If the wax shrinks in the center as it cools, a quick second pour fixes it.
Wick sizing: Keep the wicks short and thin. Oversized wicks burn too hot for such tiny candles and can empty the caps faster than you want.
Natural look vs. polished look: I love them plain for a woodland centerpiece, but a tiny touch of gold on just a few rims makes them look surprisingly special for Thanksgiving or Christmas tables.
Safety tip: Because these are very small candles made from natural materials, always burn them on a heat-safe surface, never leave them unattended, and extinguish them once the wax gets low.
Make-ahead tip: These are perfect to prep a day or two before hosting. I usually make them the night before, then style the tray right before guests come over so it still feels fresh and intentional.