
Old ceiling fan blades are one of my favorite “don’t throw that away yet” materials, because the shape is already so useful. In this project, I stack three wooden fan blades vertically to create a tall porch sign with a clean layered look, then paint and dress it up so it feels intentional instead of cobbled together. It’s simple woodworking, very forgiving, and perfect if you want something eye-catching by the front door without buying a big blank sign board.
I like this kind of project because it uses what you already have, and the long narrow blades naturally create a graceful sign shape with almost no cutting. If you can line things up, clamp them, and drive a few screws, you can make this. The finished sign looks polished and substantial, with enough height and detail to hold its own beside planters, lanterns, or a wreath.
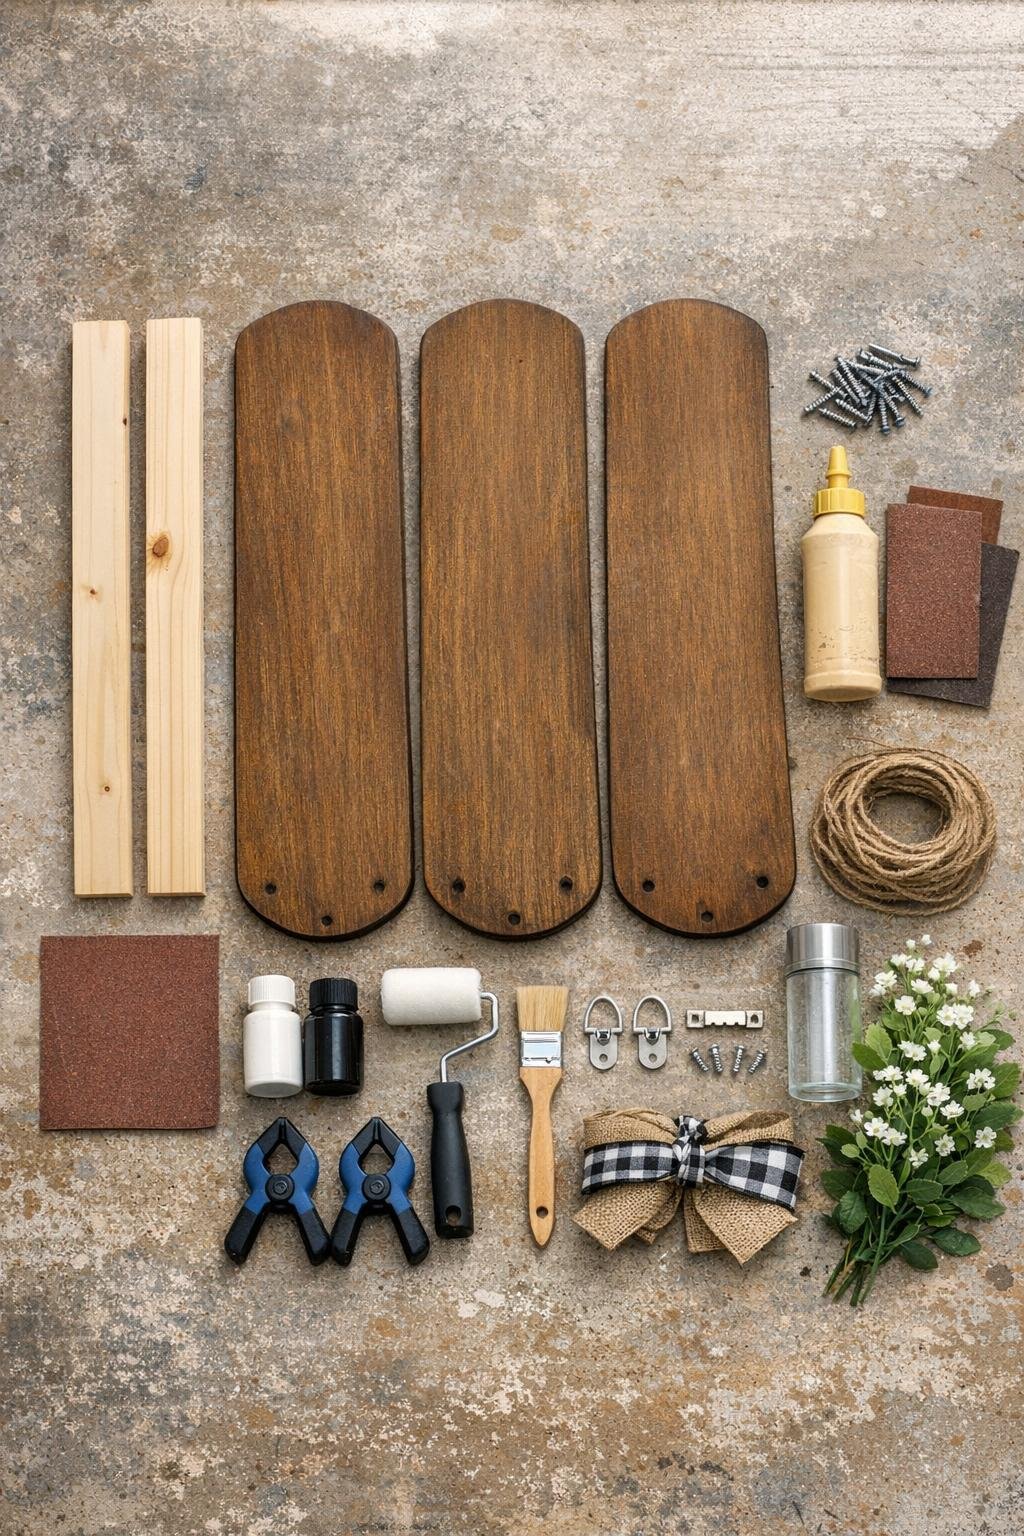
Materials
Instructions
1. Remove any hardware from the fan blades and wipe off dust, then stack the three blades vertically on your workbench with their tips pointing the same direction. Overlap the long edges by about 1 inch so they form one tall, slightly wider sign board.
2. Slide the blades until the outer edges look even and the top and bottom curves feel balanced, then clamp them together. Check that the total shape stays straight from top to bottom before fastening.
3. Turn the clamped blades face down and center one 10-inch pine brace across the upper back and one across the lower back. Spread a thin line of wood glue under each brace, then drive 3 screws into each blade through both braces for a total of 6 screws per brace.
4. Let the glue set for at least 30 minutes, then sand the front, edges, and any rough spots with 120-grit sandpaper. Follow with 220-grit to smooth the surface so the stacked blades read like one finished sign.
5. Fill any deep screw holes on the front if needed, let dry, and sand again lightly. Wipe off all dust with a barely damp cloth so the primer sticks well.
6. Roll on one full coat of bonding primer over the front, sides, and visible back edges. Let it dry completely, then add a second coat if the old finish or wood tones still show through.
7. Paint the sign with two coats of your main color, using the foam roller for the broad faces and the angled brush along the curved edges. Let the first coat dry fully before adding the second so the finish looks even and crisp.
8. Add your vertical word with a stencil or lettering guide, centering it down the sign and leaving 2 to 3 inches of space at the top and bottom. Use a small brush and light paint dabs so the letters stay sharp instead of bleeding.
9. Distress the edges lightly with a dry brush or a quick pass of sandpaper if you want a farmhouse look, or leave it clean for a more modern porch sign. A thin contrasting outline around the perimeter also helps the stacked blade shape stand out.
10. Brush or roll on a clear matte outdoor sealer over the entire sign, including the edges and back braces. Let it dry fully before decorating so the finish stays smooth and protected.
11. Attach D-rings or a sawtooth hanger on the back if you want to hang it, or leave it free-standing and lean it beside your door. Tie on a jute bow or ribbon near the top and secure a small faux greenery bundle with glue dots or a tiny dab of hot glue for a finished look.
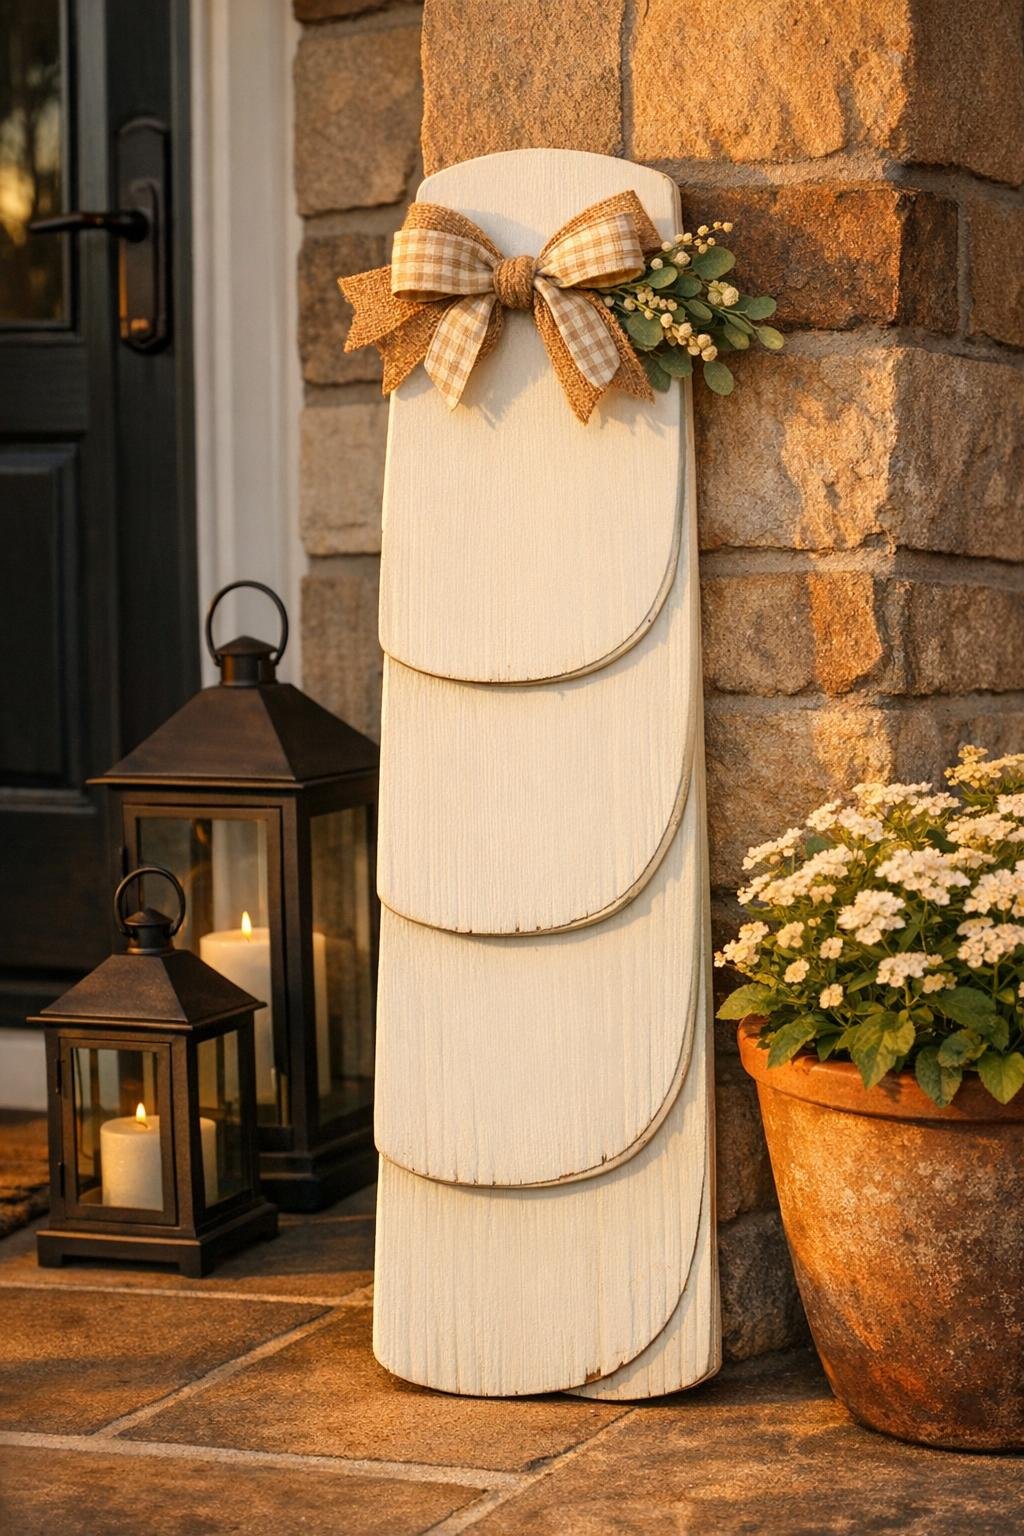
Variations & Tips
Seasonal swap: Change only the bow and greenery pick to refresh the sign through the year. I like eucalyptus for everyday use, faux tulips for spring, mini sunflowers for summer, and pine sprigs with berries for winter.
Best word choice: Short vertical words work best because the sign is narrow. Think WELCOME, HELLO, HOME, GATHER, or JOY if you want the lettering to feel generous and easy to read from the curb.
For outdoor durability: If your porch gets strong weather, use exterior paint and sealer without skipping the back and edges. In my experience, those hidden spots are where moisture starts causing trouble.
If the blades do not match: That’s fine as long as their lengths are close. Put the widest blade in the center and the two most similar blades on the outside for the most balanced finished shape.
No stencil on hand: Print letters on paper, cut them out, and trace them lightly before painting. I do this often when I want a custom look without fussing over freehand lettering.
Make it stand sturdier: If you plan to lean the sign on the porch full-time, add a small nonslip furniture pad near the bottom back corners. It keeps the piece from sliding and protects the doorframe or siding.