
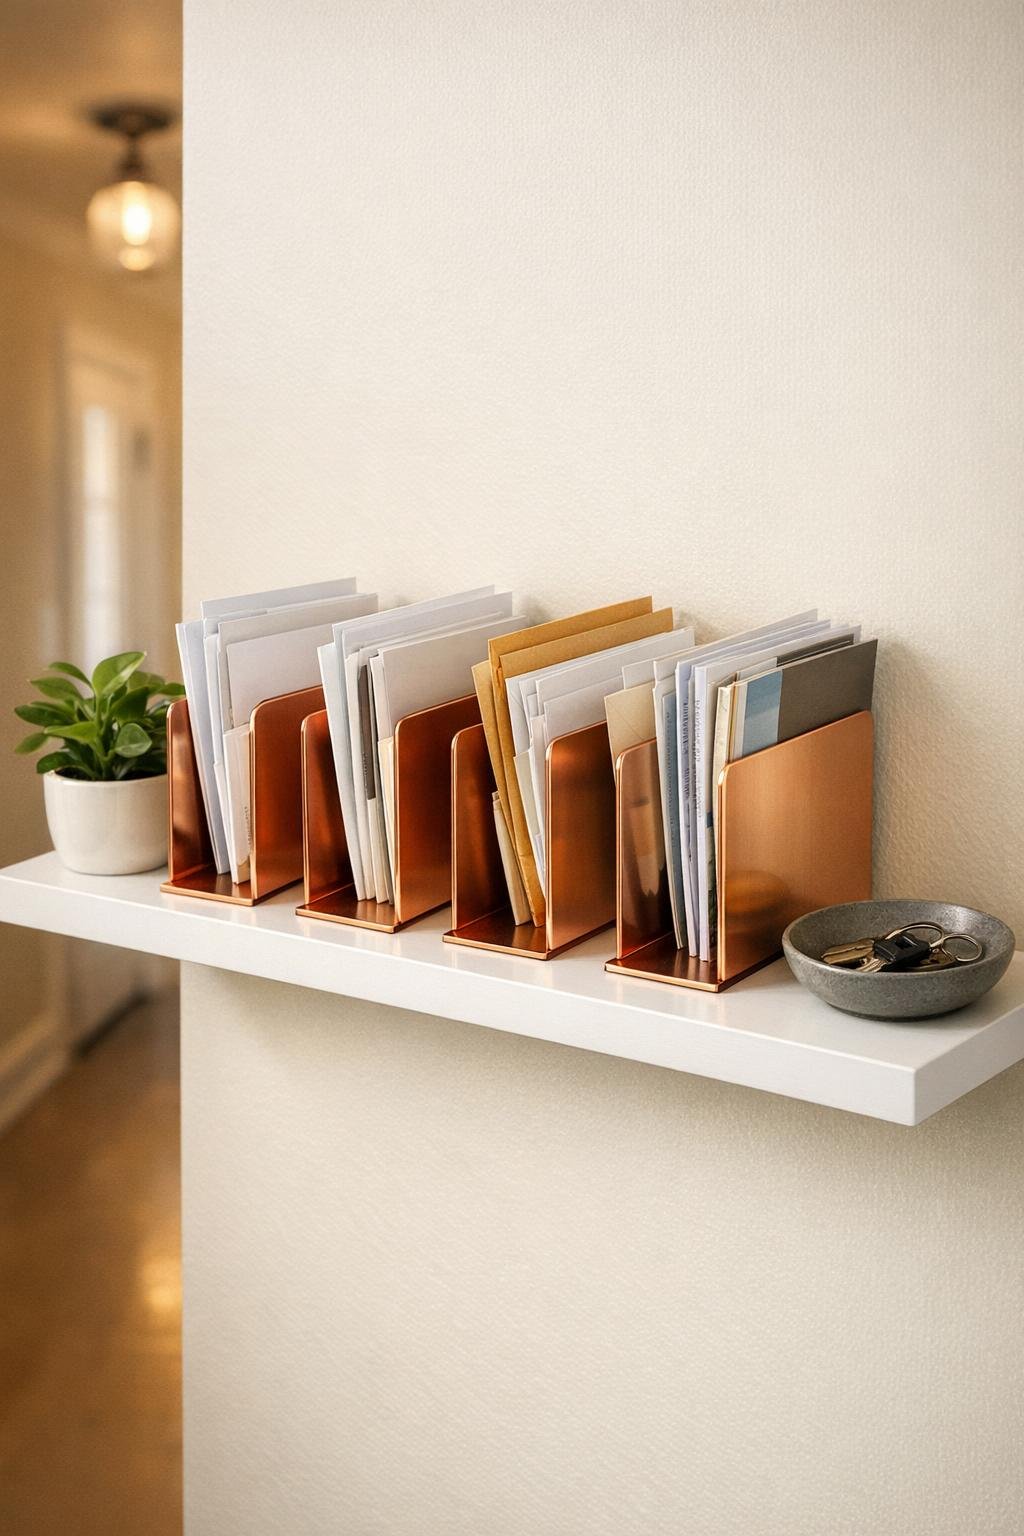
If your hallway becomes a catch-all for unopened envelopes, school papers, and takeout menus the second you walk in the door, this little project is such a satisfying fix. I love a DIY that looks polished without turning into a whole weekend commitment, and attaching copper bookends onto a narrow floating shelf gives you a sleek mail sorter that feels custom-made for the space.
This is perfect if you want something renter-friendly, compact, and genuinely useful. I’m always looking for ways to make those in-between spaces in a house work harder, especially near the entry, and this one adds storage and style without needing complicated woodworking.
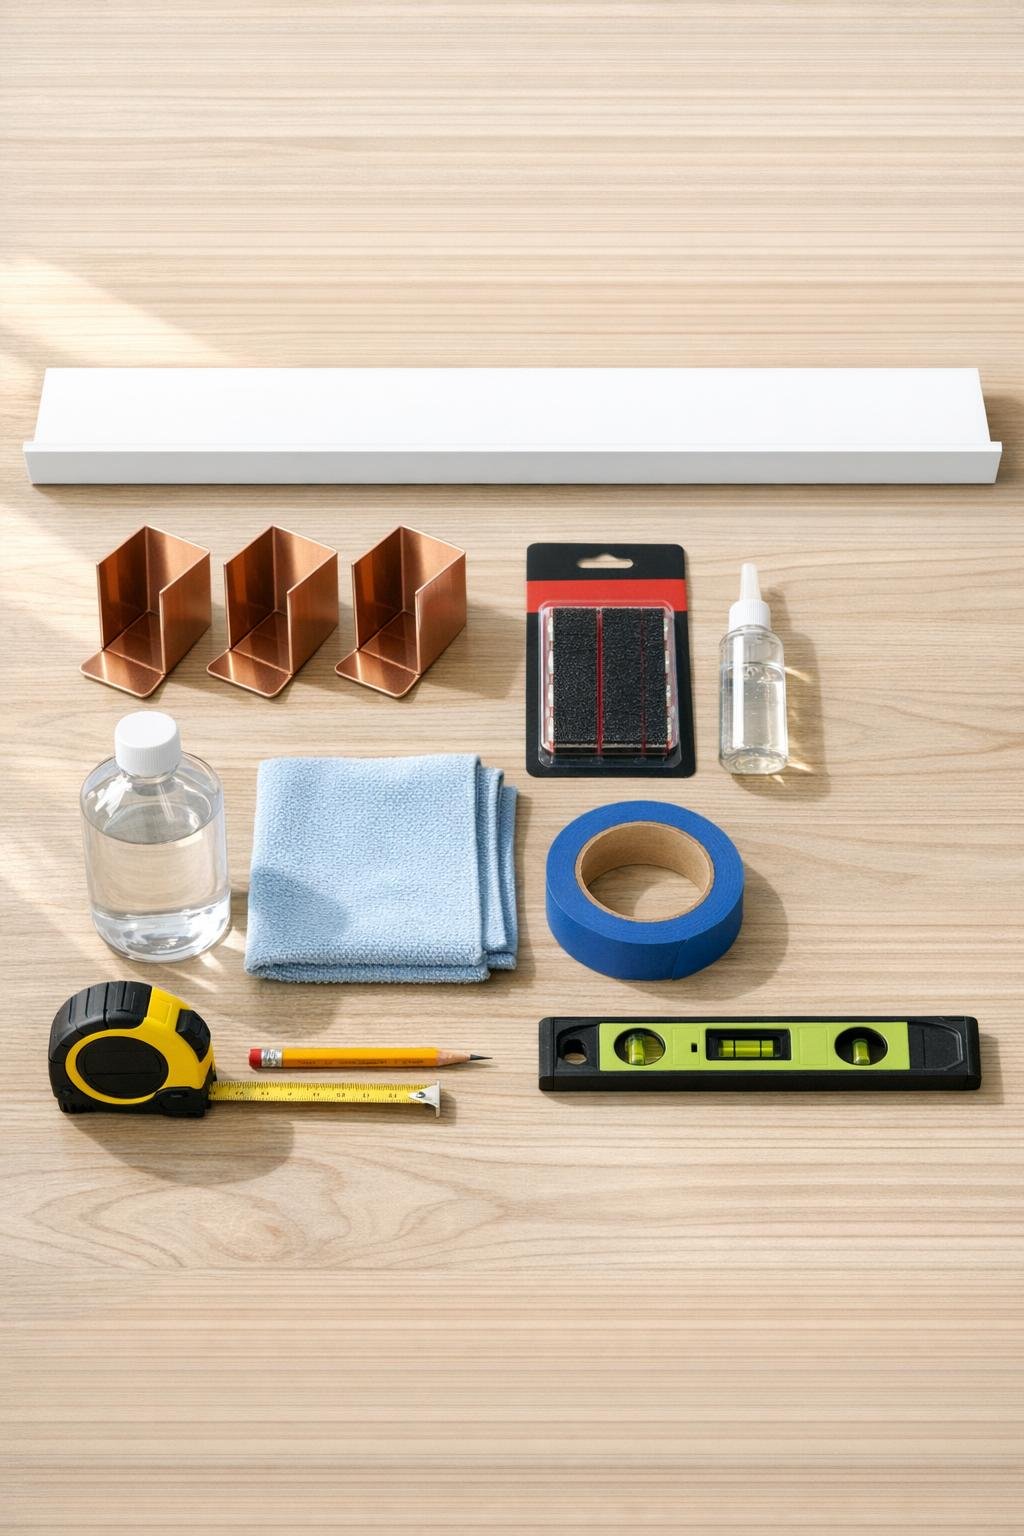
Materials
1 narrow white floating shelf, 24 inches long x 4 to 5 inches deep
Instructions
1. Wipe the shelf surface and the flat sides of the copper bookends with rubbing alcohol, then let everything dry completely so the adhesive bonds well.
2. Set the shelf on your work surface and arrange the three bookends upright across the top, spacing them evenly to create four mail sections; leave about 5 to 6 inches between each divider.
3. Mark the placement lightly with pencil, then add a small bead of clear construction adhesive along the bottom edge of each bookend where it will meet the shelf.
4. Press each bookend firmly into place on the shelf, aligning it with your marks, then add heavy-duty adhesive strips inside the contact area for extra hold.
5. Use short pieces of painter’s tape to hold the bookends steady while the adhesive sets, and check that each divider is standing straight with a small level.
6. Let the shelf cure flat for the full adhesive drying time listed on the package, ideally overnight, so the dividers stay solid once mounted.
7. Mount the floating shelf in the hallway according to the shelf hardware instructions, placing it about 50 to 60 inches from the floor so mail is easy to drop in as you walk by.
8. Fill the sections with envelopes, notepads, and outgoing mail, then style the top edge lightly if you have room with one small bud vase or a compact framed print nearby so it feels intentional instead of purely utilitarian.
Variations & Tips
Add a key zone: If your shelf is 5 inches deep, leave one end open for a small dish so your keys and mail land in the same place every day.
Use fewer dividers for larger papers: Two bookends instead of three gives you three wider sections that work better for magazines, folders, or school forms.
Match your hardware: Copper looks beautiful and warm, but brass, matte black, or white bookends can work the same way if that fits your hallway better.
Keep it renter-friendly: If you can’t make extra holes in the wall, use a floating shelf designed for simple wall anchors in one small area and rely on the adhesive only for attaching the bookends to the shelf.
Don’t skip surface prep: I know it’s tempting when you’re in a hurry, but cleaning both surfaces first makes a huge difference; I’ve learned the hard way that even a little dust can weaken the bond.
Plan your slot widths first: Before gluing, stack a few pieces of real mail on the shelf so you can size the sections for what actually comes into your house instead of guessing.