
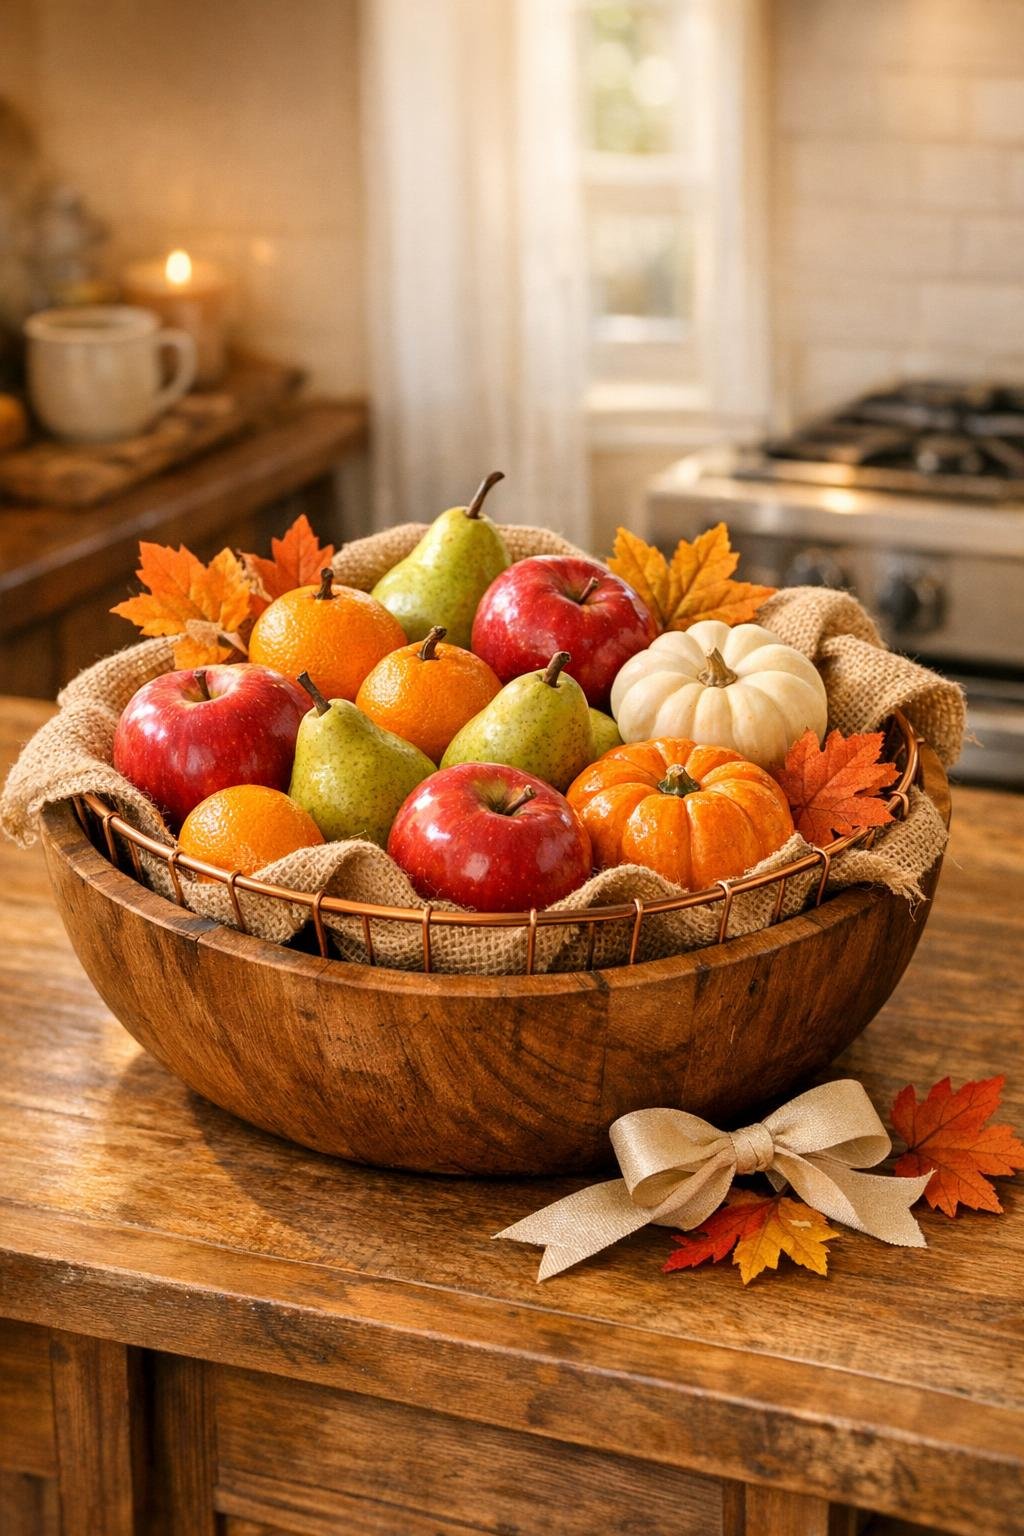
I love a kitchen project that takes all of five minutes to pull together but still looks like something you spotted in a boutique home store. This fruit bowl is exactly that kind of win: a shallow wire basket tucked into a large wooden salad bowl, with a layer of burlap that softens the look and makes the whole piece feel warm, rustic, and finished.
If you want a countertop catchall that keeps apples, pears, onions, or even little packets of snacks corralled in one pretty spot, this is such an easy one to make. It’s especially great for busy kitchens like mine, where I need things to be practical first but I still want the counter to look styled instead of chaotic.
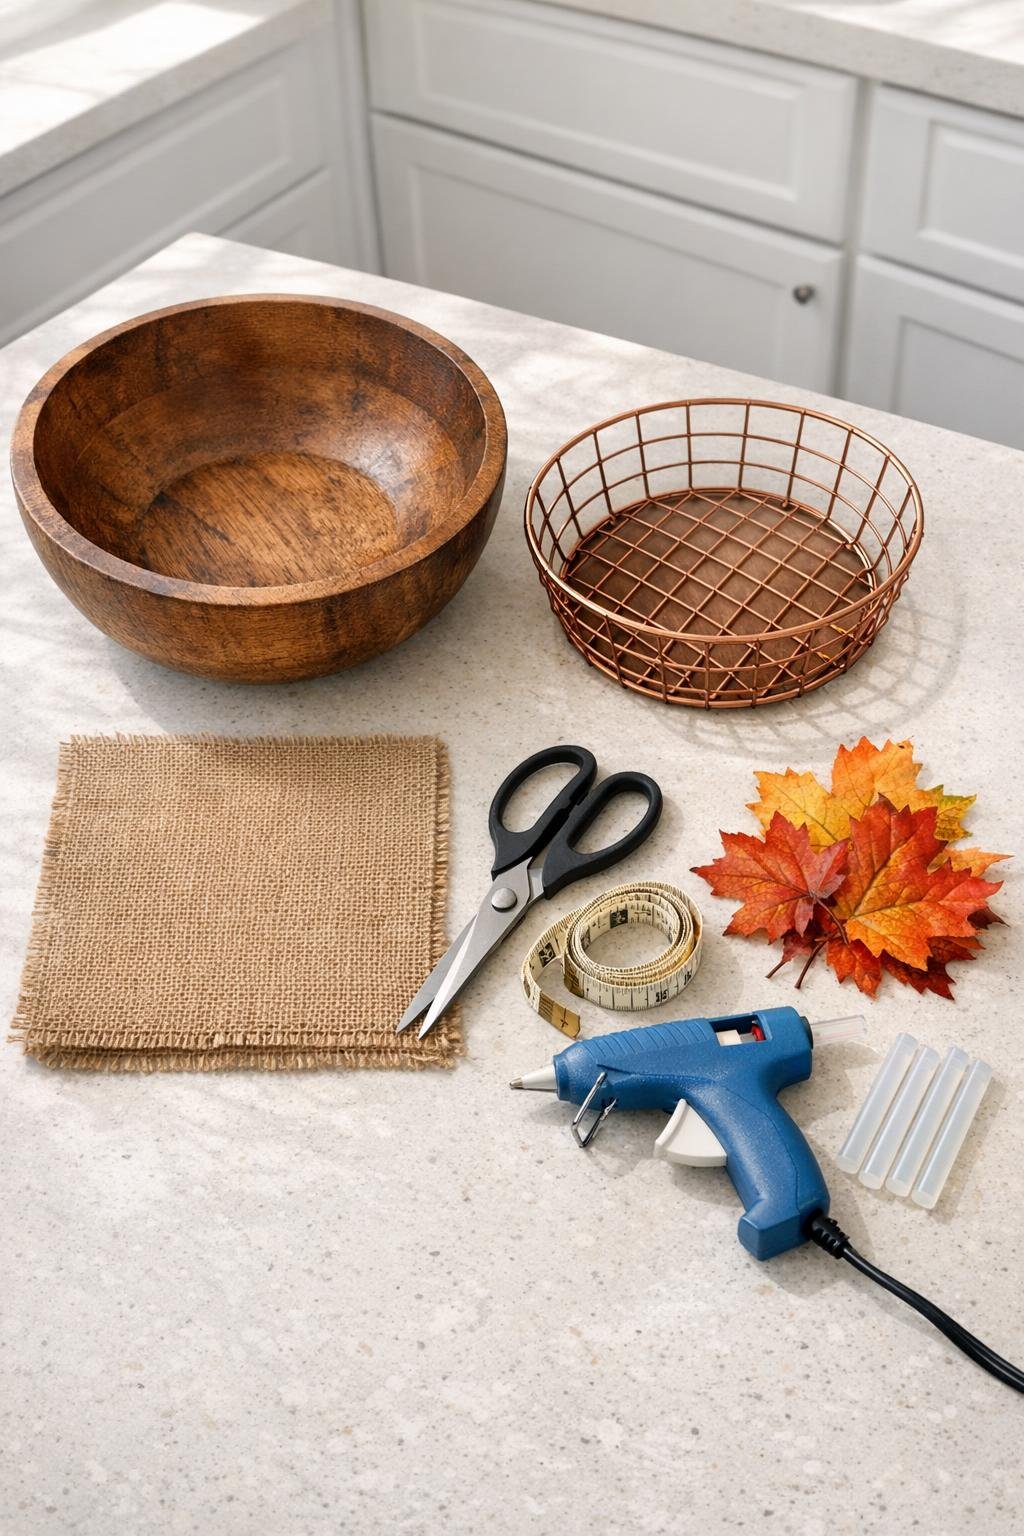
Materials
Instructions
1. Set the wooden salad bowl on your work surface and place the shallow copper wire basket inside to check the fit. The basket should sit down into the bowl with its rim visible above the burlap line and enough room around the edges for the fabric to drape softly.
2. Cut the burlap into an 18 x 18-inch square if it is not already trimmed, then snip away any loose threads. I like to give burlap a quick shake over the sink because it always sheds a little more than I expect.
3. Press the burlap down into the wooden bowl, centering it so the corners rise evenly around the rim. Smooth the middle into the base of the bowl and leave the upper edges softly gathered for a full, cozy look.
4. Lower the copper wire basket into the burlap-lined bowl and press gently until it feels stable. Adjust the folds so the burlap peeks out evenly all around the basket instead of bunching heavily on one side.
5. If you want the liner to stay put permanently, lift one section at a time and add a small dot of hot glue between the burlap and outer bowl near the rim in 4 to 6 spots. Keep the glue minimal so the fabric still looks relaxed rather than stiff.
6. Fill the basket generously with fruit, starting with larger pieces like apples or oranges around the outside and smaller pieces like pears, lemons, or clementines toward the center. The wire basket keeps air moving around the fruit while the wooden bowl catches little stems and bits that would normally end up on the counter.
7. Tuck in a few faux fall leaves or a small ribbon bow at the rim if you want a seasonal touch, then set the bowl on the counter, island, or table. Make one final fluff of the burlap so the top edge looks soft and full.
Variations & Tips
For everyday use: Skip the ribbon and seasonal leaves and keep the look simple with just the wood, copper, and burlap. It still looks polished, and it works year-round on the counter.
For fall decorating: Mix in mini pumpkins, artichokes, or pinecones around the fruit for a fuller harvest look. I like this on an island when I want the kitchen to feel festive without doing a whole big seasonal overhaul.
For easy cleaning: Leave the burlap unglued so you can lift everything out and shake or replace the liner as needed. That’s my favorite option if the bowl is going to hold produce every single day.
Basket fit tip: Choose a wire basket that is shallow and slightly smaller than the inside width of the wooden bowl. If the basket is too deep, the layered look disappears; if it’s too small, it can slide around too much.
Fabric option: If you like a softer farmhouse look, swap the burlap for washed linen or a cotton grain-sack style fabric. Burlap gives the most texture, but a tighter-weave fabric sheds less.
Fruit display tip: Build the arrangement full rather than flat, with larger fruit around the outside and a little mound in the middle. That one tiny styling trick makes the finished bowl look much more intentional and abundant.