
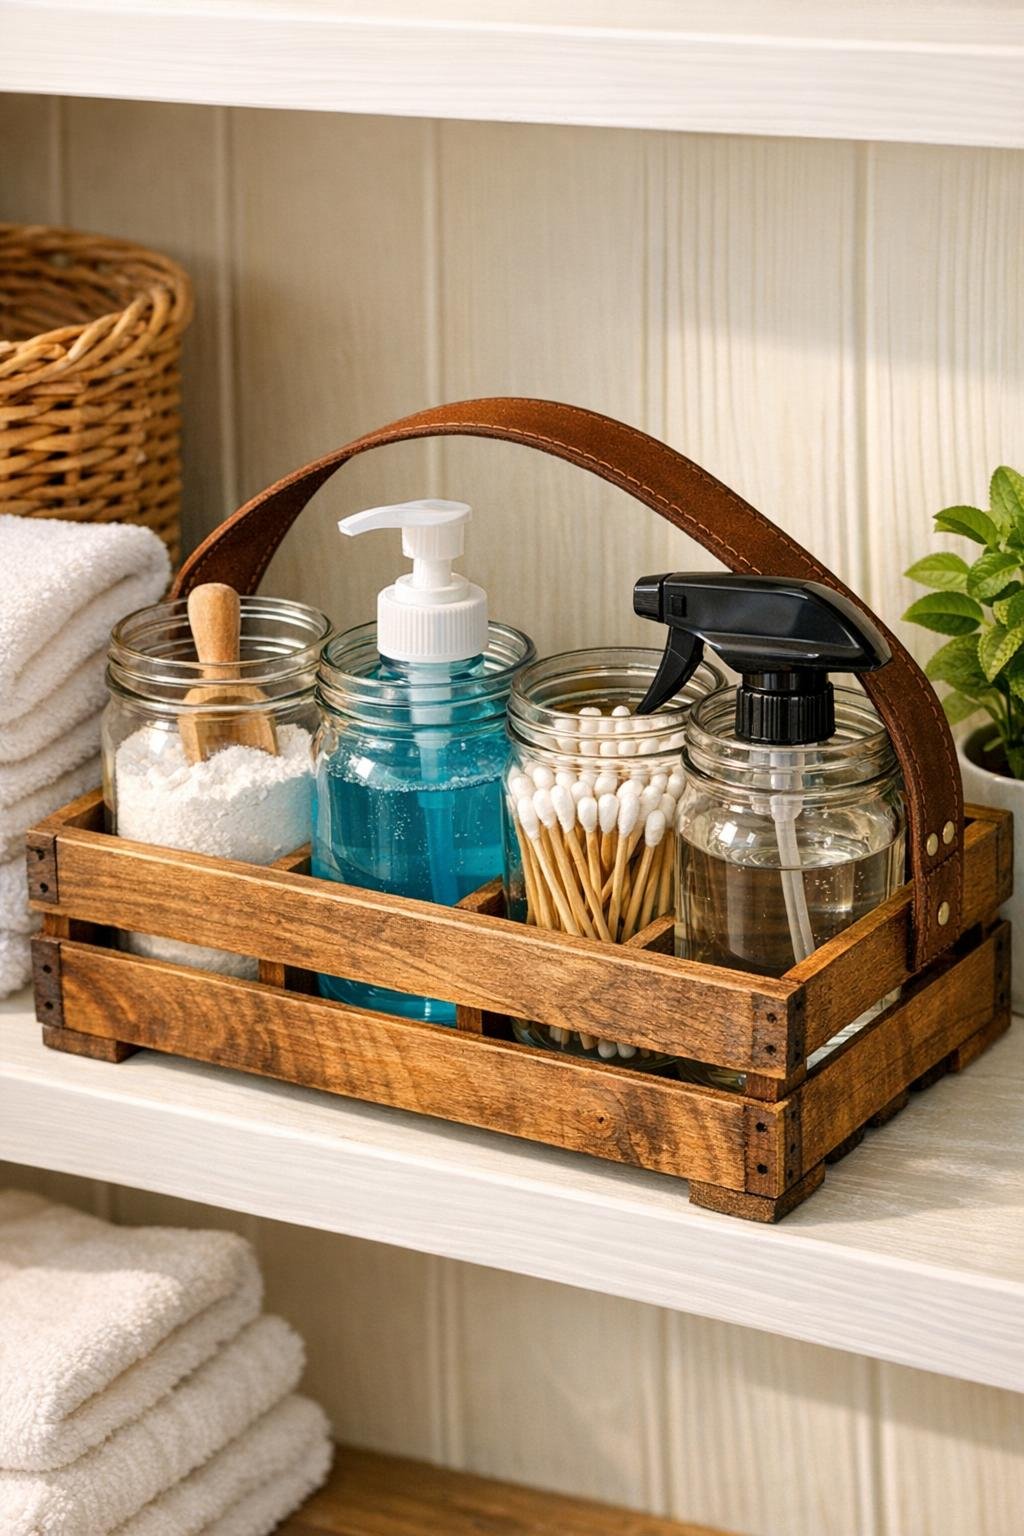
Small-space organization projects are my favorite kind of practical DIY, especially when they turn everyday objects into something that looks tidy, intentional, and honestly a little charming. This laundry room supply caddy uses a small wooden wine crate and clear mason jars to corral the little things that usually drift around a shelf—clothespins, stain sticks, dryer sheets, laundry pods, lint rollers, and all those bits that never seem to stay put.
What I like most about this build is that it gives you a hardworking organizer without asking for advanced woodworking skills. If you can sand a crate, drill a couple of holes, and fasten on a leather strap, you can make this. The finished caddy is compact enough for a small laundry room, but generous enough to hold a good amount of supplies while still looking polished on an open shelf or beside the washer.
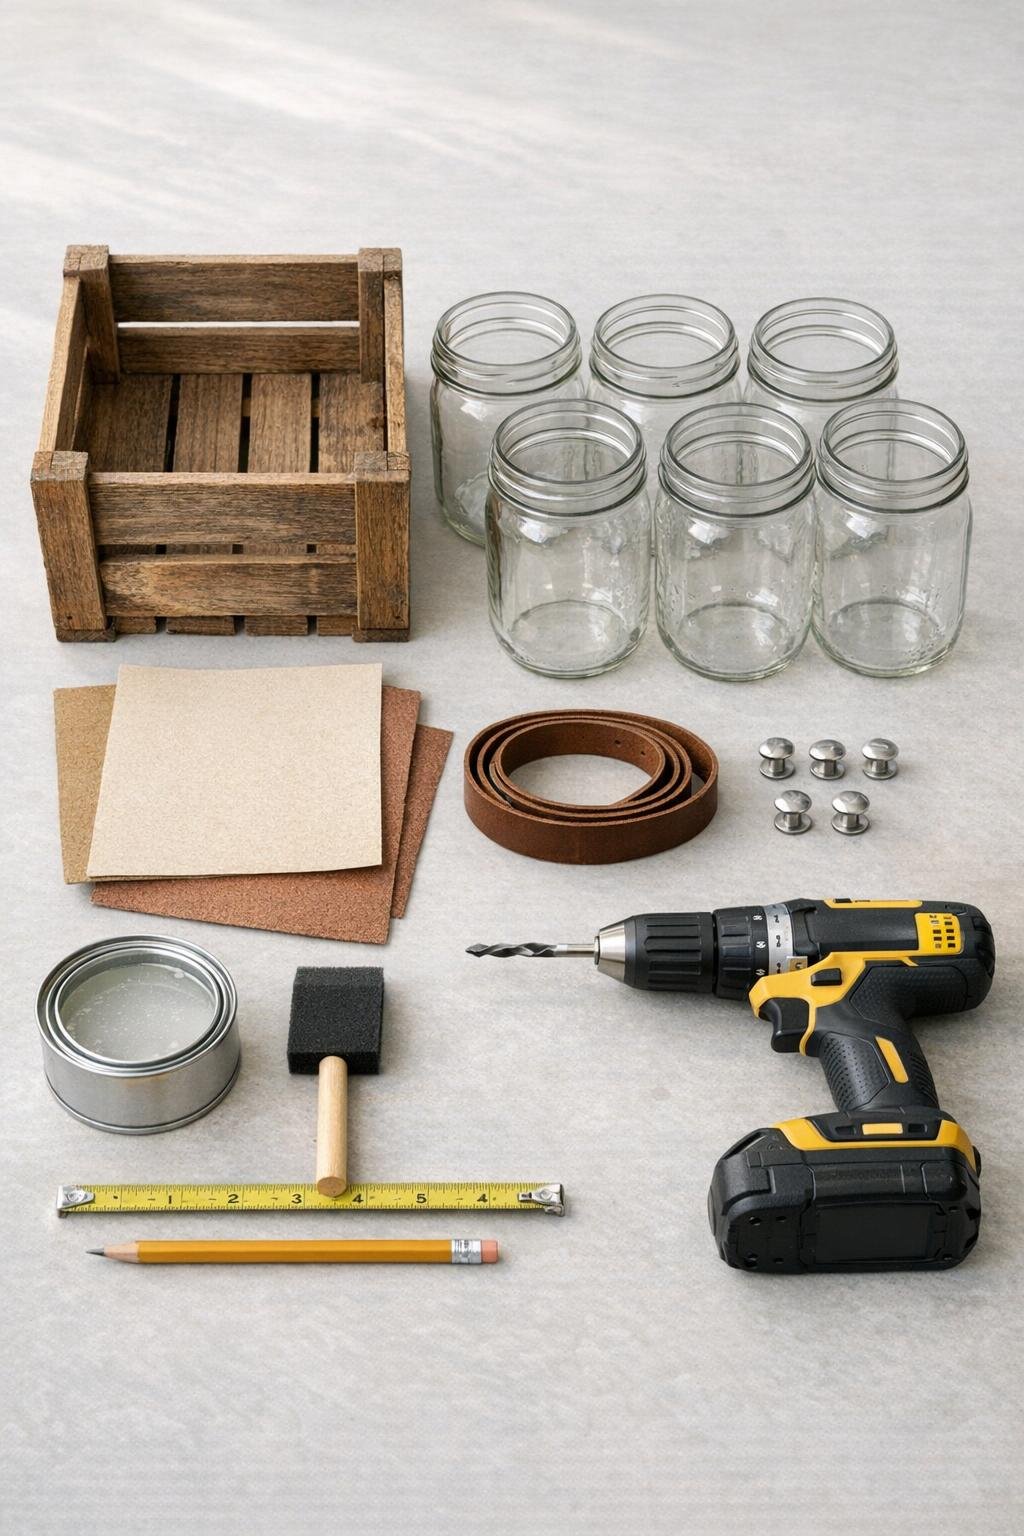
Materials
Instructions
1. Empty the wine crate and check that the base is sturdy and sits flat; if any slats feel loose, press them back into place and make sure the crate is sound before you start.
2. Sand the entire crate with 120-grit sandpaper, then smooth it again with 220-grit, paying extra attention to the top edges and handle area so nothing catches your hands or snags fabric.
3. Wipe away all dust, then brush on a thin coat of clear matte sealer or rub on furniture wax to protect the wood from detergent drips and damp laundry room air; let it dry fully.
4. Measure and mark the center point on each short side of the crate, about 1 inch down from the top edge, so the leather handle will sit evenly and lift comfortably.
5. Drill one hole at each marked point sized to fit your Chicago screws, then test the holes with the hardware before attaching the strap.
6. Attach the leather strap to both short ends of the crate with the Chicago screws, leaving a soft arch in the middle so the handle is easy to grab but not so tall that it tips the caddy visually.
7. Add felt pads underneath the crate corners to protect your shelf or washer top and to keep the wood from scraping when you slide it in and out.
8. Wash and dry the mason jars thoroughly, then set four jars snugly inside the crate in a two-by-two arrangement; they should fill the crate generously without rattling around.
9. Fill the jars by category so the caddy stays useful: use one jar for clothespins, one for dryer sheets, one for laundry pods or wrapped soap flakes, and one for stain-treatment tools like a small brush or sponge.
10. Place the finished caddy on a laundry shelf, countertop, or beside the washer with the tallest items toward the back jars so everything stays visible and the crate still feels balanced when you lift it by the handle.
Variations & Tips
For extra stability: If your crate is a little wider than the jars, tuck a strip of folded burlap, thin cork, or cut-to-fit shelf liner between the jars and the inner wall so they stay snug without clinking.
For a softer finish: I like a clear matte topcoat because it keeps the crate rustic, but you can also use a light whitewash or warm walnut stain if you want it to match nearby cabinetry.
For laundry-safe storage: Keep loose powdered products out of the jars unless they have tight-fitting lids; this style works best for dry, easy-access items like clothespins, dryer balls, stain pens, and individually contained pods.
For easier lifting: If you plan to move the caddy often, keep the heaviest items in the two center-most positions and avoid overfilling the jars so the handle stays comfortable in your hand.
For a more finished look: Buff the leather strap with a little leather conditioner after assembly; it deepens the color nicely and makes the caddy look more custom, which is the kind of tiny upgrade I always appreciate in a hardworking space.
For a narrower shelf: Use three mason jars instead of four if your crate is shorter, but choose a crate that still looks full rather than sparse; the whole charm of this project is that it feels abundant and organized at the same time.