
If your bathroom counter somehow collects every tiny bottle, lip balm, and travel-size tube by the end of the week, this little cabinet-door shelf is the kind of fix that feels almost unfairly easy. I love projects like this because they solve a real everyday annoyance without turning into a full Saturday renovation, and this one gives you a surprising amount of extra storage by using that usually wasted space inside the medicine cabinet door.
I’d make this for anyone who wants tidier bathroom storage in under an hour, especially if you rent or just don’t feel like drilling into anything. The clear acrylic keeps it looking clean and light, and the adhesive strip setup makes the tray easy to slide on and off when you want to wipe it down. In my house, the best organizing projects are the ones that make busy mornings smoother, and this one absolutely earns its keep.
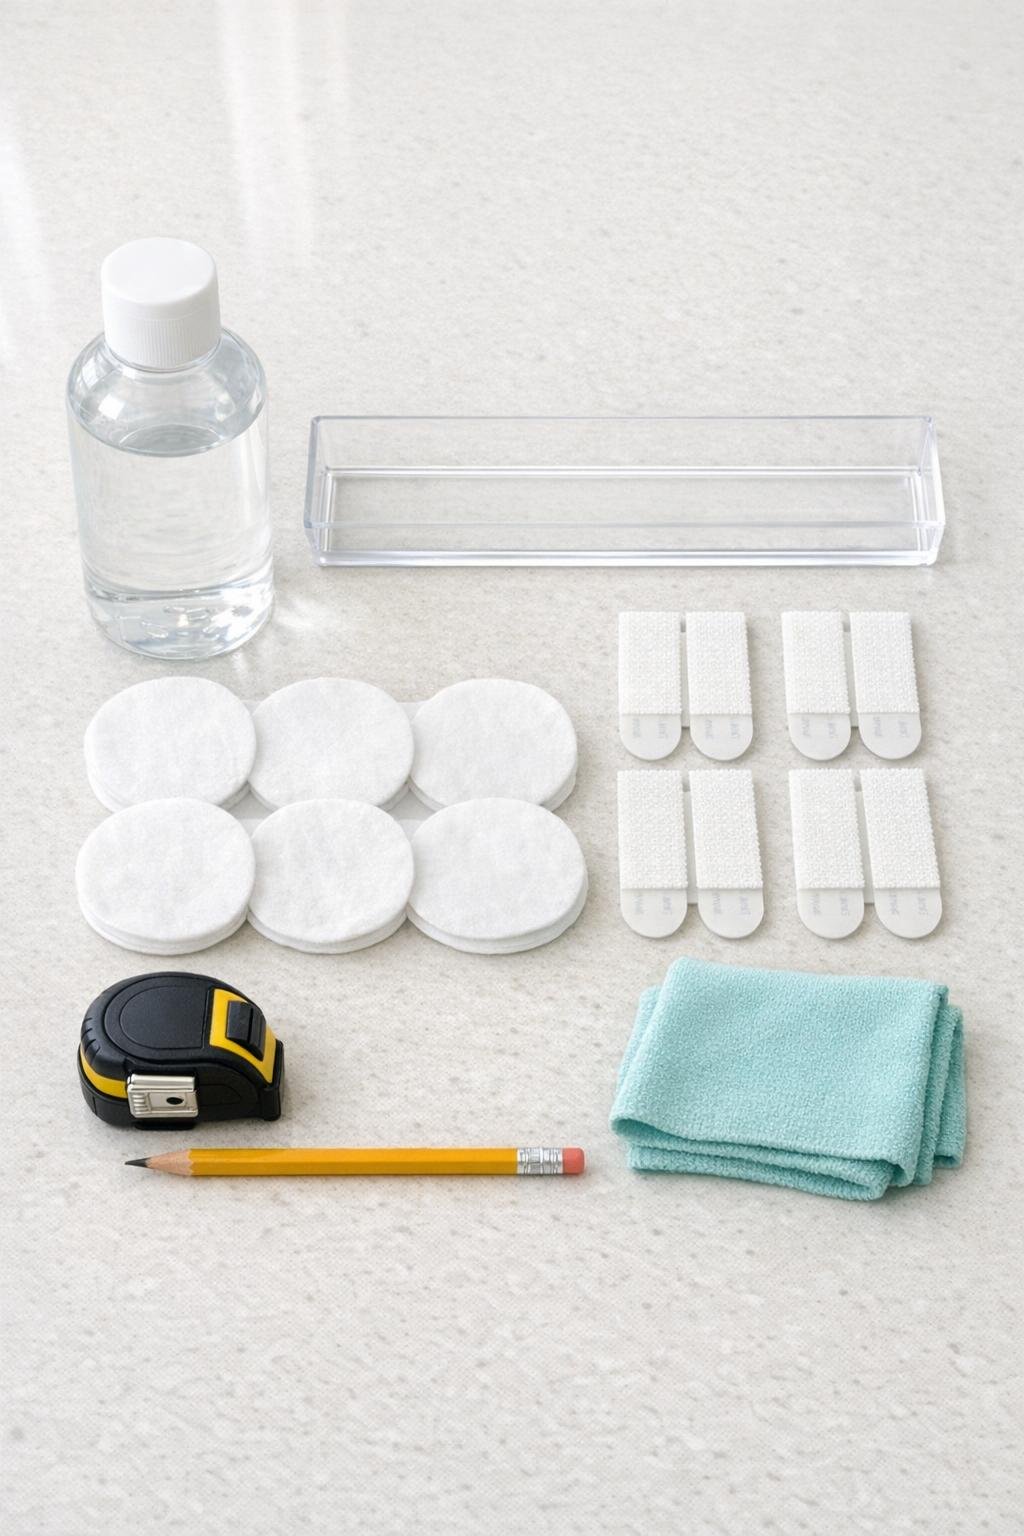
Materials
1 clear narrow acrylic tray, about 10 to 12 inches long, 3 to 4 inches deep, and 2 inches tall
Instructions
1. Empty the inside of the medicine cabinet door area and make sure the door can still close with a tray attached. Measure the flat section of the door and confirm your acrylic tray will fit with at least 1 inch of clearance around hinges and shelves.
2. Hold the tray against the inside of the door and test the best height for the items you plan to store. I like placing it low enough for easy access but high enough that tall bottles on the main shelves won’t bump it when the door closes.
3. Clean the mounting area on the cabinet door with rubbing alcohol and a cotton pad, then wipe the back contact points of the acrylic tray. Let both surfaces dry fully so the adhesive bonds well.
4. Snap or press the adhesive strip pairs together according to the package style, then attach two pairs evenly along the back upper edge of the tray and two pairs along the back lower edge. Keep the strips straight and inset about 1 inch from each end for balanced support.
5. Use your measuring tape and pencil to lightly mark the tray position on the cabinet door, then check the line with a small level. This extra minute keeps the finished shelf from looking crooked every time you open the cabinet.
6. Press the tray firmly onto the marked spot on the door for the full time recommended on the adhesive packaging. Apply even pressure at each strip location so the tray seats securely and stays aligned.
7. If your adhesive brand recommends curing time, leave the tray empty for that full period before loading it. This is the step that makes the difference between a shelf that lasts and one that slowly peels off after a few steamy showers.
8. Slide the tray gently off and back on once to confirm it moves cleanly over the mounted strip area if your setup is designed as a removable slide-on fit. If needed, adjust the tray so it sits snugly and straight without scraping the cabinet door.
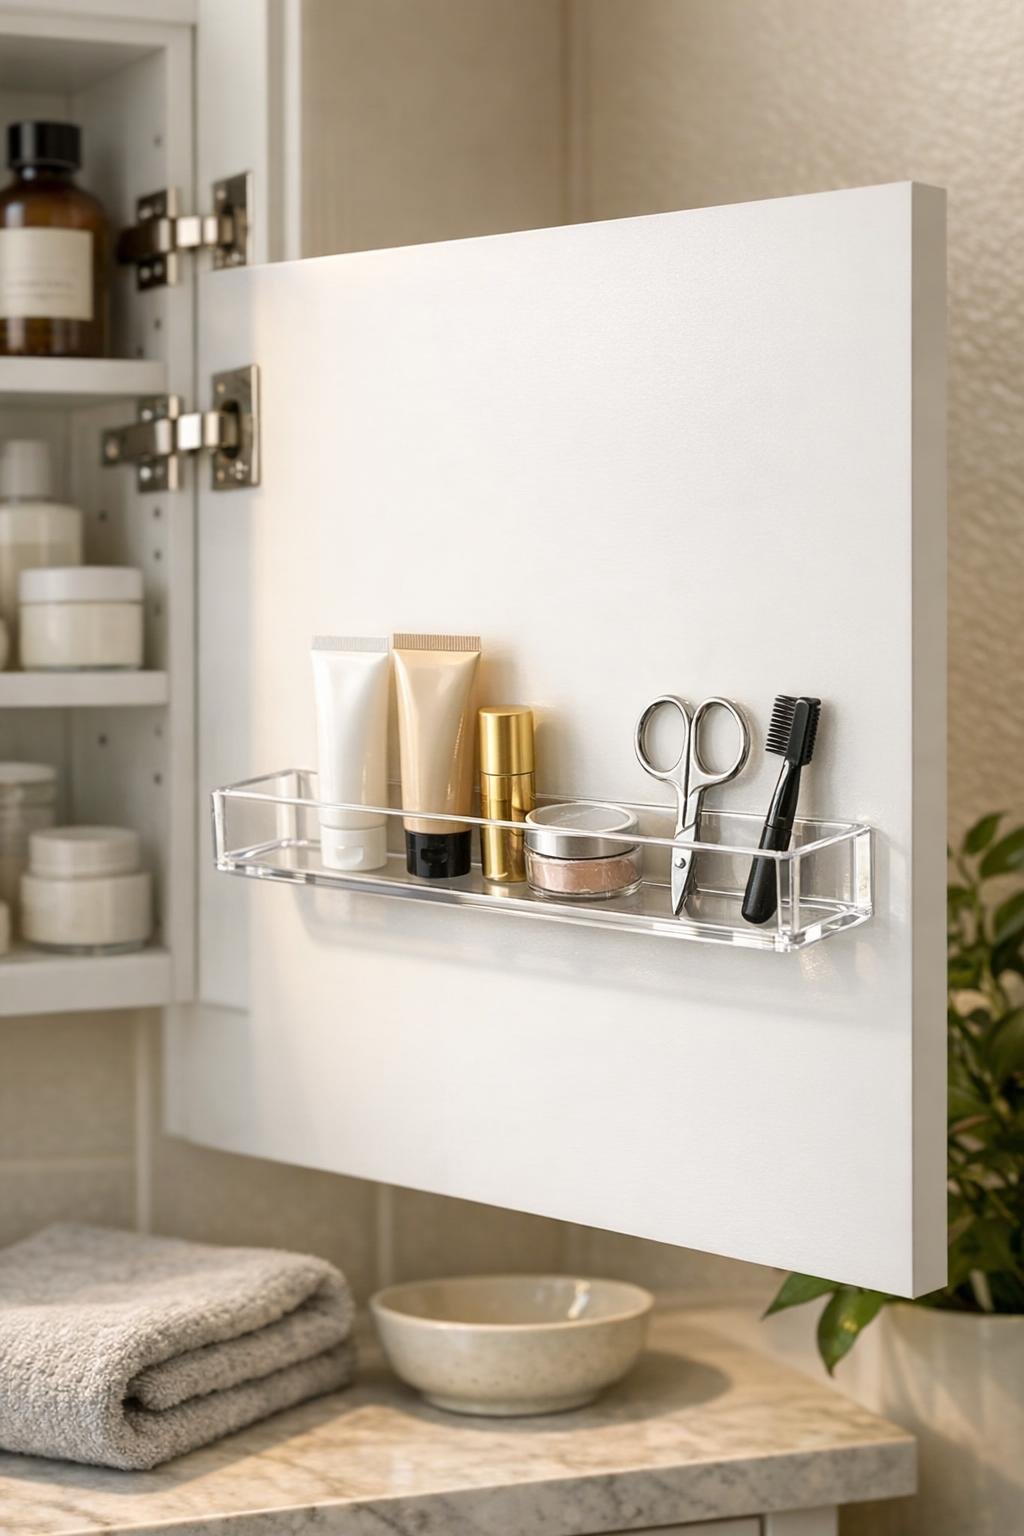
9. Load the tray with lightweight bathroom essentials like lip balm, tweezers, small skincare tubes, nail clippers, or travel-size products. Keep the heaviest items on the main cabinet shelves and use this door shelf for the smaller things that usually get lost.
10. Wipe the tray with a microfiber cloth and give the rest of the cabinet a quick reset so the finished project looks polished. A clear tray always looks best when it’s edited down to neat, visible categories instead of becoming a catch-all.
Variations & Tips
For renters: Use removable heavy-duty picture hanging strips instead of permanent mounting tape so you can take the shelf down later with less risk of damage.
Best tray style: Choose an acrylic tray with a flat back and slightly raised sides. That combination gives you the easiest adhesive contact and keeps small items from tumbling out when the door swings open.
Weight limit: Stick to lightweight items only. I treat this shelf like a “small stuff zone” for the morning routine, not a place for glass bottles or full-size mouthwash.
Moisture tip: If your bathroom gets very steamy, let the cleaned surface dry a little longer before mounting and wait the full cure time before adding products. Adhesive always behaves better on a fully dry surface.
Make it look organized: Group similar items together in the tray, like lip care in one section and nail tools in another. Even one small tray can look surprisingly high-end when it’s not overcrowded.
Easy cleaning: Because the tray is removable, slide it off every couple of weeks and wash it with mild soap and water, then dry it completely before putting it back. That little habit keeps clear acrylic looking crisp instead of cloudy.
Size check before buying: Measure the inside depth of the cabinet with the door closed, not just the door width. I’ve learned the annoying way that a tray can fit the door perfectly and still be too deep for the cabinet to shut.