
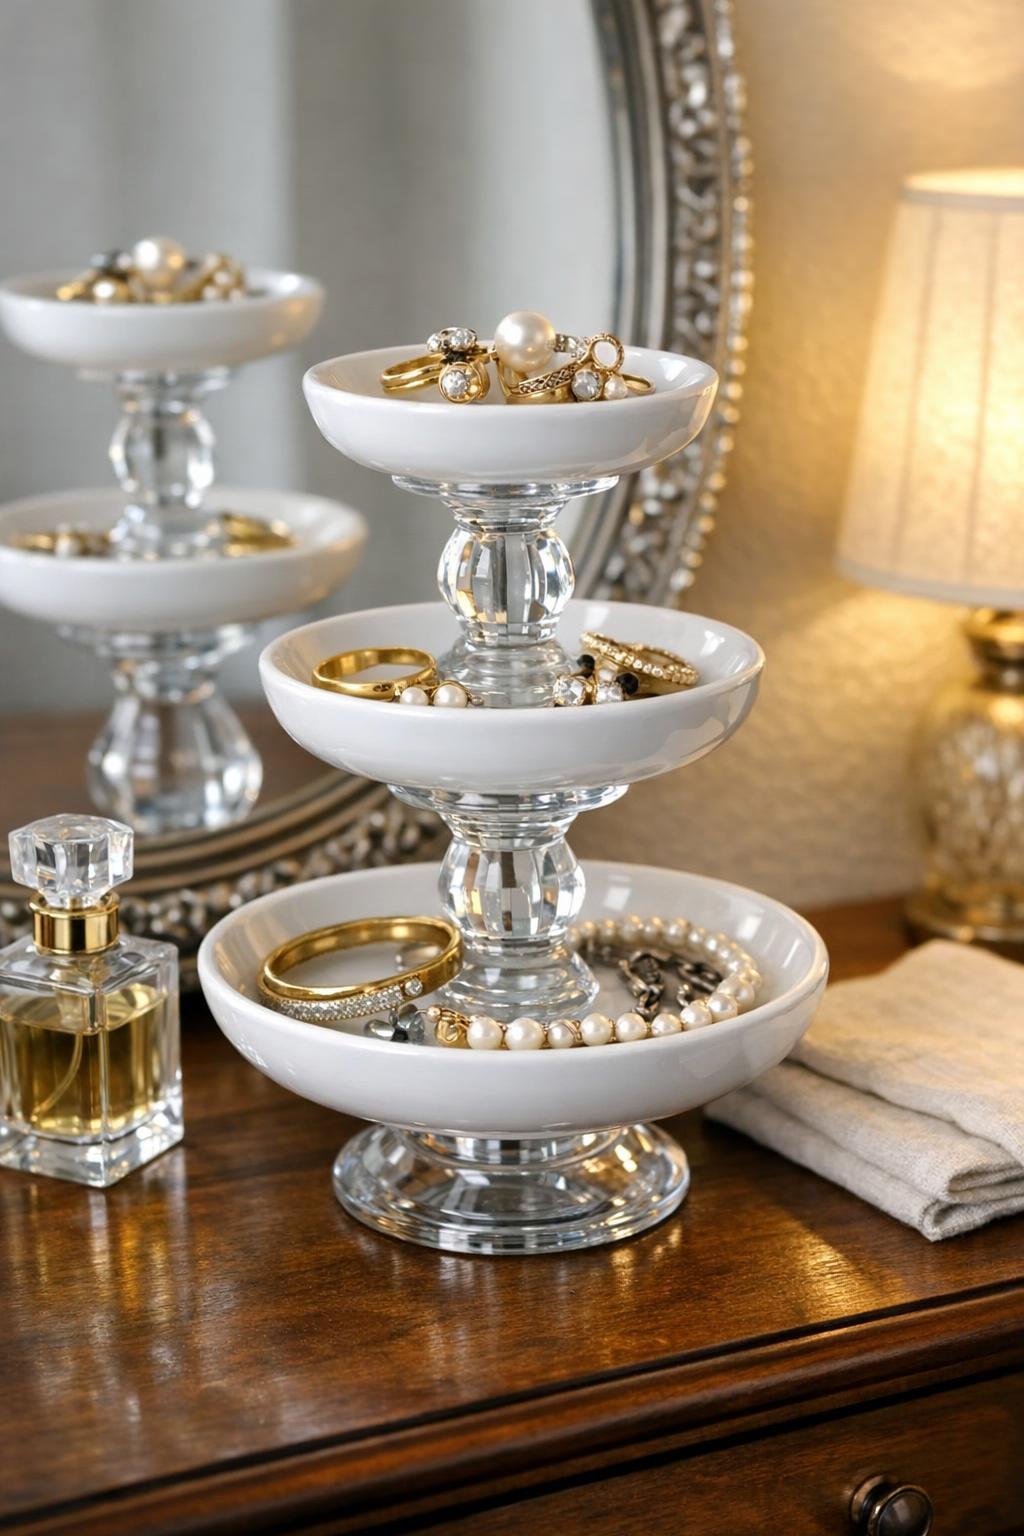
I love a project that looks like it came from a boutique display table but is made from a few humble pieces and a little patience. This tiered jewelry tower uses small white ceramic dishes and clear glass candlestick holders to create a polished bedroom organizer that feels elegant, useful, and just a bit unexpected.
If you have necklaces tangling on the dresser, rings disappearing into little bowls, or earrings scattered near the mirror, this is the kind of easy afternoon project that genuinely earns its spot in the room. The finished tower has height, shine, and enough storage to make a nightstand or vanity feel tidier without looking purely practical.
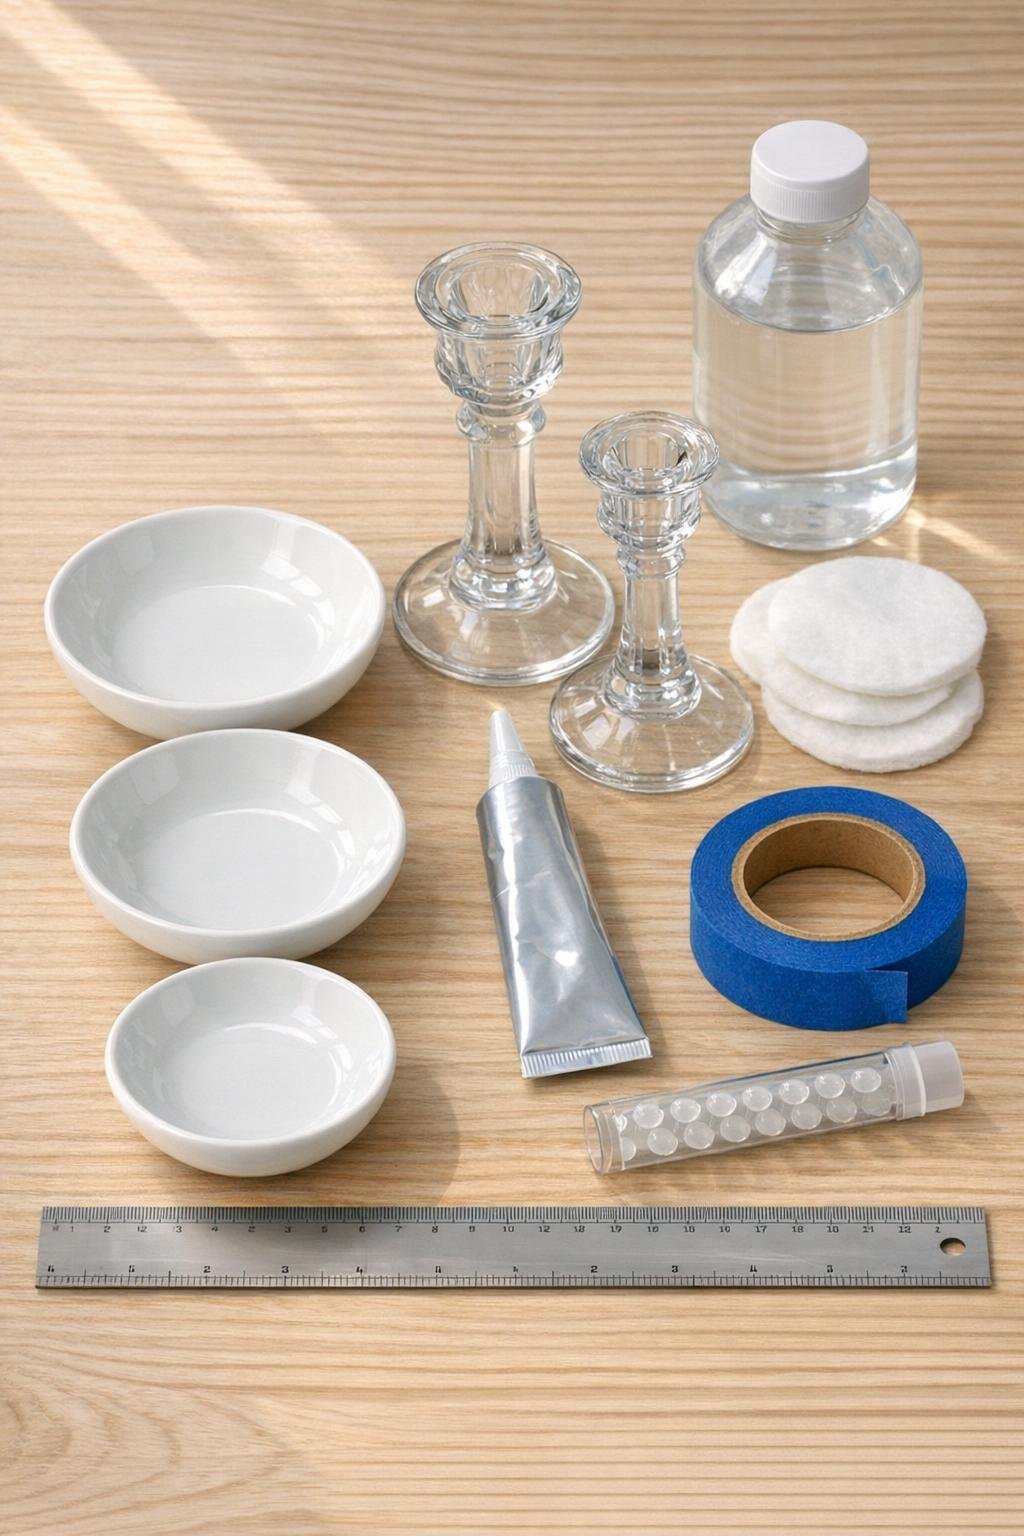
Materials
Instructions
1. Wash the ceramic dishes and glass candlestick holders with warm soapy water, then dry them completely so the glue can bond well.
2. Wipe the spots that will be glued with rubbing alcohol: the center underside of the top two dishes and both flat ends of each candlestick holder.
3. Arrange the pieces without glue first, stacking the largest dish on the bottom, the taller candlestick in the middle, the medium dish above that, the shorter candlestick next, and the smallest dish on top to check the proportions.
4. Measure the center of the largest dish and place a small loop of painter’s tape as a guide so the first candlestick holder lands exactly in the middle.
5. Apply a thin continuous ring of adhesive to the bottom rim of the taller candlestick holder, then press it firmly onto the center of the largest dish and hold for 30 to 60 seconds.
6. Add adhesive to the top rim of the taller candlestick holder, center the medium dish over it, and press straight down gently so the glue spreads evenly without overflowing the edges.
7. Repeat the process with the shorter candlestick holder, gluing it to the center of the medium dish and keeping it aligned vertically with the lower section.
8. Apply adhesive to the top rim of the shorter candlestick holder, center the smallest dish on top, and press lightly until it feels stable and level.
9. Step back and check the tower from all sides; if needed, nudge any dish very slightly before the adhesive starts to set so the whole piece looks straight and balanced.
10. Let the tower cure undisturbed according to the adhesive directions, ideally for 24 hours, before adding jewelry or moving it to the bedroom.
11. Peel away the painter’s tape guide and clean off any tiny glue strings with a cotton pad lightly dampened with rubbing alcohol, avoiding the cured seams.
12. Add felt bumpers under the bottom dish to protect the dresser surface, then style the tower with rings on the top tier, earrings in the middle, and bracelets or perfume samples on the bottom tier.
Variations & Tips
For more storage: Use slightly wider dishes for the bottom two tiers, such as 5 inches, 6.5 inches, and 8 inches, if you want room for chunkier bracelets and hair clips.
For a dressier look: Choose candlestick holders with cut-glass detail or subtle faceting; they catch the light beautifully and make the tower feel more custom.
For a secure bond: Less glue usually works better than too much. A thin ring gives cleaner seams and helps the dishes sit level instead of sliding around.
For color: Stick with white dishes for a classic bedroom look, or use blush, pale sage, or soft floral dishes if you want the organizer to coordinate with bedding or wallpaper.
For gift giving: This makes a lovely handmade present for birthdays, bridesmaids, or Mother’s Day; I like to tuck in a pair of earrings or a ring on the top tier so it feels finished right away.
For everyday use: Keep the smallest top dish for rings only. In my experience, giving each level a job is what keeps a pretty organizer from turning back into clutter.