
I love a craft that looks far more expensive than it is, and these faux amber pendants absolutely deliver. By melting amber-colored glue sticks into a small silicone tray, you get glossy, glowing little pieces that mimic the warm look of amber without needing resin, specialty molds, or a long curing time.
This is the kind of project I reach for on a busy weeknight when I want something creative but low-stress. If you’ve got a glue gun, a few jewelry findings, and about an hour, you can turn simple craft supplies into a whole set of wearable pendants that look polished and gift-worthy.
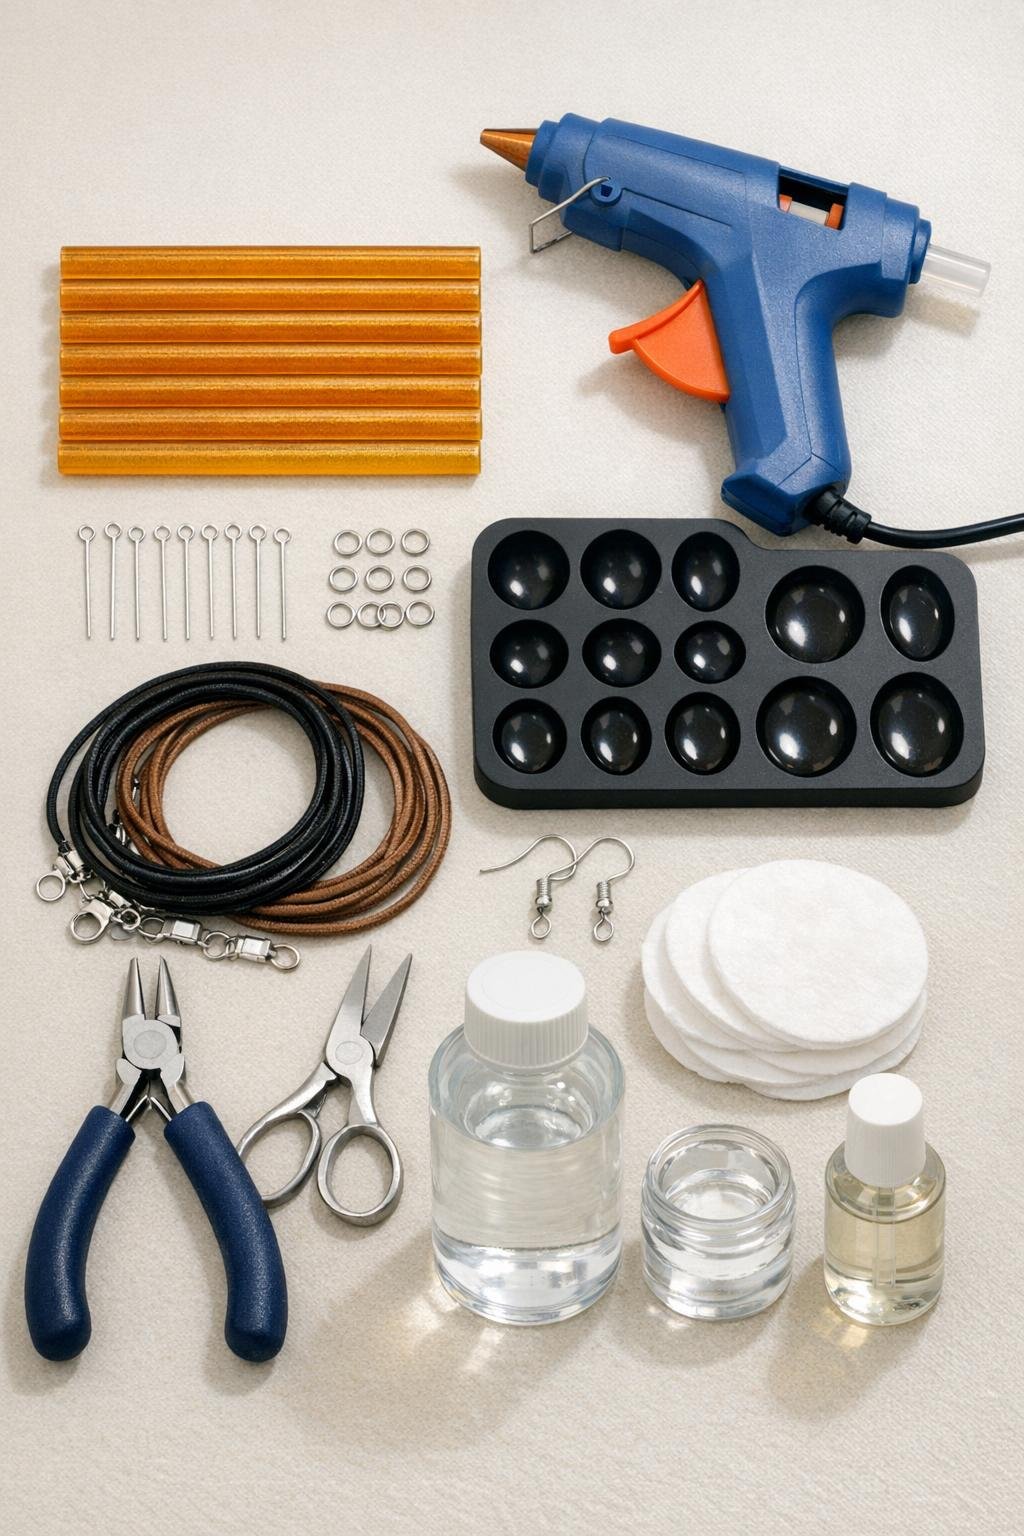
Materials
10 amber-colored mini glue sticks, 4 inches each
Instructions
1. Cover your work surface with parchment paper, plug in the glue gun, and wipe the silicone tray cavities with rubbing alcohol so the finished pieces release cleanly and look clearer.
2. Insert an amber glue stick and let the glue gun heat fully until the glue flows smoothly without forcing it.
3. Slowly fill each silicone cavity halfway, moving the tip in small circles so the melted glue spreads evenly and doesn’t trap large air bubbles.
4. While the glue is still molten, place an eye pin into the top edge of each cavity with the loop end sticking out slightly so each piece will have a built-in hanger.
5. Add more melted glue to fill each cavity almost to the top, covering the straight part of the eye pin and creating a slightly domed surface for a more gem-like finish.
6. Let the tray sit completely undisturbed for 20 to 30 minutes until the glue turns firm and cools all the way through.
7. Gently flex the silicone tray and pop out each faux amber piece, then trim away any thin glue strings or uneven edges with small scissors.
8. Brush or spread a thin coat of clear glossy sealant over the front and back of each piece to deepen the color and give the pendants a smoother, glassier shine.
9. Let the sealant dry fully, then use jewelry pliers to attach jump rings to the embedded loops.
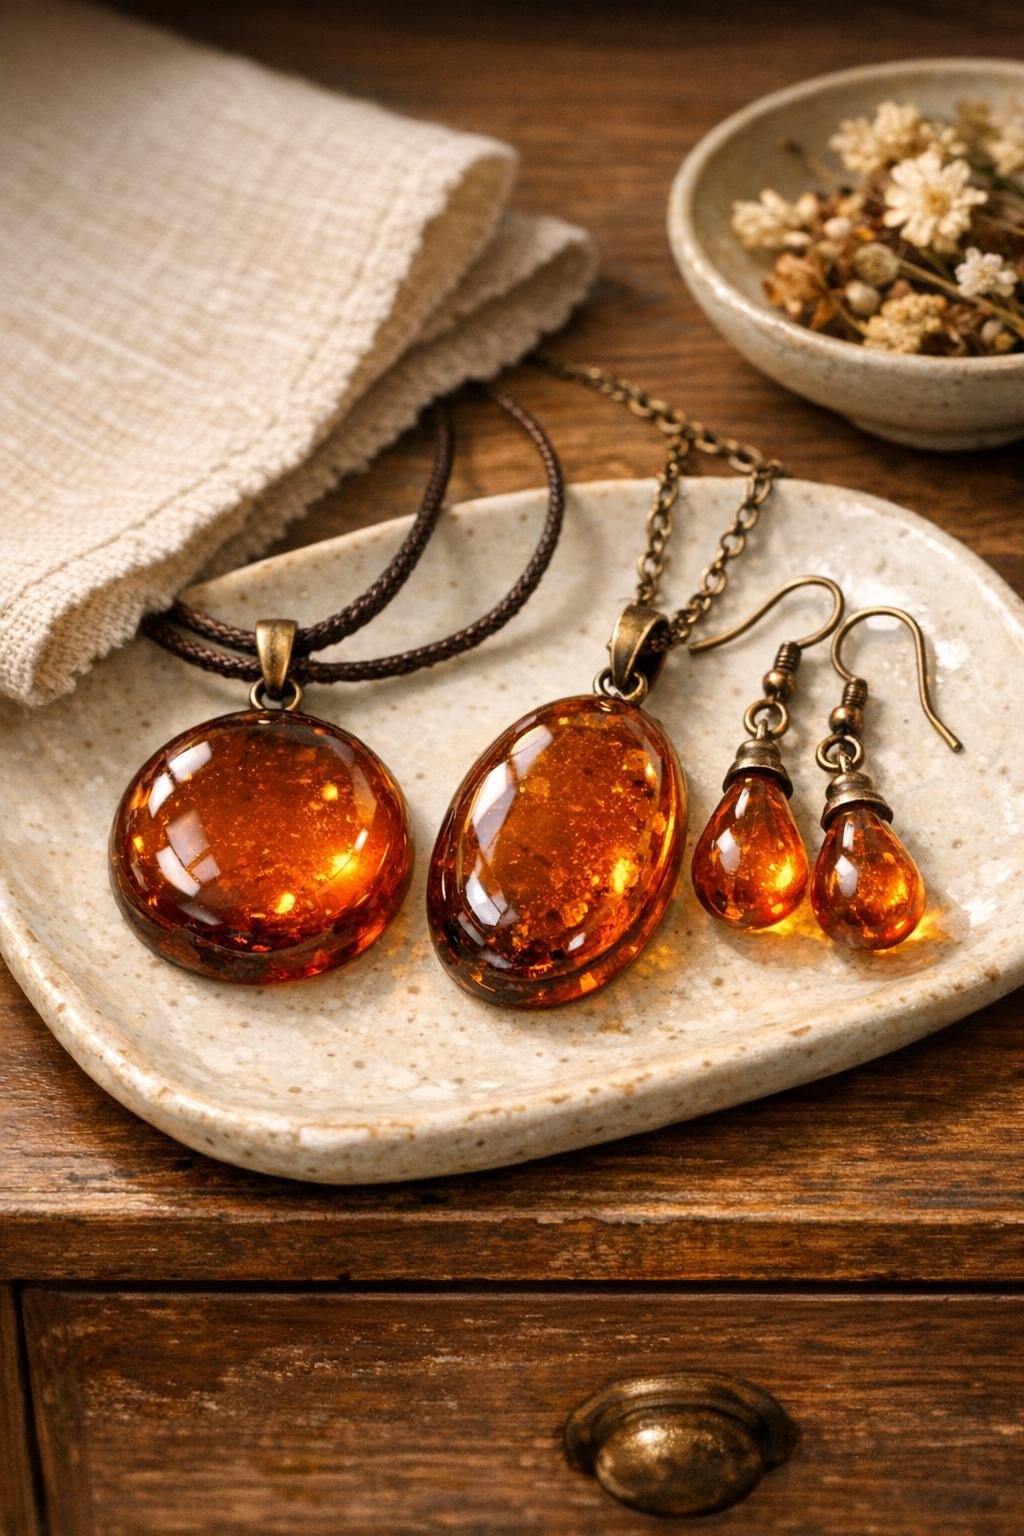
10. Slide the finished pendants onto necklace cords, or attach smaller pieces to earring hooks to make a matching set.
Variations & Tips
Shape choice: Round and oval cavities give the most convincing amber look, but small square or pebble-like cavities can create more modern statement pieces.
Bubble control: If you see bubbles, tap the tray lightly on the table right after filling each cavity; this helps the glue settle into a smoother finish.
Layered color: For a richer amber effect, alternate slightly lighter and darker amber glue sticks if you can find them, which creates natural-looking depth.
Best hardware: Lightweight necklace cords work especially well because hot glue pendants are lighter than real stone and hang nicely without heavy chains.
Gift idea: I like making several at once and turning them into a small matching set, because the batch method barely takes more time and the finished collection looks surprisingly boutique.
Finish tip: If one side cools a little flatter than you want, make that the back and put the glossier, more domed side facing forward.