
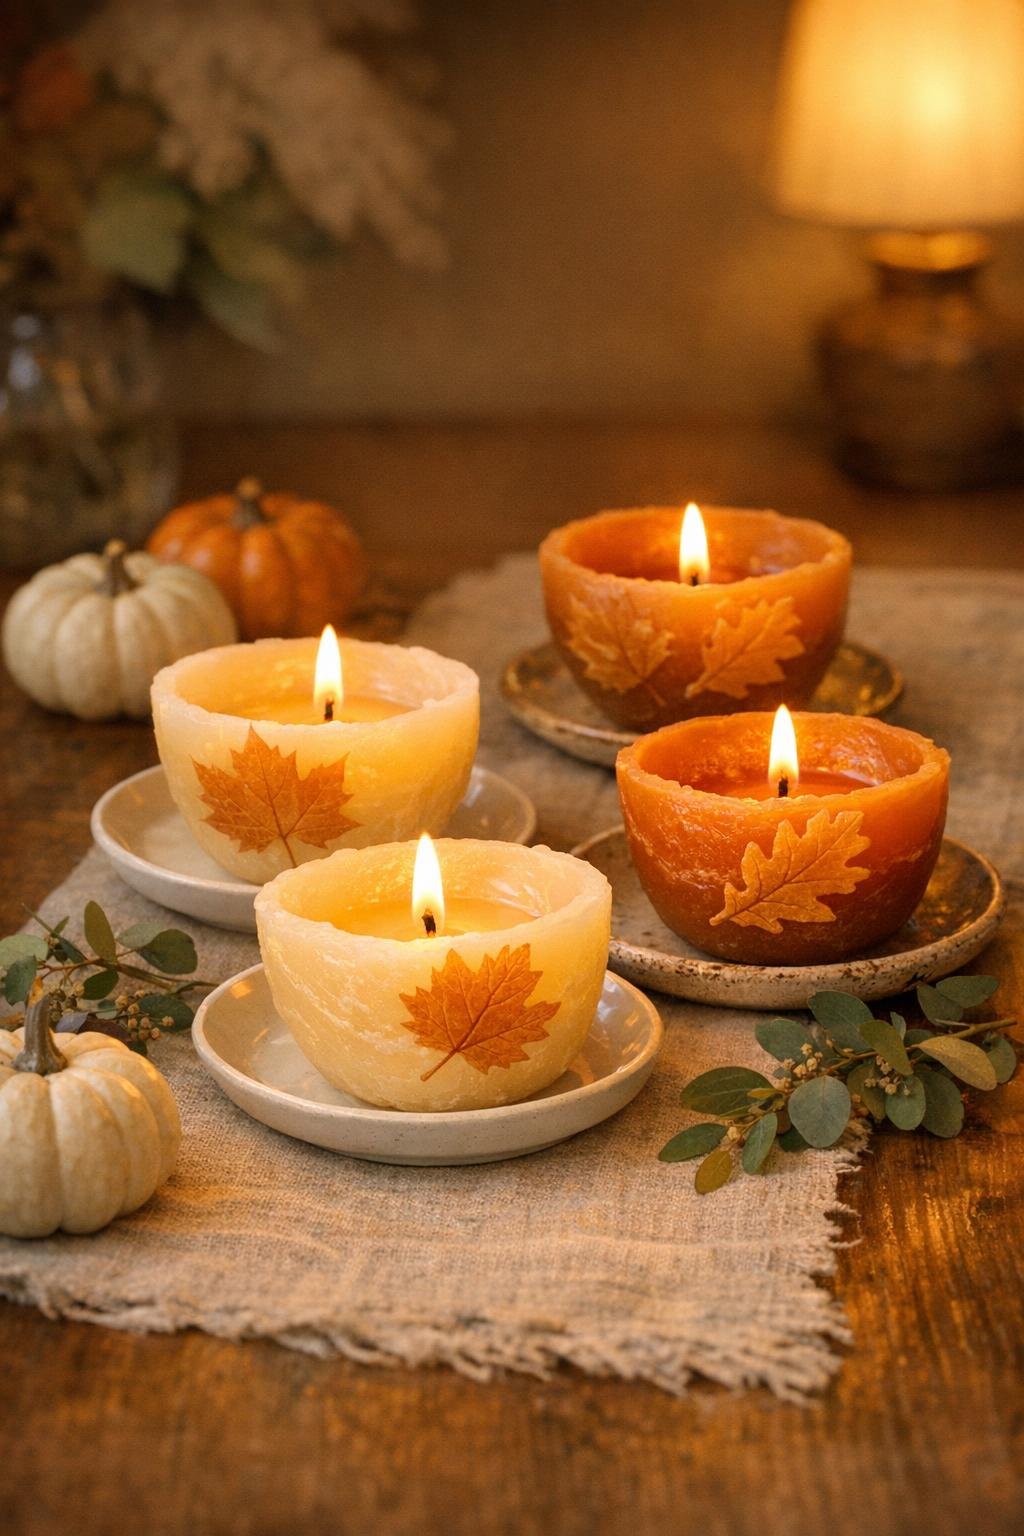
There is something so cozy about turning the simplest supplies into a centerpiece that looks like it came from a little artisan market. These layered candle wax harvest bowls are made by pouring melted dollar store candles into paper bowls lined with leaves, and the finished pieces have that soft, glowy, almost magical look that feels perfect for fall tables, Thanksgiving place settings, or a quiet evening at home.
I love projects like this because they look special without asking for fancy tools or hard techniques. If you can melt wax carefully and pour slowly, you can make these. The paper bowl gives you an easy mold, and the leaves press beautiful natural shapes right into the outside, so each one comes out a little different in the prettiest way.
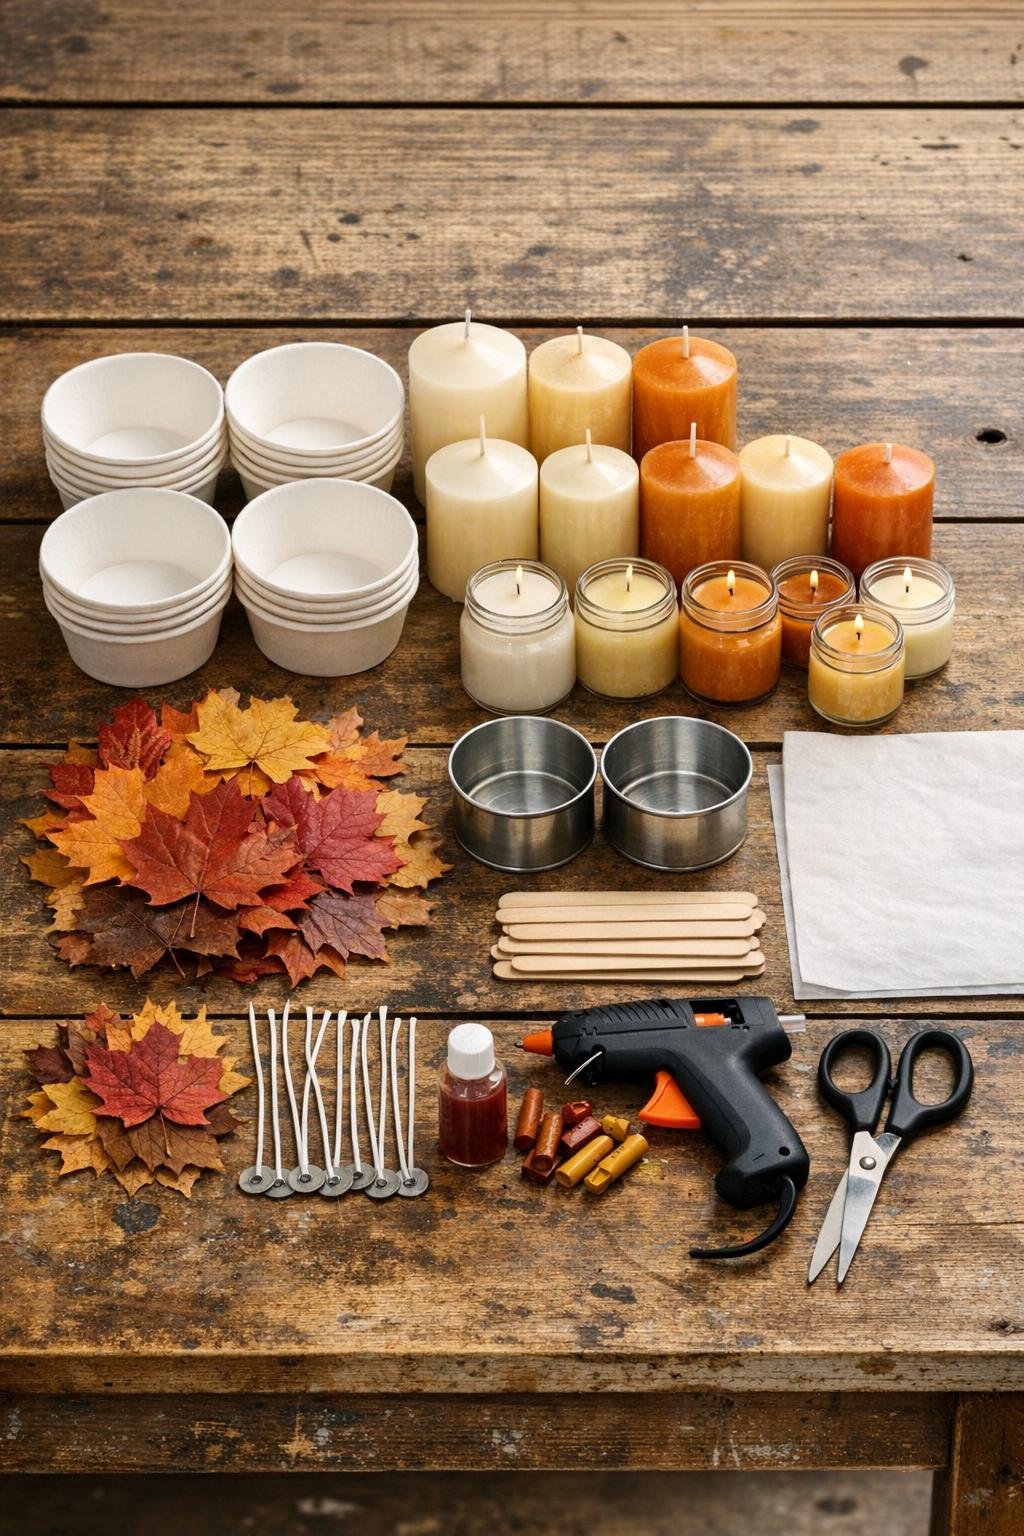
Materials
Instructions
1. Cover your work surface with parchment paper, set out the paper bowls, and sort your leaves by size so the prettiest, flattest ones are easy to grab first.
2. Press 3 to 4 leaves against the inside wall of each paper bowl, overlapping them slightly so they climb up the sides and create full coverage around the bowl shape.
3. Add a tiny dot of hot glue to the metal tab of each wick and stick one wick to the center bottom of each bowl; lay a craft stick across the top and wrap the wick around it once to keep it standing straight.
4. Remove any labels, metal pieces, or old wicks from the dollar store candles, break the wax into smaller chunks, and place the chunks into your clean tin cans.
5. Fill a saucepan with 3 cups of water, set the tin can inside, and melt the wax over low heat, stirring gently until smooth; if you want layered color, divide the wax between two cans and tint one slightly darker with a small piece of crayon or candle dye.
6. Pour a shallow first layer of wax, about 1/2 inch deep, into each leaf-lined bowl and let it sit for 8 to 10 minutes so the leaves stay anchored and the layered look starts to build.
7. Pour a second deeper layer into each bowl, filling them to about 3/4 inch from the rim; alternate shades if you made tinted wax so the bowls have soft harvest stripes and a richer glow when lit.
8. If you want a more dramatic finish, sprinkle a pinch of crushed dried leaf bits or a dusting of cinnamon or gold mica onto the still-warm top, keeping the wick area clear.
9. Let the bowls cool completely for 3 to 4 hours at room temperature until the wax is fully firm and opaque; trim the wicks to 1/4 inch.
10. Gently peel away the paper bowl from each candle and leave the embedded leaves in place on the outside if they released cleanly, or carefully press off any loose pieces for a smoother finish.
11. Warm the outside very lightly with your hands and buff away crumbs or rough wax edges with your fingertips so the bowl shape looks soft and finished rather than ragged.
12. Set each harvest bowl on a heat-safe dish or small saucer before burning, and group a few together so the layered colors and leaf impressions really show off.
Variations & Tips
For deeper color: Use three wax shades instead of two, such as cream, honey, and amber, and let each layer set slightly before pouring the next so the stripes stay softly defined.
For picky decorators: If your family prefers a cleaner look, skip the sprinkled topping and let the leaf impressions be the star; they still look beautiful and a little fancy without extra embellishment.
Leaf choice: Maple and oak leaves give the boldest shape, but fern fronds or small sweetgum leaves can make the bowls look even more delicate and lacy.
Best burn setup: These are prettiest as short-lived decorative candles, so always place them on a heat-safe plate and never leave them unattended while burning.
Easy gift idea: Nest one harvest bowl on a thrifted saucer, tie it with a bit of ribbon, and add a cinnamon stick for a simple hostess gift that feels thoughtful and homemade.
Smoother finish: If the bottom looks uneven after unmolding, set the candle very briefly on a warm baking sheet for a second or two to flatten the base just enough to sit nicely.
Batch-making tip: Melt all the wax first and line every bowl before you pour; once you get into a rhythm, making a full set of six to eight bowls is much easier than doing them one at a time.