
When my garden beds are heading into that weird shoulder-season stretch before a hard frost, I get a little obsessive about holding onto every bit of moisture I can. This simple raised bed moisture trap uses punched aluminum pie tins and one common yard item—mulch—to help slow evaporation, direct water down where roots can use it, and keep the soil surface from drying out so fast. It is one of those old-school garden tricks that looks almost too simple to matter, but it really can make a noticeable difference in cool-weather beds.
I like this project because it is cheap, fast, and perfect for busy people who still want their fall greens, garlic, herbs, or newly planted perennials to get the best possible start. If you have a raised bed and ten spare minutes, you can set up several of these and make the bed feel much more forgiving between waterings.
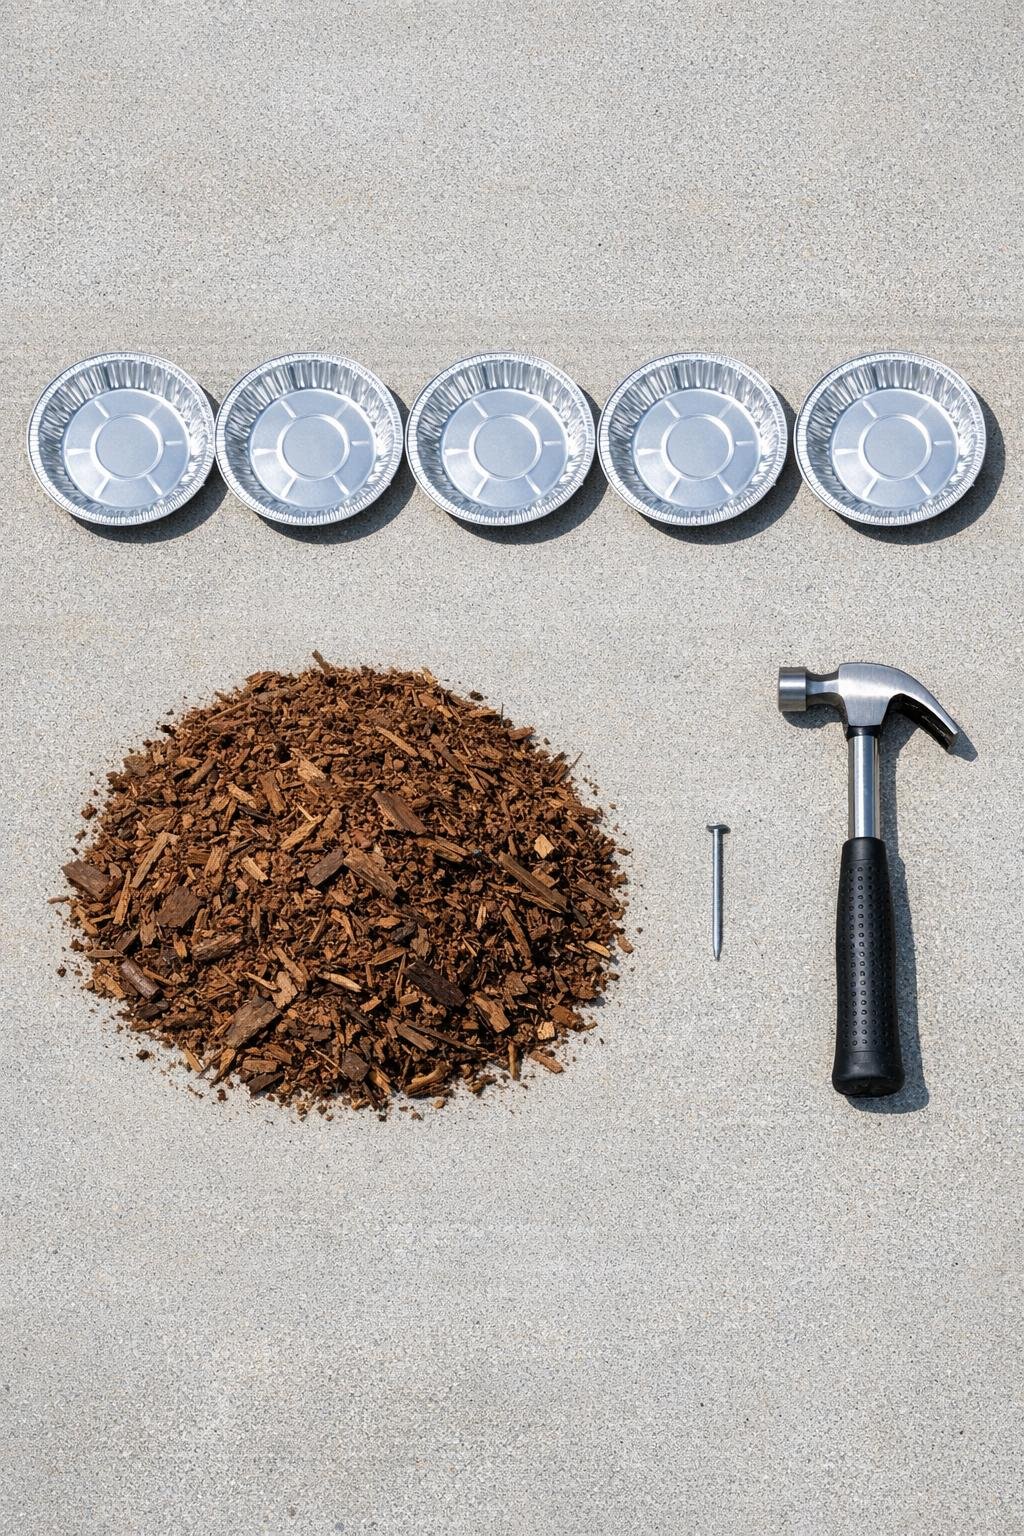
Materials
Instructions
1. Gather 6 aluminum pie tins for one 4-by-8-foot raised bed, which gives you enough coverage to space them around larger plants or across the driest sections.
2. Turn one pie tin upside down on a cement surface or scrap board and punch 7 to 10 small holes through the center area with the nail and hammer, keeping the holes clustered in a circle about 2 inches wide.
3. Repeat with the remaining pie tins, then press down any sharp raised edges around the holes so the centers sit fairly flat and water can pass through cleanly.
4. Water your raised bed deeply before installing the traps so the root zone starts fully hydrated; this works best as a moisture-saving layer, not as a substitute for watering dry soil.
5. Set the pie tins on top of the soil with the punched holes centered over the root zone of individual plants or spaced evenly 12 to 18 inches apart across open planted areas.
6. Tuck each tin slightly into the soil surface—about 1/2 inch deep around the edge—so it stays put and can catch dew, light rain, and overhead watering without shifting.
7. Spread a thick 2- to 3-inch layer of shredded mulch around and between the tins, covering all exposed soil but leaving the punched center of each tin open and visible.
8. Pull the mulch snugly up to the rim of each tin so the bed has dense coverage; this combination of reflective metal and mulch helps reduce surface drying while still channeling moisture downward.
9. Water the bed again gently from above to settle the mulch and test the setup; you should see water collect briefly on the tin and then drain through the holes into the soil below.
10. Leave the traps in place through the pre-frost period, checking every week or so to clear off packed debris and reposition any tin that gets buried too heavily by mulch.

Variations & Tips
Best crops for this trick: I like this most around fall lettuce, kale, spinach, cilantro, parsley, and newly planted garlic because their roots appreciate steadier moisture when cold nights start creeping in.
Mulch choice: Shredded mulch works better than chunky nuggets because it packs in more tightly around the tins and leaves fewer bare patches where moisture can escape.
How many to use: For smaller 2-by-4-foot beds, 3 to 4 tins is usually enough. For larger beds or very thirsty plantings, add more so no big stretches of bare soil are left exposed.
Placement tip: If you are working around established plants, place each tin a few inches away from the stem crown rather than directly against it to avoid trapping too much moisture right at the base.
Cold-weather bonus: The tins can also help light rain and heavy dew drip more directly into the root zone instead of letting all that moisture disappear from the soil surface by midday.
Safety note: Aluminum edges can stay sharp after punching, so I always flatten any rough spots with the hammer before taking the tins into the garden.
For a tidier look: Nestle the tins evenly and keep the mulch layer thick and smooth across the whole bed. It takes an extra minute, but the finished bed looks intentional instead of makeshift.
When to remove them: Once your bed settles into regular winter moisture or the rainy season, you can lift the tins, refresh the mulch, and store them flat for next year.