
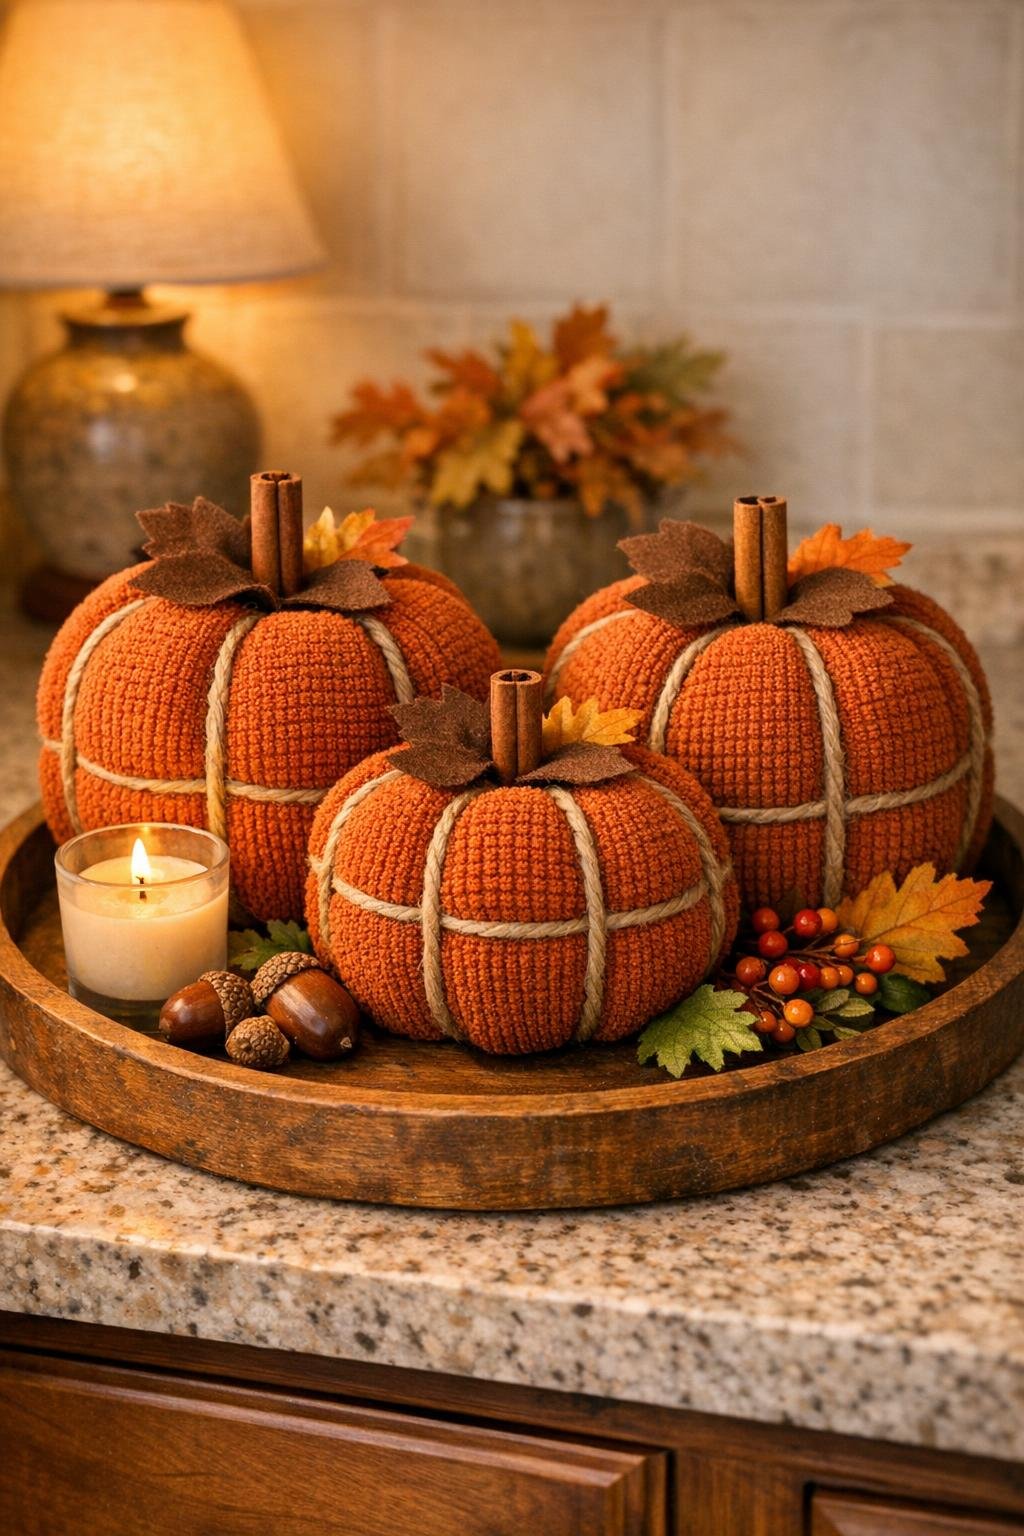
I love a fall project that looks a lot fancier than it really is, and this little pumpkin trio absolutely delivers. With just a handful of dollar-store washcloths, a little twine, and a few easy finishing touches, you can make soft, plump pumpkins that look adorable on a tray, tucked into a centerpiece, or styled on a kitchen counter for autumn.
This is the kind of craft I reach for when I want something cozy and seasonal but do not have the energy for a complicated afternoon project. Since the hero scene already gives away the fun part—cinching those washcloths into shape—I built this version to turn 6 burnt orange washcloths into a full trio with nice round bodies, neat sections, real-looking stems, and simple accents that make them feel polished instead of thrown together.
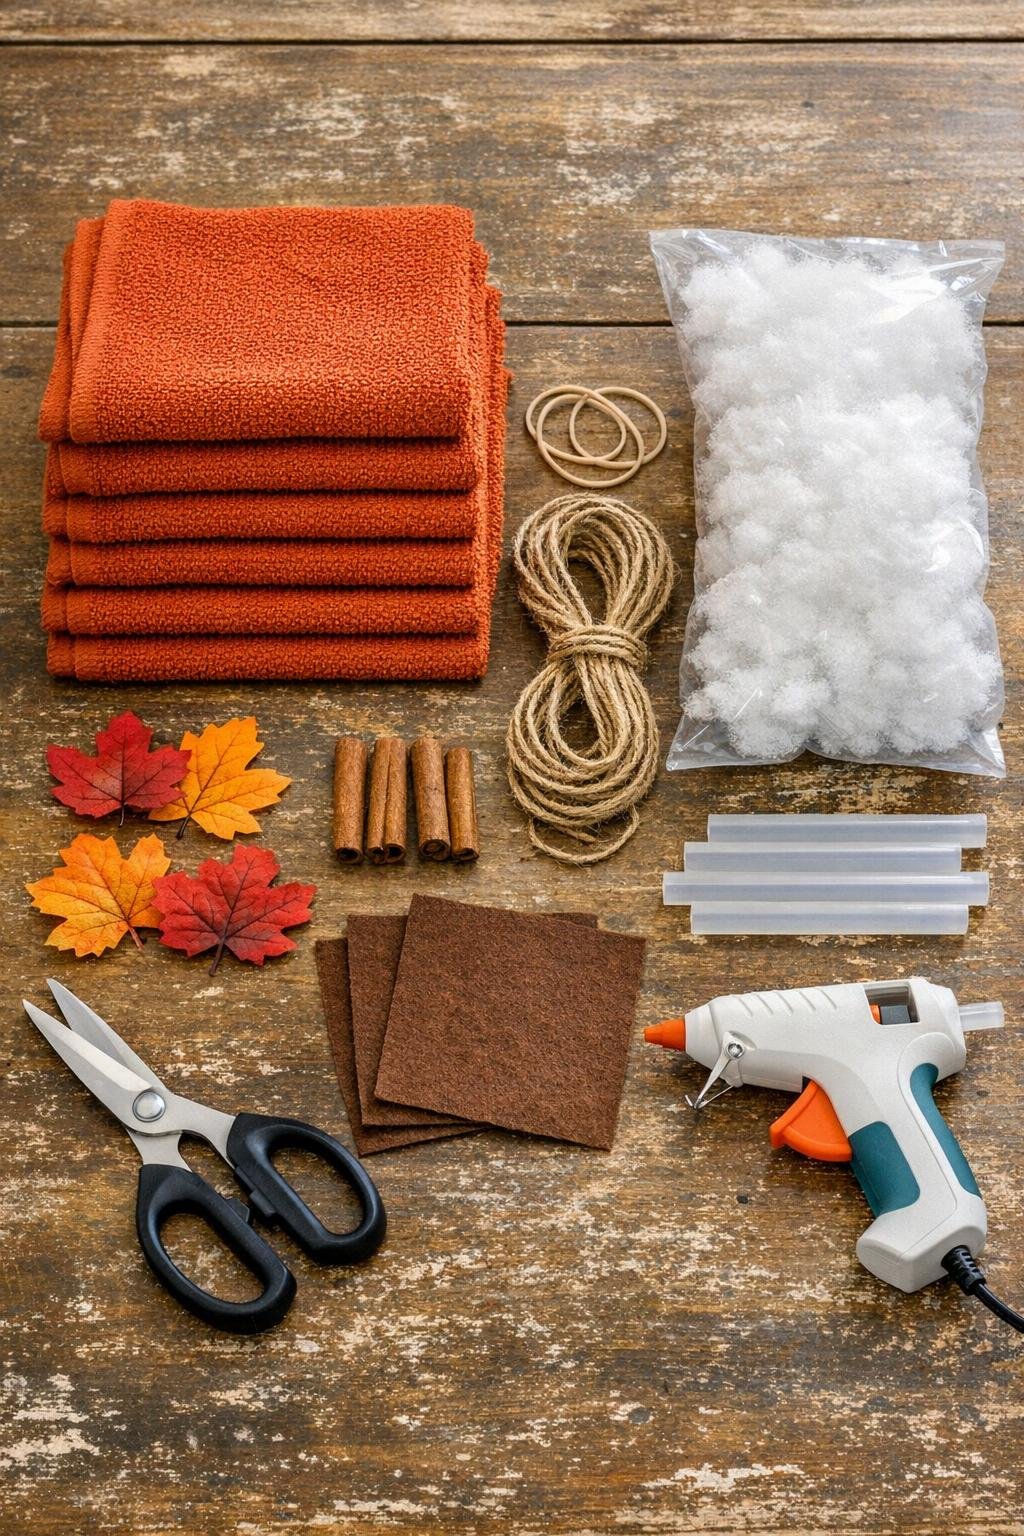
Materials
Instructions
1. Pair the washcloths into sets of two, then lay one washcloth flat and place a loose handful of fiberfill in the center to start the pumpkin body.
2. Set the second washcloth on top at the opposite angle so the corners are staggered, then pull all the edges upward around the stuffing to form a full round bundle.
3. Wrap a rubber band tightly around the gathered middle to hold the bundle in place, then fluff and tug the sides until the pumpkin looks evenly rounded.
4. Cut a 3 1/2-foot length of twine and wrap it around the pumpkin from top to bottom, crossing at the center and pulling firmly to create six rounded pumpkin sections.
5. Knot the twine securely at the top, then rotate the pumpkin and adjust each segment with your fingers so the ridges look balanced and softly puffed.
6. Roll one 3 x 3 inch piece of brown felt into a tight tube, glue the edge to hold it, and glue a cinnamon stick inside or beside it to make a thicker, more realistic stem.
7. Glue the finished stem into the gathered top center of the pumpkin, then tuck and glue two faux leaves around the base of the stem for a finished look.
8. Repeat the same process with the remaining four washcloths to make two more pumpkins, varying the amount of stuffing slightly so you end up with one small, one medium, and one large pumpkin.
9. Fluff all three pumpkins one last time, trim any stray twine or felt edges, and arrange the stems and leaves so each pumpkin looks full and polished from the front.
Variations & Tips
Make them fuller: If your washcloths are on the thin side, add a little extra fiberfill before cinching. A generously stuffed center is what gives these that rounded pumpkin shape instead of a flat bundle.
Use what you have: If you do not have felt, skip it and use just cinnamon sticks for the stems. A dab of hot glue and a couple of leaves still gives you a really cute finished top.
Try mixed fall tones: Burnt orange is classic, but this also looks pretty with mustard, rust, or cream washcloths. I like mixing shades when I am decorating a bigger dining table or entryway tray.
Keep them giftable: These are fun to set in a small basket with a hand soap or kitchen towel for a sweet fall hostess gift. Since they are made from washcloths, they have that clever surprise factor people love.
Balance the trio: Make one pumpkin slightly taller, one wider, and one smaller so the group looks styled instead of identical. That little size difference makes the whole display feel more high-end.
Display idea: I like grouping these on a wooden tray with a candle and a few extra leaves in the kitchen, because they bring in fall color without taking up much space. They are also perfect on open shelving or a coffee table centerpiece.