
There’s a reason people are cutting cotton swabs in half right now: they make the fluffiest, most convincing chrysanthemum petals with almost no learning curve. Once the swabs are trimmed and pressed into a wreath form, the whole piece starts looking surprisingly lush and high-end, even though it’s made from the simplest craft-store supplies.
I love projects like this because they give big visual payoff without asking for a whole Saturday. This wreath is perfect if you want something crisp, textural, and a little unexpected for a front door, entry table, or mantel, and it’s especially good for busy people like me who want a finished project to look polished fast.
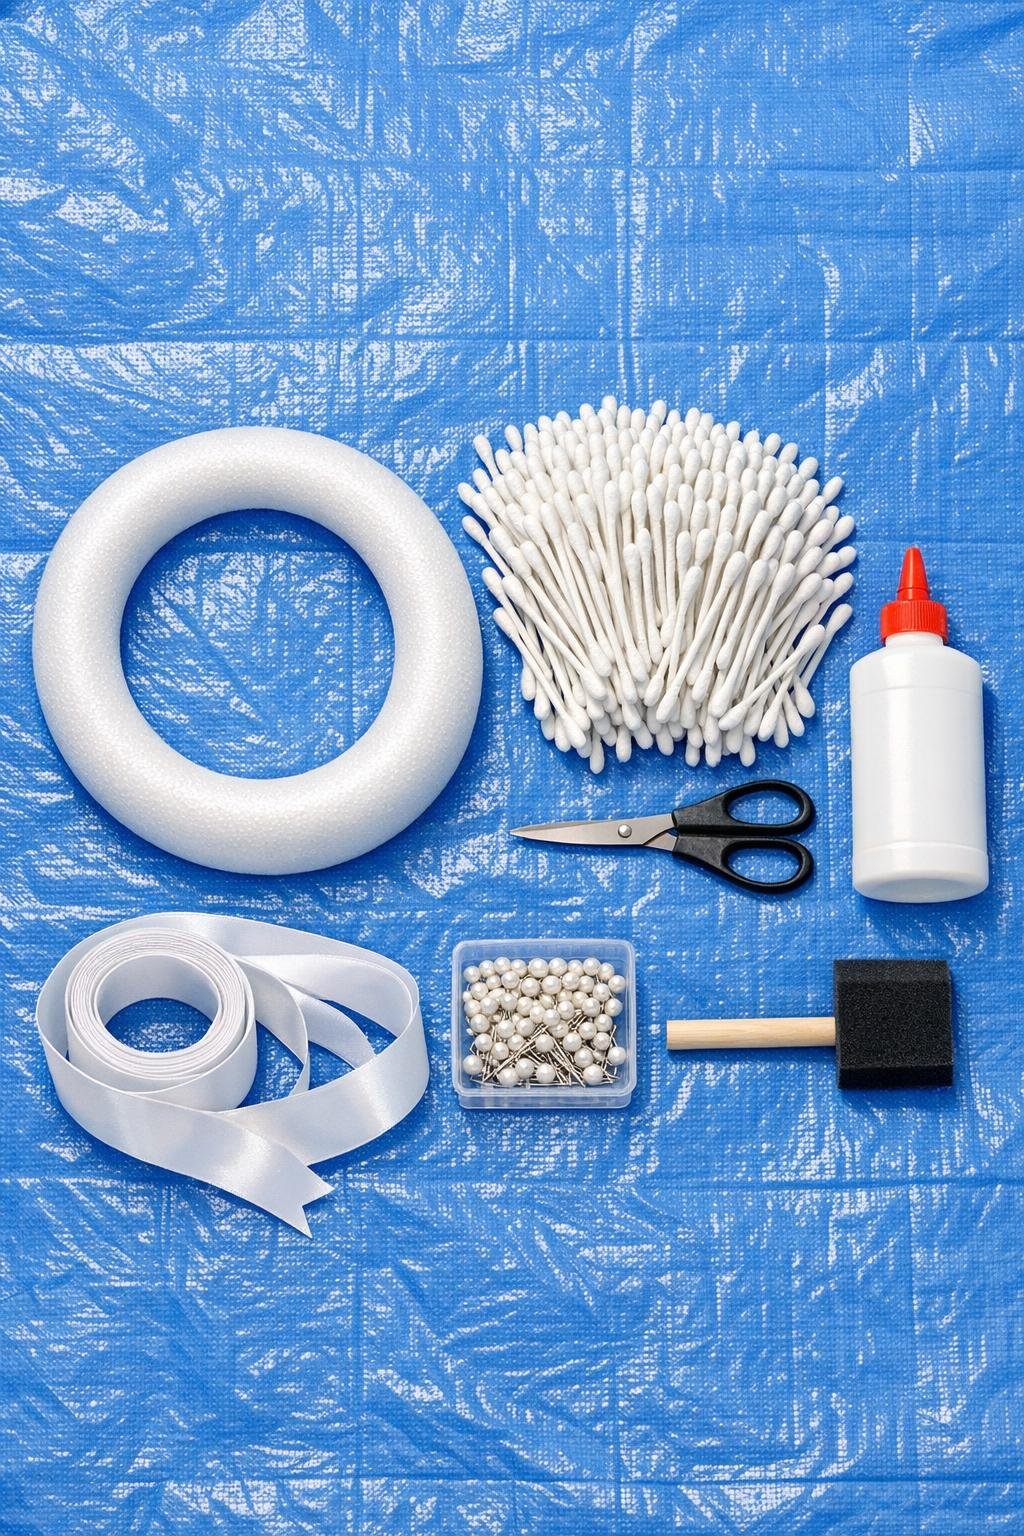
Materials
1 foam wreath form, 12 inches across and 2 inches thick
Instructions
1. Cover your work surface with the wax paper and set the foam wreath form in front of you so it stays clean while you work. If your wreath form has a seam or rough spot, wrap that area with a little floral tape to smooth it out.
2. Snip all 500 cotton swabs in half at the center of each stick to make about 1,000 short stems with cotton tips. Keep the cuts as even as possible so the finished petals sit at a consistent height.
3. Divide the cut swabs into three piles so assembly goes faster: one large pile for the top surface, one for the inner edge, and one for the outer edge. This sounds fussy, but it saves me from stopping halfway through to cut more.
4. Brush a 3-inch section of glue onto the top front face of the wreath, starting along the outer edge. Press the cut end of each swab half into the foam at a slight outward angle, placing them about 1/4 inch apart in a curved row.
5. Add a second row just inside the first, overlapping slightly so the cotton tips cover the stems and start creating that dense chrysanthemum look. Continue around the whole wreath in glued sections until the outer half of the top face is covered.
6. Fill the inner half of the top face the same way, but angle those swabs slightly toward the center opening. Work in tight concentric rows so the top looks full and flower-like instead of patchy.
7. Start covering the outer side edge by brushing on glue and pushing in swab halves horizontally, with the cotton tips facing outward. Keep the rows snug and staggered so no foam shows through when the wreath hangs.
8. Cover the inner side edge the same way, angling the swabs slightly toward the center opening for a softer, fuller finish. If you spot any gaps, tuck in extra swabs before the glue dries.
9. Let the wreath rest for 15 minutes, then gently press pearl-head pins into a few deeper spots around the form to lock the densest sections in place. I like using the pins sparingly because they disappear into the white petals but add a nice bit of security.
10. Cut 18 inches of satin ribbon, loop it for a hanger, and pin or glue the ends to the back top of the wreath. Add a separate 24-inch ribbon bow at the top or bottom if you want a softer finished look.
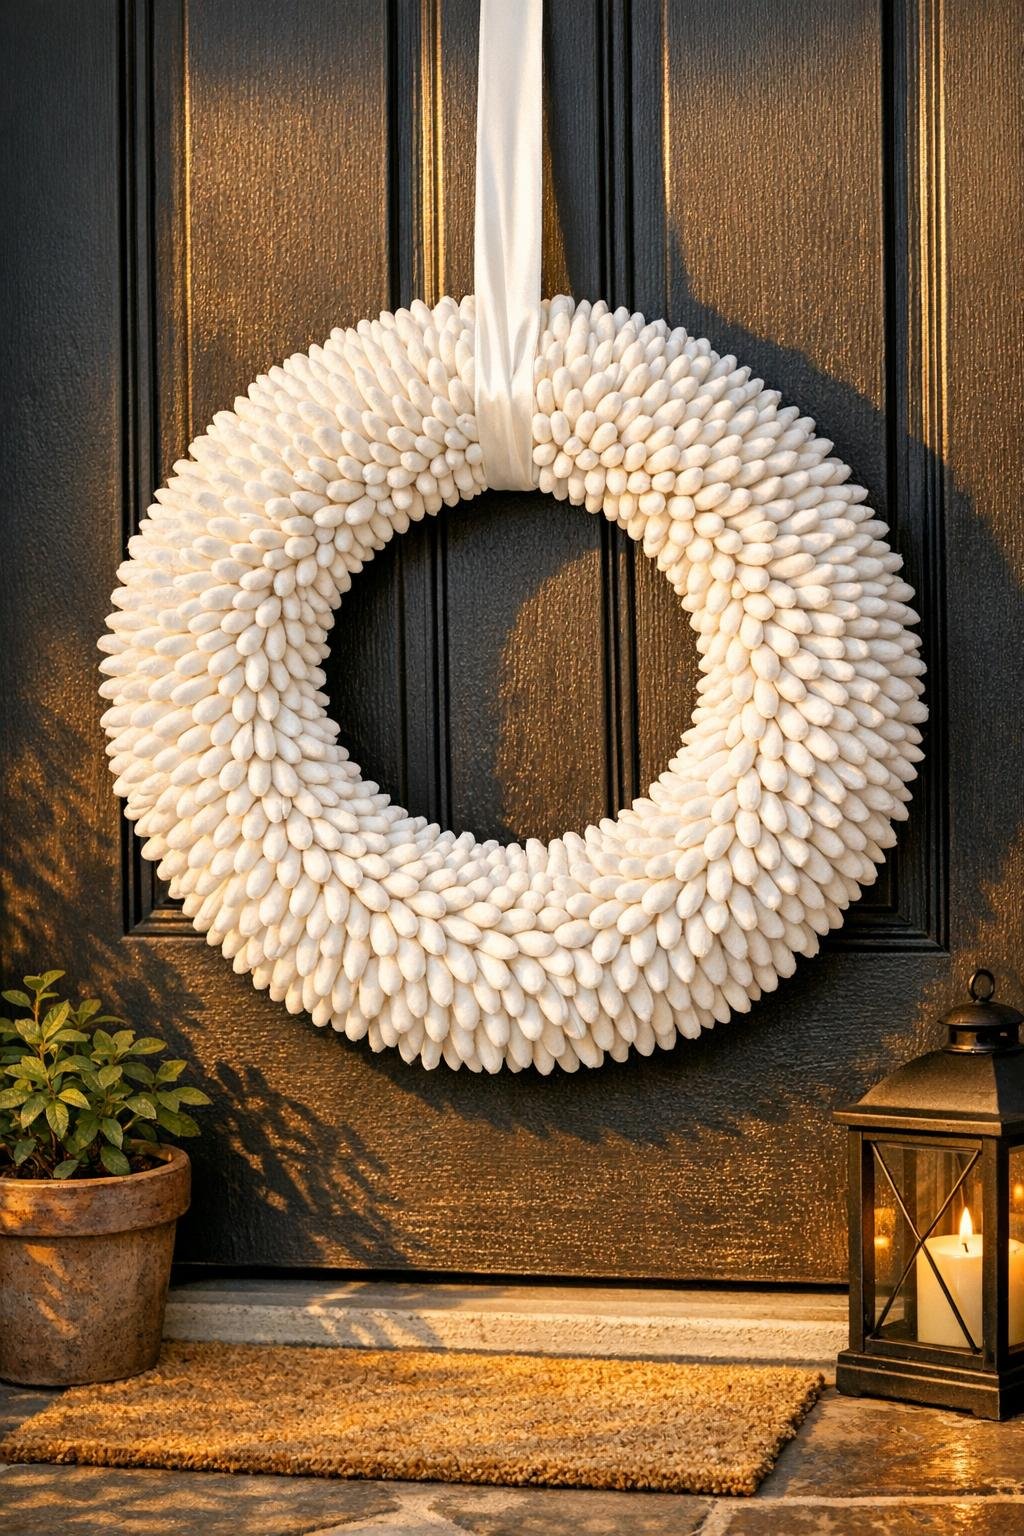
11. Fluff the cotton tips lightly with your fingers and rotate the wreath as you inspect it from every angle. Fill any visible foam spots with leftover swab halves, keeping the petal direction consistent so the whole wreath reads as one big chrysanthemum ring.
Variations & Tips
Soft Color Accent: If you want a seasonal look, lightly mist just the tips with blush, pale yellow, or soft sage craft spray paint after assembly. Keep it subtle so the chrysanthemum texture stays the star.
More Durable Version: For a wreath going on a sheltered front door, use hot glue instead of white craft glue and work in very small sections. It grabs faster and holds better in changing temperatures.
Fuller Flower Effect: Angle the top-surface swabs in slightly different directions as you move around the ring. That tiny change makes the wreath look more like layered petals and less like straight rows.
Keep It Clean: Because the wreath is bright white, I store it in a large paper shopping bag between seasons. That’s the easiest way I’ve found to keep dust off without crushing the petals.
Center Embellishment: If you want a dressier finish, add a narrow velvet ribbon bow or a few tiny faux pearl pins clustered at the top. I’d keep embellishments minimal, though, because the texture is already doing a lot of the work beautifully.