
This little entryway letter holder is one of those projects I love because it solves a real-life family problem in about an afternoon, and it still looks charming enough that people notice it right away. By attaching two large binder clips to a small wooden cutting board, you get a simple wall piece that keeps mail, permission slips, coupons, and little notes from drifting all over the kitchen counter.
As a mom, I’m always trying to make the front entry feel a bit more organized without turning it into something fussy, and this is exactly that kind of project. It’s beginner-friendly, inexpensive, and easy to customize, but the finished piece still has that polished, “Where did you get that?” look.
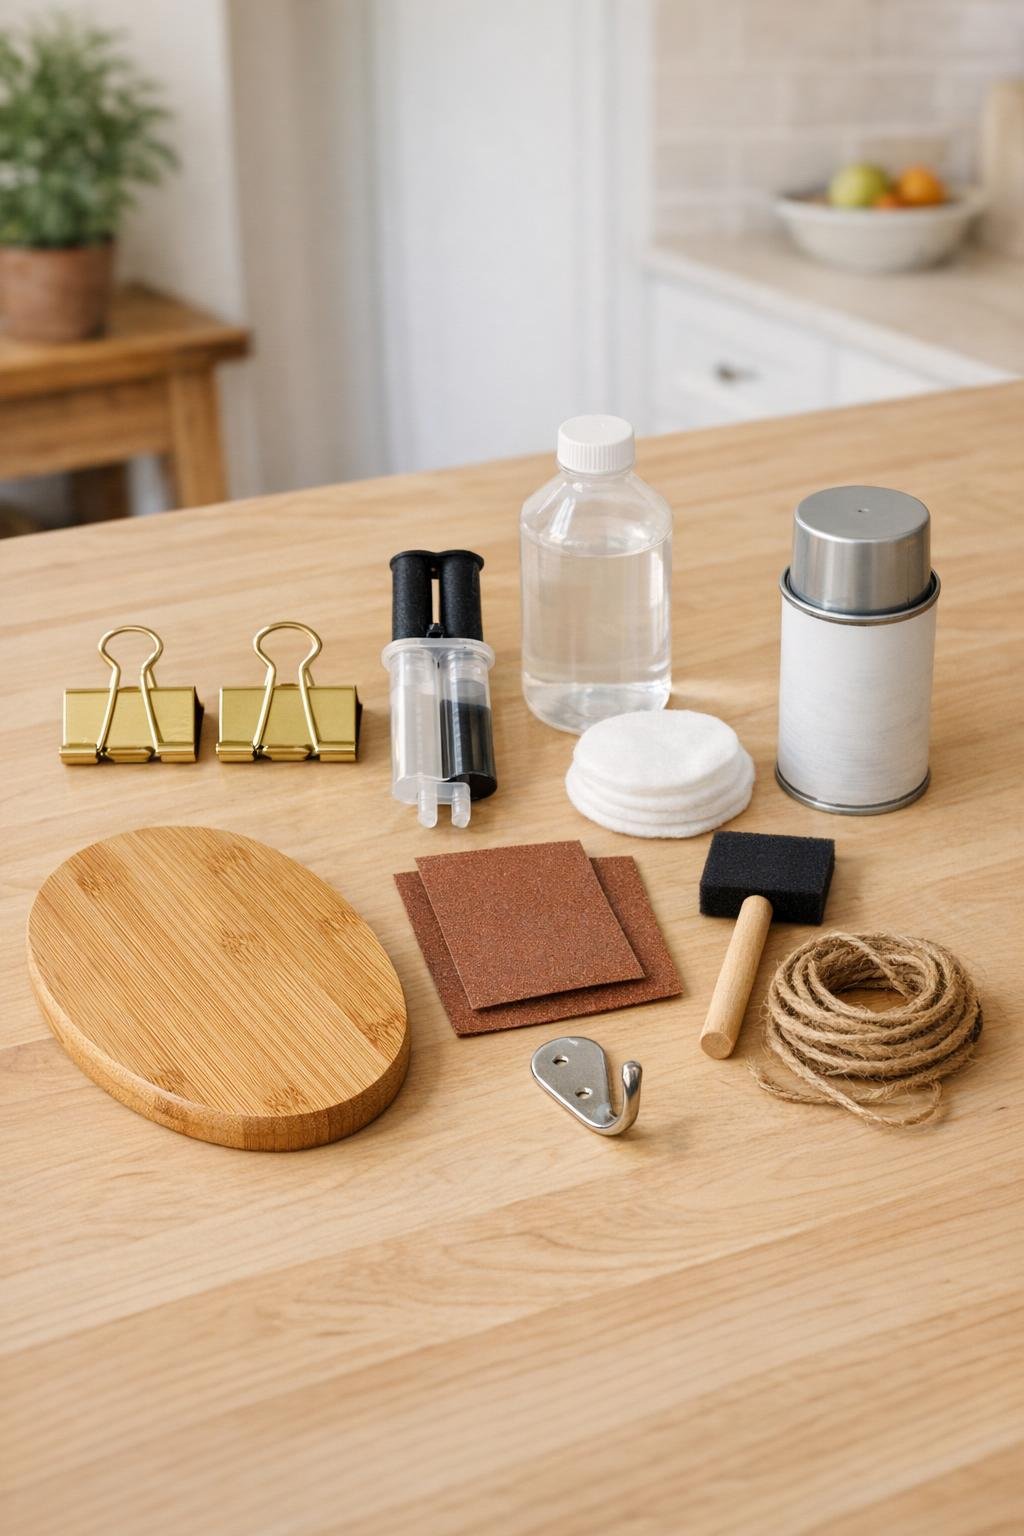
Materials
1 small oval bamboo cutting board, about 8 to 10 inches tall and 5 to 7 inches wide
Instructions
1. Wipe the cutting board front and back with rubbing alcohol and let it dry fully so the glue and finish will grip well.
2. Lightly sand the front of the bamboo board and the flat metal sides of both binder clips, then dust everything off with a dry cloth.
3. Brush a thin coat of clear matte or satin sealer over the front, back, and edges of the cutting board, then let it dry according to the product directions.
4. Lay the board flat vertically and position the two binder clips side by side across the lower half of the board, leaving about 1 inch between them and about 1 1/2 inches up from the bottom edge.
5. Apply epoxy or heavy-duty adhesive to the flat side of the first binder clip and press it firmly onto the board, then repeat with the second clip, keeping both clips straight.
6. Hold each clip in place for the time recommended by the adhesive, then leave the board flat and undisturbed until the glue cures completely.
7. Thread the jute twine or faux leather cord through the cutting board handle hole and tie a neat knot or bow, leaving a 6- to 8-inch hanging loop.
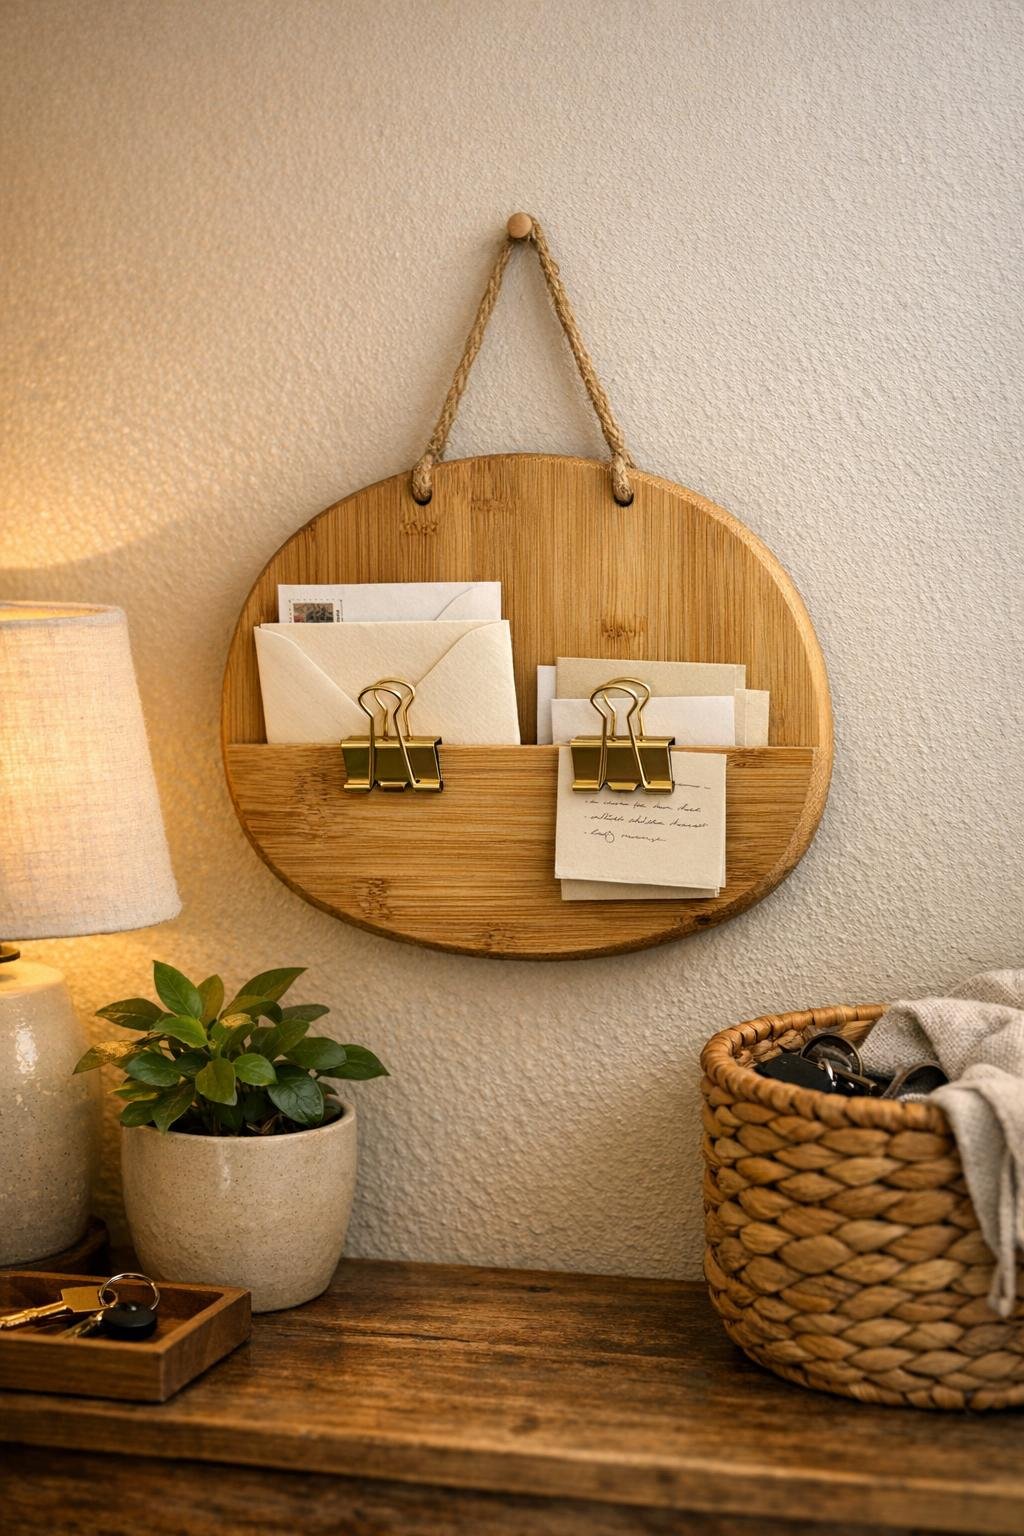
8. Hang the board on your wall hook in the entryway, then open the binder clips and slide in mail, takeout menus, school forms, and small note cards so the holder looks full and useful right away.
Variations & Tips
For heavier mail: Use industrial-strength epoxy and let it cure the full recommended time before hanging anything in the clips. That extra patience makes a big difference.
For a warmer farmhouse look: Swap the gold clips for black ones and use a darker satin sealer or a light wood stain before sealing the board.
For busy families: I like assigning one clip to “To Do” papers and the other to “To Return” papers, especially during the school year when forms seem to multiply overnight.
For picky visual styles: If you prefer a cleaner look, remove the silver wire handles from the binder clips after attaching them. The clips still work, and the project looks a bit sleeker.
To protect the finish: Don’t overload the clips with thick stacks all at once; a few letters, cards, and lightweight papers keep the holder looking tidy and help it last longer.
To make it giftable: Tuck in a handwritten note, a family calendar card, or a simple ribbon at the top before giving it. It turns a practical little organizer into something personal and thoughtful.