
I love a project that solves a daily nuisance without turning into an all-day production, and this little bedroom charging station does exactly that. By tucking a power strip inside a lined woven basket and adding one simple cord opening, you end up with a tidy spot for charging a phone, tablet, watch, or e-reader right on a dresser or nightstand. It keeps cords corralled, softens the look of everyday electronics, and makes the whole room feel calmer.
Out here, I’ve always believed the best household fixes are the ones that make life easier before breakfast and prettier after supper. This is a fine beginner project for anyone who wants less cord clutter without building anything complicated. If you can measure, cut fabric, and make a neat opening in a basket, you can make this.
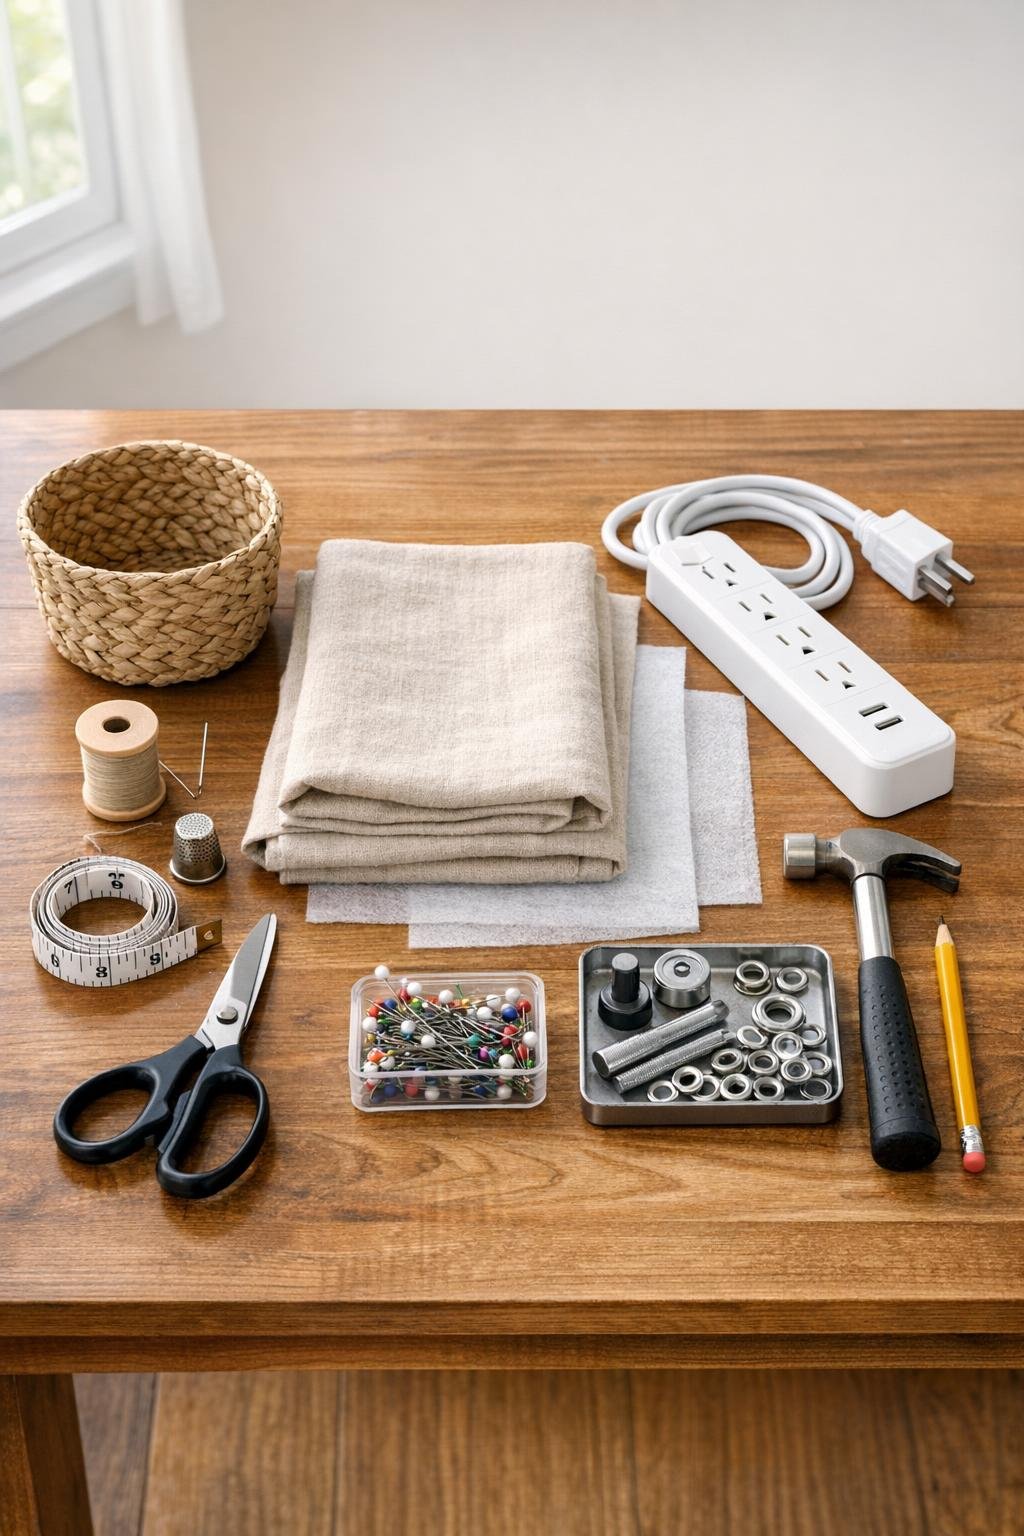
Materials
1 small natural seagrass basket, about 12 inches long x 8 inches wide x 6 inches high
Instructions
1. Measure the inside length, width, and height of your basket, then add 1 inch to each measurement so the liner will sit comfortably instead of pulling tight.
2. Cut a paper pattern for the base and sides, or keep it simple and cut one fabric rectangle large enough to line the basket with soft folds in the corners.
3. Cut 1 fabric piece using your pattern, then cut interfacing pieces to fit the upper 3 inches of the liner so the top edge holds its shape neatly.
4. Fuse the interfacing to the wrong side of the fabric according to the package directions, keeping it along the top band where the liner will fold over the basket rim.
5. Hem the top edge of the liner by folding under 1/4 inch twice and stitching all the way around, or hand stitch it neatly if you prefer a quieter evening job.
6. Form the liner shape by sewing the corner seams so it matches the basket, then test-fit it and trim any bulk that keeps it from settling nicely inside.
7. Mark the spot where the power strip cord should exit the basket, placing it low on one back side about 1 inch above the bottom so the strip can sit flat.
8. Cut a small opening in both the basket lining area and the fabric liner, then install the 1/2-inch grommet through the fabric opening so the cord hole looks tidy and won’t fray.
9. Feed the power strip cord out through the hole from inside the basket, then settle the white power strip flat in the bottom with the outlets facing up for easy reach.
10. Tuck the liner into place around the strip, fold the top edge over the rim of the basket, and smooth the corners so the fabric looks soft but tailored.
11. Plug the power strip into the wall, then coil and tie any extra cord behind the nightstand or dresser with the ribbon or twill tape to keep the setup clean and safe.
12. Set the charging station on your bedroom surface and test it with your everyday devices, spacing them so cords drape neatly into the basket instead of spilling everywhere.
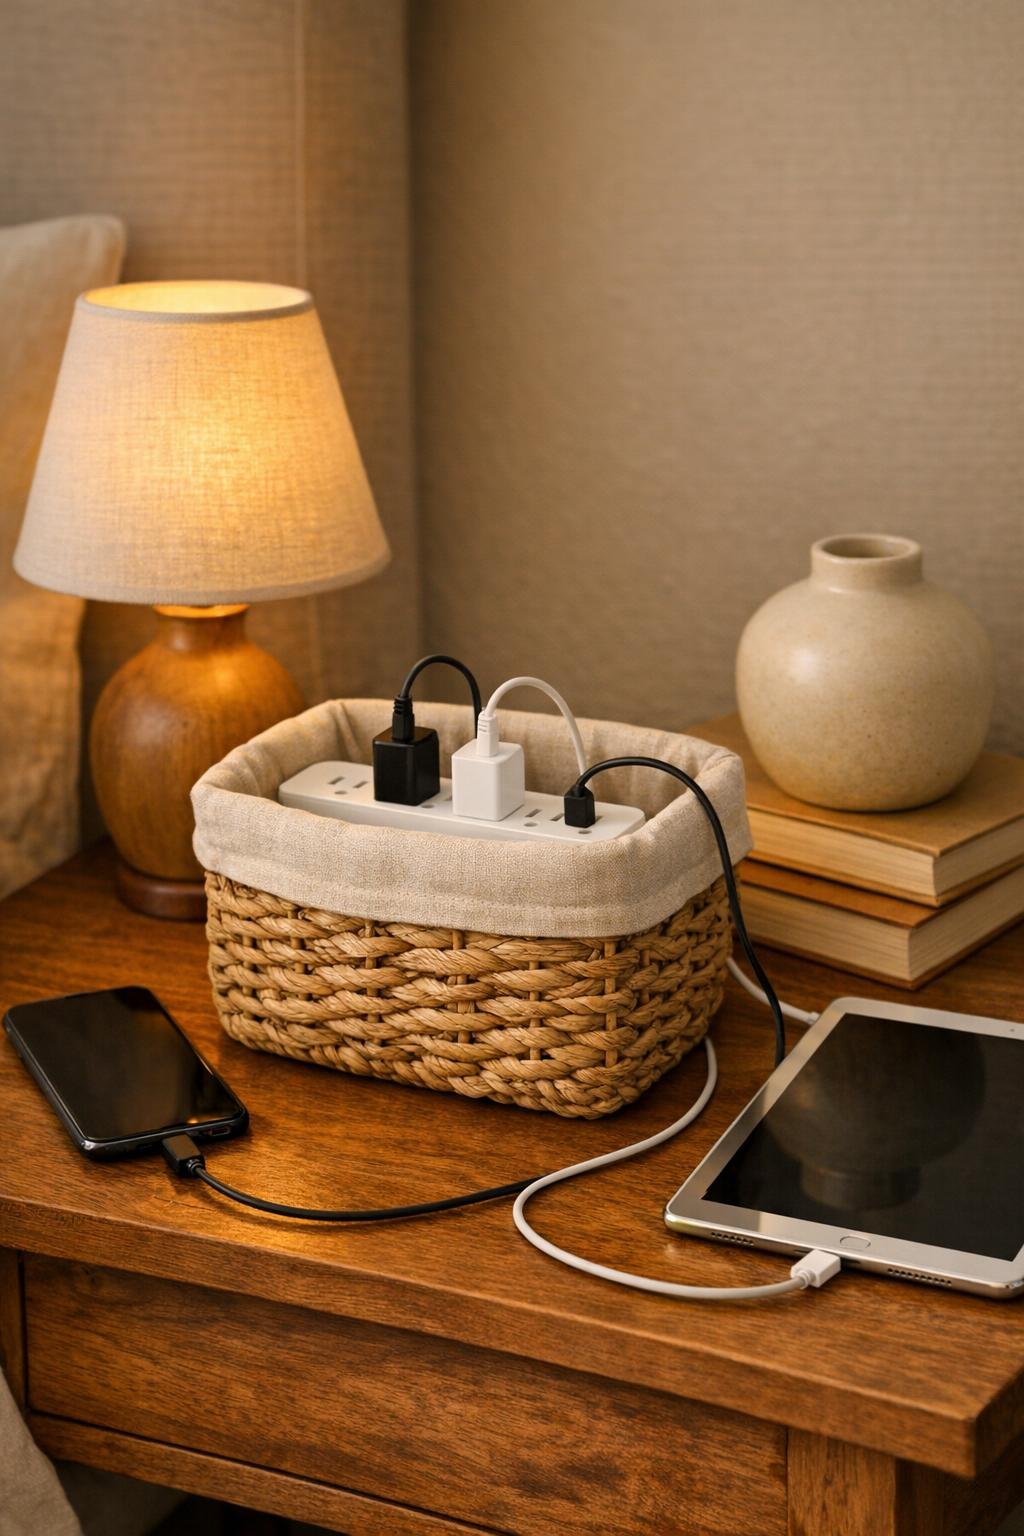
Variations & Tips
Add pockets: Sew 2 or 3 small patch pockets onto the liner before assembling it if you want a spot for earbuds, a watch charger, or charging bricks.
Choose the right basket: A basket with fairly straight sides is easiest to line and gives the power strip a stable place to sit without tipping.
Use washable fabric: Linen blends and sturdy cotton are my favorites because they press nicely and can be removed and washed if bedroom dust builds up.
Mind heat and airflow: Only use this with a power strip that stays cool in normal use, and don’t pile blankets, books, or clothing over the basket while devices are charging.
Keep it bedside practical: If this is for a nightstand, leave one outlet open for a lamp or white-noise machine so the station earns its keep every single day.
Make it prettier: A narrow band of contrasting fabric at the liner edge or a small tied bow on one handle can make this simple organizer feel finished without adding fuss.