
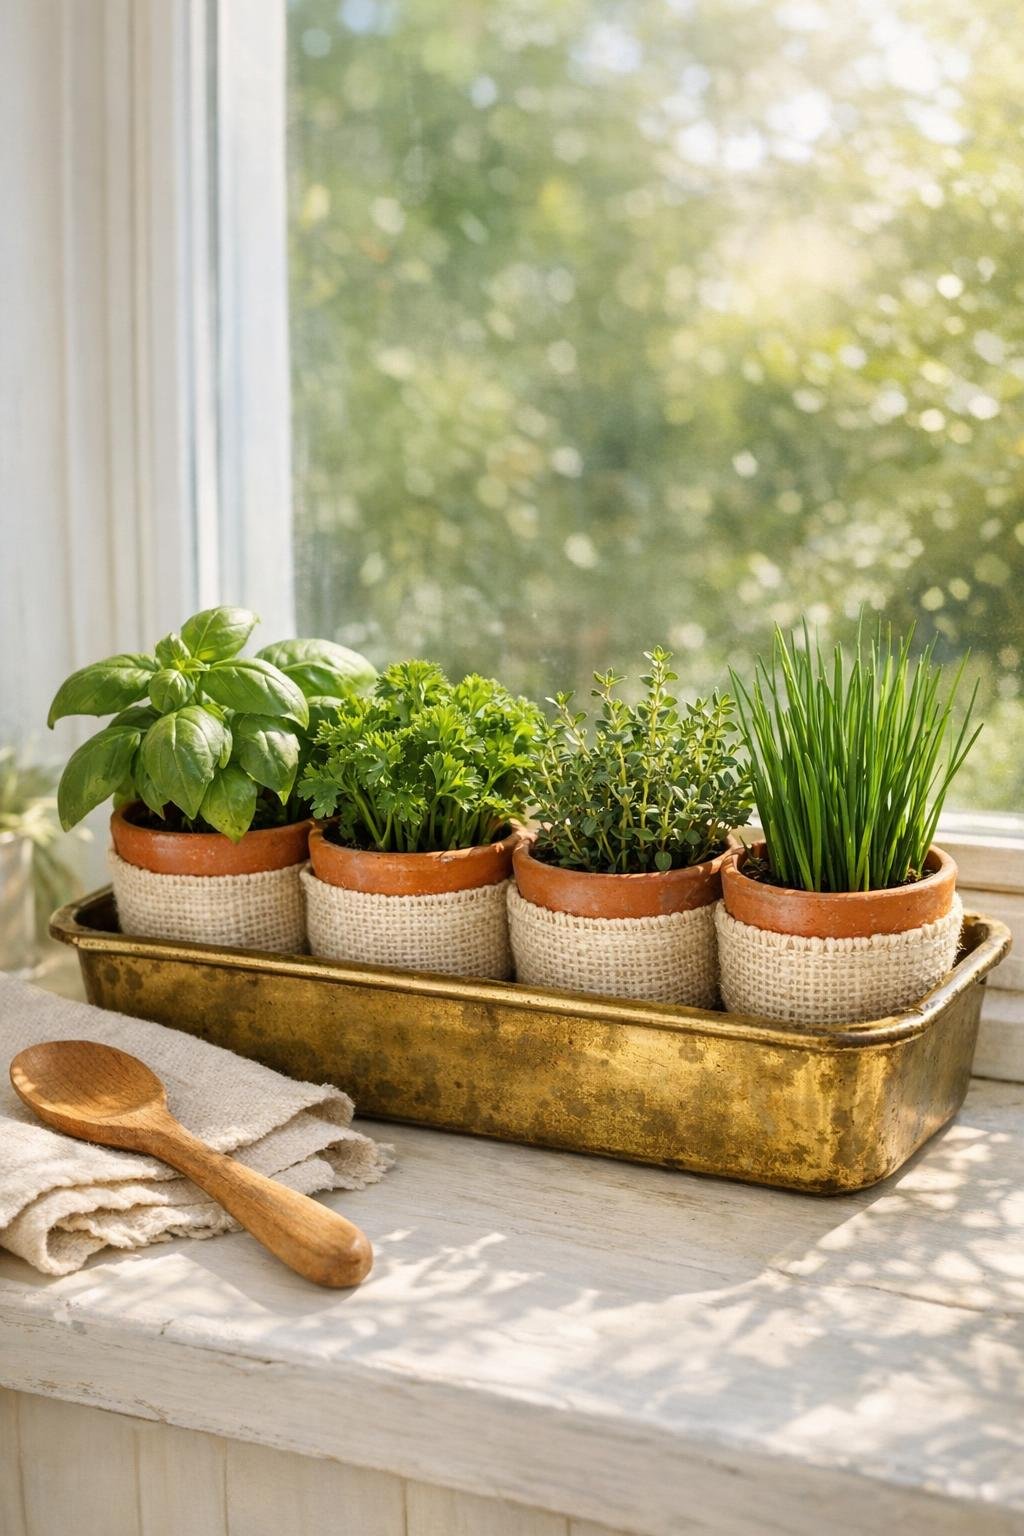
A compact herb planter like this is one of my favorite small-kitchen projects because it gives you fresh flavor within arm’s reach without taking over the whole windowsill. By setting a row of little terracotta pots inside a vintage loaf pan and wrapping them in burlap, you get the practicality of individual herb pots with the polished look of a single styled planter.
I especially love this for cooks who actually use their herbs regularly. I live in a city apartment with limited growing space, so anything that keeps basil, thyme, and parsley close to the cutting board earns a permanent place in my kitchen. This version is simple to make, but it looks thoughtfully finished and substantial rather than tossed together.
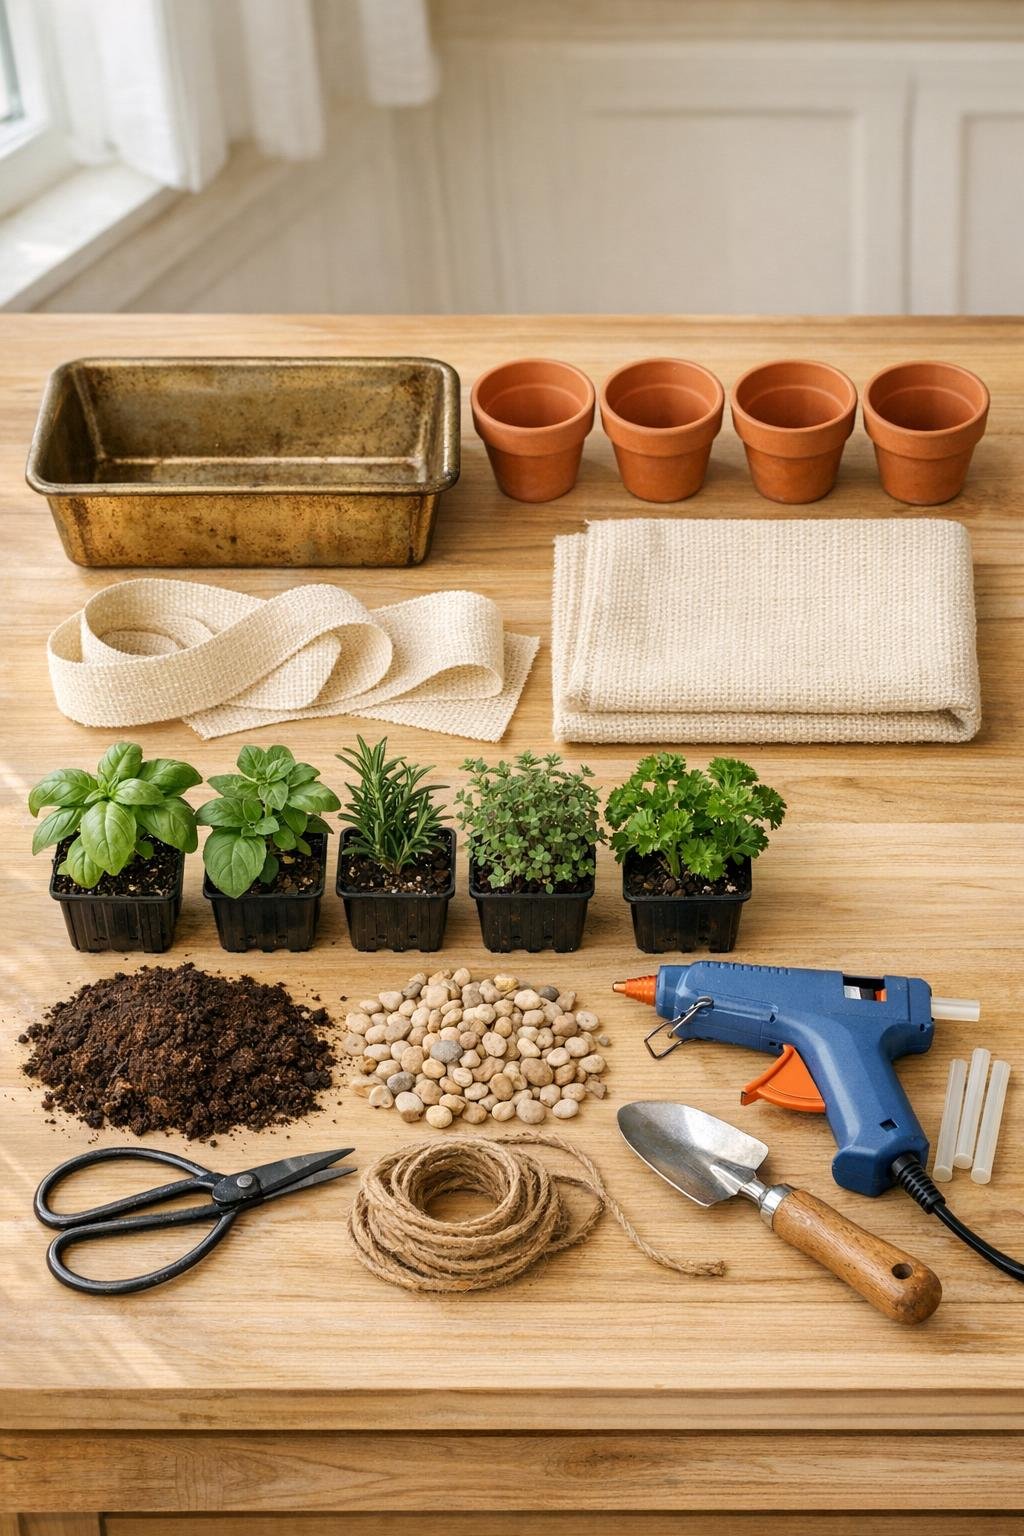
Materials
1 brass vintage loaf pan, about 10 x 5 x 3 inches
Instructions
1. Clean and dry the brass vintage loaf pan and the terracotta pots so the finished planter looks intentional and the burlap adheres neatly.
2. Cut the cream burlap into four rectangles about 5 x 8 inches each, then wrap one piece around each terracotta pot so the pot is fully covered on the sides with a slight overlap.
3. Secure the burlap overlap on each pot with small dots of hot glue, keeping the top rim and bottom of the pots uncovered so they still sit flat and breathe properly.
4. Tie a length of jute twine around the center of each wrapped pot and knot it firmly in front or slightly to the side for a tidy rustic finish.
5. Add 2 tablespoons of pea gravel to the bottom of each pot, then spoon in enough potting mix so each herb plant will sit with its crown just below the rim.
6. Remove each herb from its nursery container, loosen the roots gently with your fingers, and plant one herb per pot, filling around the sides with more potting mix.
7. Press the soil lightly, add a small splash of water to settle it, and wipe any soil off the rims so the pots look crisp and clean.
8. If you want extra moisture protection, line the inside bottom of the loaf pan with the plastic or coco liner piece, then spread a thin layer of remaining pea gravel across the base.
9. Set the four planted pots snugly into the brass vintage loaf pan, spacing them evenly so the greenery looks full and abundant across the length of the pan.
10. Tuck any extra cream burlap ribbon loosely between the pots or tie a simple bow onto one handle or end of the loaf pan for a finished windowsill-ready look.
Variations & Tips
Best herb mix: I like combining one upright herb, one leafy herb, one trailing or mounding herb, and one fine-textured herb so the planter looks lush from every angle. Basil, parsley, thyme, and chives make a very kitchen-friendly combination.
Watering tip: Because the pots sit close together in a metal loaf pan, water each pot lightly and let excess moisture evaporate before returning the planter to a wood sill or painted surface.
Burlap alternative: If cream burlap is not available, natural jute mesh or a soft flax-colored linen strip gives a similar warm, rustic look while still pairing beautifully with terracotta and brass.
Pan fit: Before planting, dry-fit the empty pots inside the loaf pan. If your pan is slightly narrower, use three 3-inch pots or four 2.5-inch pots so the arrangement still looks full instead of cramped.
Kitchen care: Turn the loaf pan every few days so all the herbs get balanced light from the window. This keeps the planter looking even and prevents one side from getting leggy, which is something I watch for constantly with basil.
Polished finish: A final wipe on the brass pan and a quick trim of any damaged leaves makes this look much more elevated. It is a tiny detail, but in my experience those finishing touches are what take a practical container garden from useful to genuinely lovely.