
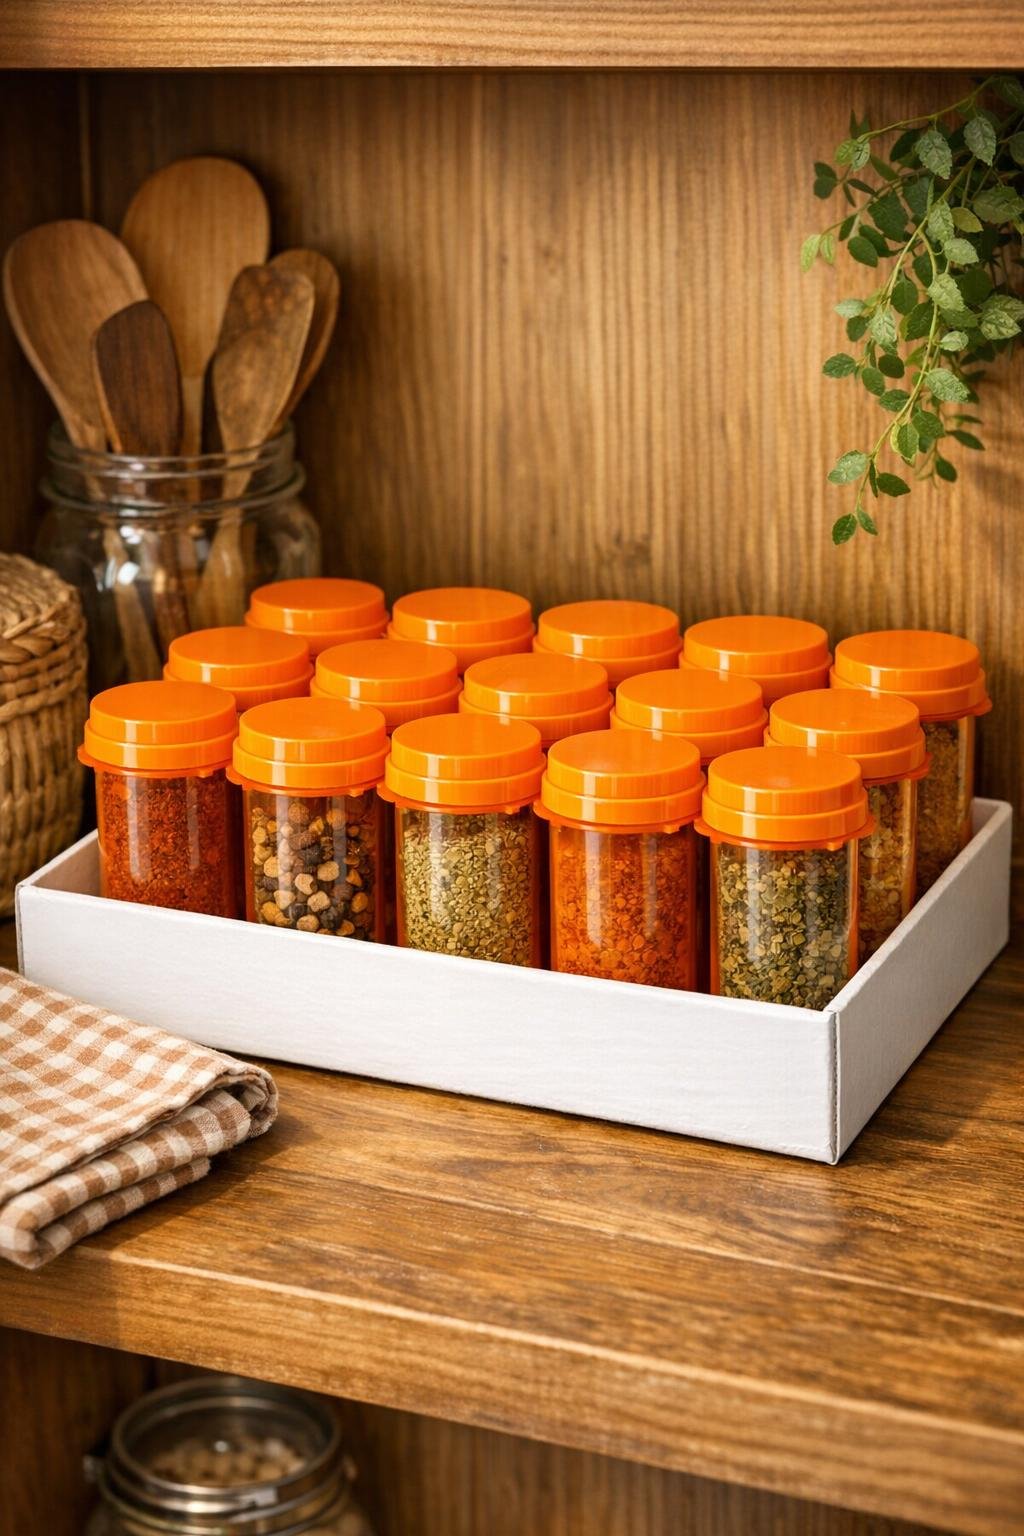
There is something mighty satisfying about taking a handful of little everyday castoffs and turning them into a kitchen helper I’ll actually use. This pill bottle spice rack organizer is one of those projects that looks clever at first glance, but once it’s finished, it becomes downright practical. By lining clean pill bottles inside a sturdy shoebox lid, you end up with a compact spice drawer-style organizer that keeps your seasonings upright, visible, and easy to grab.
I especially love this for small kitchens, camper kitchens, pantry shelves, or anybody who has a jumble of duplicate spice jars rolling around like marbles. It reminds me of the way my mother and aunts saved every useful container “just in case,” and truth be told, they were onto something. This version is simple to make, but with a bit of paper, paint, and clear labels, it looks tidy enough to be proud of.
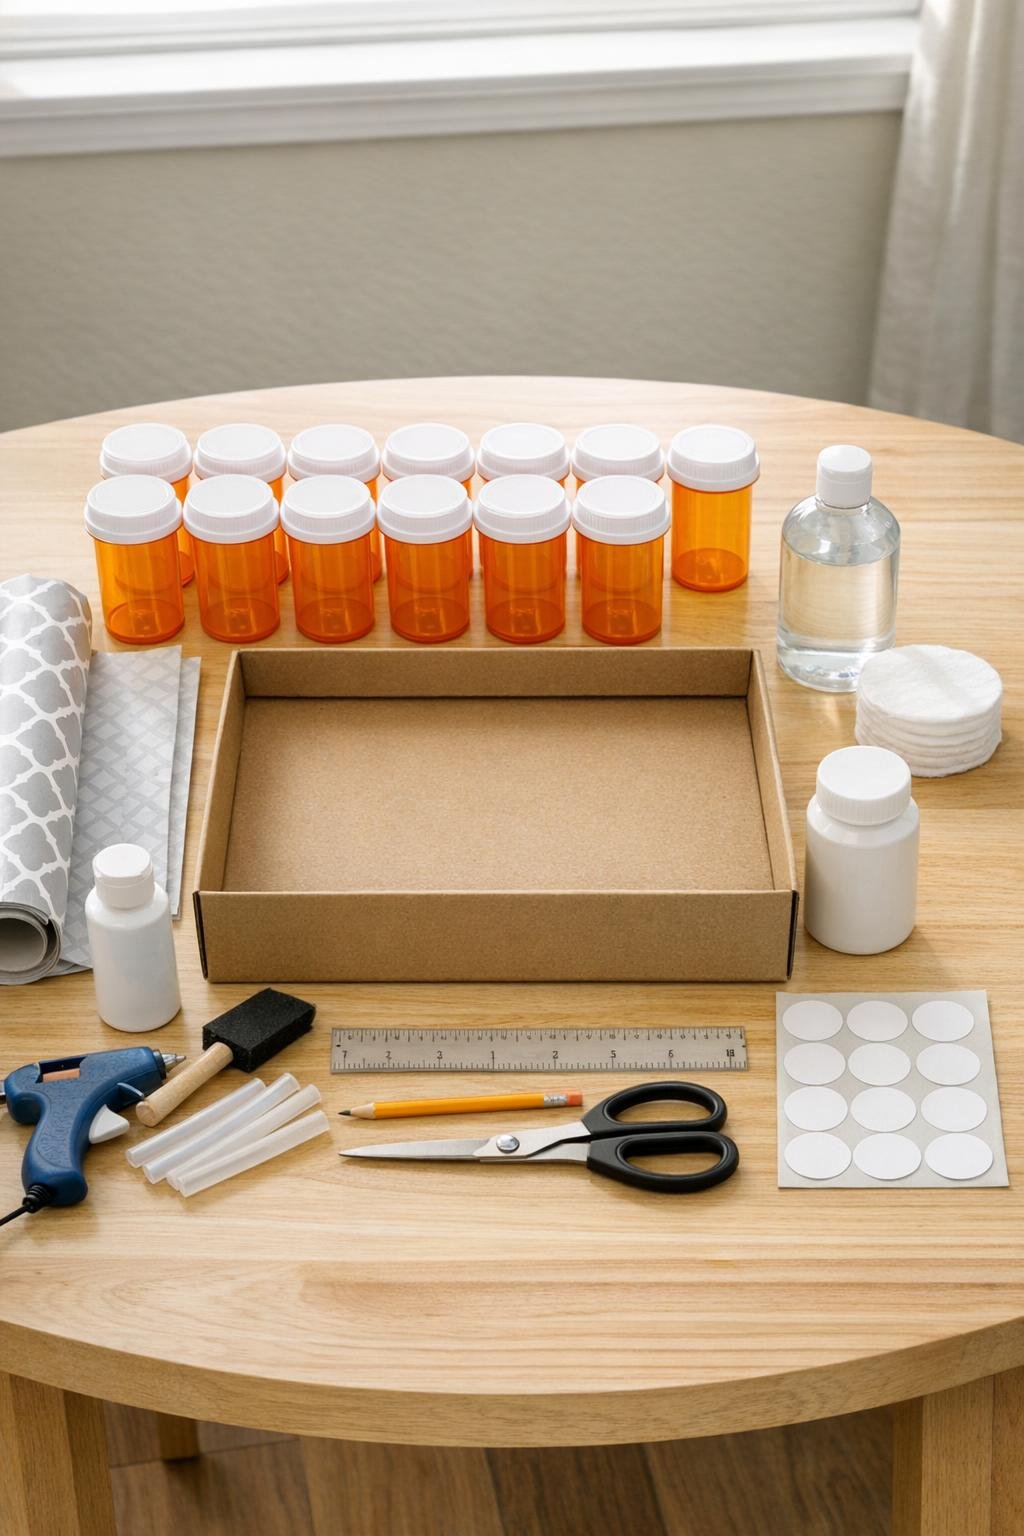
Materials
15 empty prescription pill bottles with lids, all cleaned and fully dry, 4 to 5 inches tall
Instructions
1. Wash the 15 pill bottles and lids with warm soapy water, remove any old label residue, and let them dry completely. Wipe each bottle with rubbing alcohol so glue and labels will stick cleanly.
2. Test-fit the bottles inside the shoebox lid in 3 neat rows of 5, spacing them evenly so the lids can still twist on and off without bumping each other. Mark each bottle position lightly with pencil around the base.
3. Paint the outer sides and rim of the shoebox lid with 2 thin coats of white acrylic paint, letting each coat dry before adding the next. Leave the inside bottom unpainted if you plan to cover it with paper.
4. Cut the cardstock or scrapbook paper to fit the inside bottom of the lid, then glue it down smoothly so the base looks finished and easy to wipe clean. Press from the center out to flatten any bubbles.
5. Cover the outside walls of the lid with adhesive shelf liner or contact paper for a cleaner, sturdier finish. Wrap the corners neatly and trim away any excess with scissors.
6. Add a generous dab of hot glue inside one pencil circle at a time, then press a pill bottle firmly into place for a few seconds. Repeat until all 15 bottles are glued upright in the lid in even rows.
7. Once the bottles are secured, brush a thin coat of clear sealer over the painted outer rim and any exposed paper edges to help the organizer resist kitchen moisture and everyday wear. Let it dry fully before handling much.
8. Fill each bottle with a spice, herb, baking sprinkle, or seasoning blend, keeping heavier-use seasonings in the front row. Screw the lids on tightly so the bottles stay fresh and easy to stack side by side.
9. Write the spice names on the round labels and stick one label on top of each lid so every seasoning can be read at a glance. If you like, add a second tiny label to the bottle side for front-facing shelf storage.
10. Set the finished organizer in a pantry, cabinet, or deep kitchen drawer where the whole tray can slide out in one piece. Give the glue an hour or two to fully harden before everyday use.
Variations & Tips
For a drawer version: Measure your kitchen drawer height before gluing the bottles in place. Shorter bottles are best if you want this organizer to slide neatly into a shallow spice drawer.
For a prettier finish: Use floral shelf liner, checked paper, or classic farmhouse stripes on the shoebox lid exterior. That little touch makes it feel less like a saved box and more like a custom kitchen organizer.
For stronger hold: If your shoebox lid is thin or flexible, glue an extra piece of cardboard underneath the base before lining it. A sturdier bottom helps the tray hold its shape when you lift it full of spices.
For easier refills: Dedicate a few bottles to baking staples like cinnamon, nutmeg, cloves, or colored sugars, and keep cooking spices in the rest. I find grouping by use saves me from rummaging when supper is on the stove.
For safer reuse: Only use thoroughly cleaned pill bottles with no lingering medicine smell or residue, and use them for dry spices only. If a bottle is scratched, cloudy, or hard to clean, toss it and choose a better one.
For label staying power: Put a light coat of clear sealer over the top labels after the marker dries. That keeps everyday fingers from smudging the writing over time.