
There’s something awfully satisfying about turning the humblest little found thing into something that looks right at home on a holiday table. These acorn top napkin rings start with real acorn caps from the yard, and with just a bit of careful drilling and simple assembly, they become charming little napkin rings with a woodland look that feels polished instead of fussy.
I’ve always had a soft spot for projects like this because they remind me of the way we used to make the most of what was already around us. If you enjoy easy seasonal crafts, natural decorating, or setting a table that feels warm and gathered-together, this is the sort of afternoon project that gives you a lovely payoff without asking much from you.
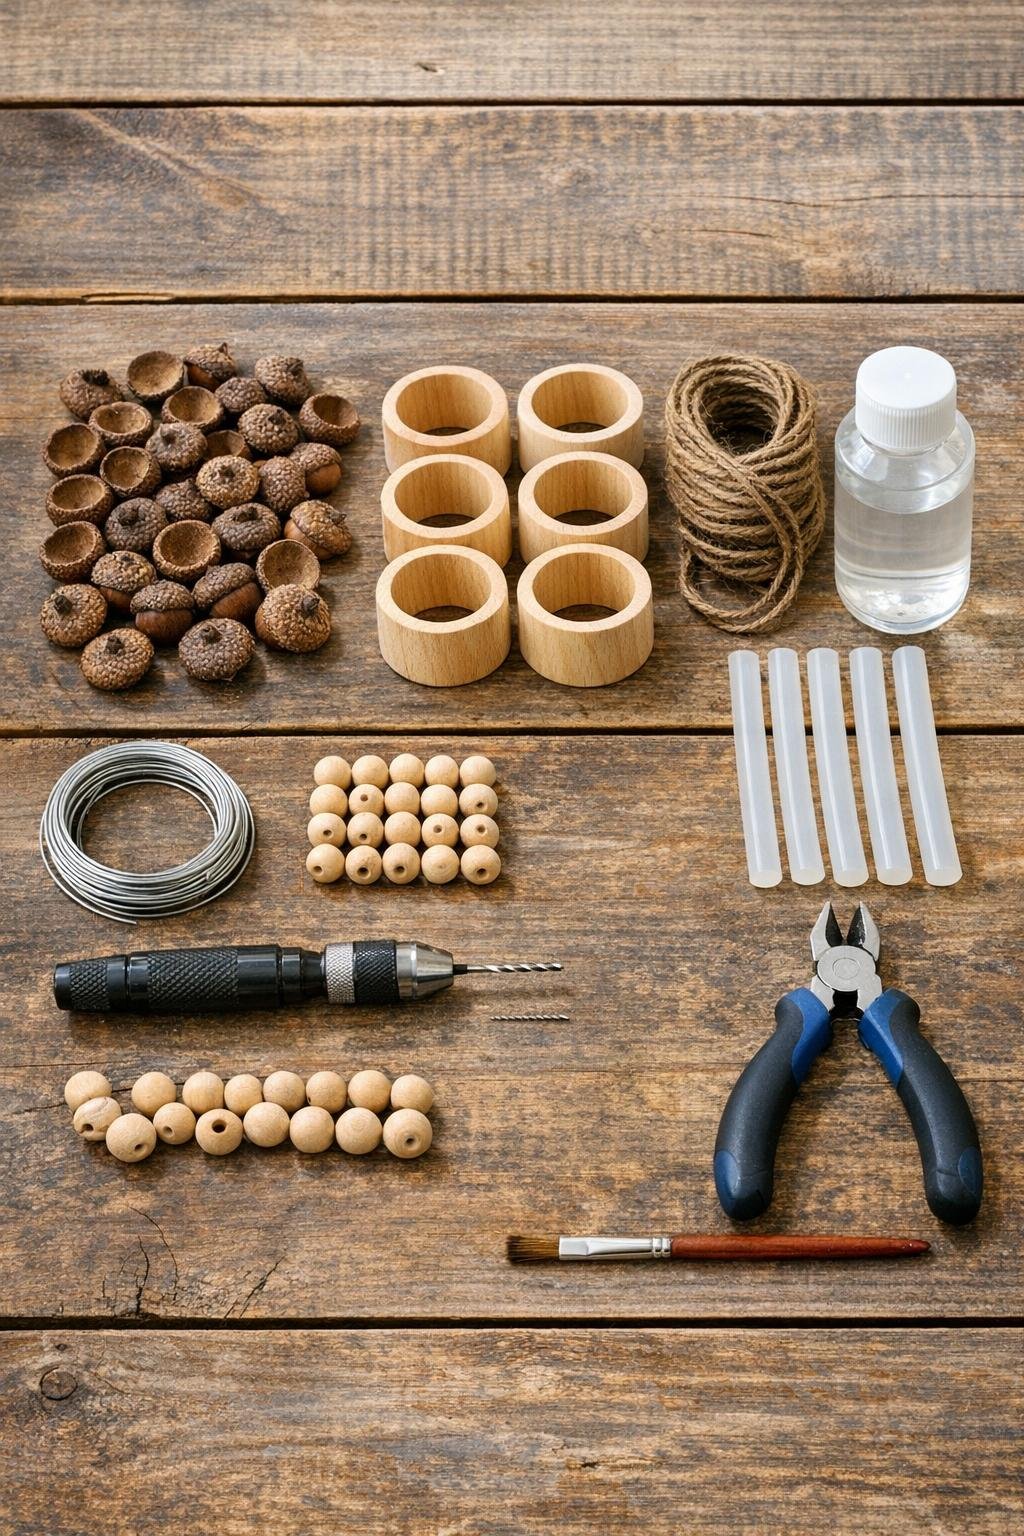
Materials
30 clean, dry acorn caps, about 3/4 to 1 inch wide
Instructions
1. Sort through your acorn caps and choose 24 that are close in size, with 6 slightly larger ones set aside for the center tops. Brush off dirt, rinse quickly if needed, and let them dry completely before drilling.
2. Drill one tiny hole through the top center of each of the 24 matching acorn caps and the 6 larger center caps. Work slowly and support each cap on the workbench so the cap stays intact.
3. Brush or spray the acorn caps with a light coat of clear matte sealer and let them dry. This keeps them from turning brittle too quickly and gives them a soft finished look without making them shiny.
4. Thread 4 wooden beads onto one piece of craft wire, then bend the wire gently into a little cluster so the beads sit together like the body of a small topper. Twist the wire ends together tightly underneath the beads.
5. Add 4 drilled acorn caps onto that same wire cluster, arranging them around the beads so they flare outward like a little oak-inspired blossom. Slip 1 larger acorn cap onto the top of the wire to finish the cluster and twist the wire underneath to lock it in place.
6. Repeat with the remaining wire, beads, and acorn caps until you have 6 full acorn clusters. Spread the caps evenly with your fingers so each topper looks balanced and generous rather than pinched together.
7. Wrap one 14-inch piece of jute twine snugly around a wooden napkin ring twice and knot it at the top. Add a small dab of hot glue under the knot so it stays put.
8. Set one acorn cluster on top of the twine knot and secure the wire stem to the ring with hot glue. Press and hold for a few seconds, then wrap the remaining twine ends around the base of the cluster to hide the wire.
9. Trim the wire and tuck in any sharp ends, then fluff and adjust the acorn caps so the topper sits upright. If needed, add one more tiny dot of glue under an acorn cap that wants to shift.
10. Repeat the twine wrapping and topper attachment for the remaining 5 napkin rings. Let all the glue cool fully before sliding them over napkins.
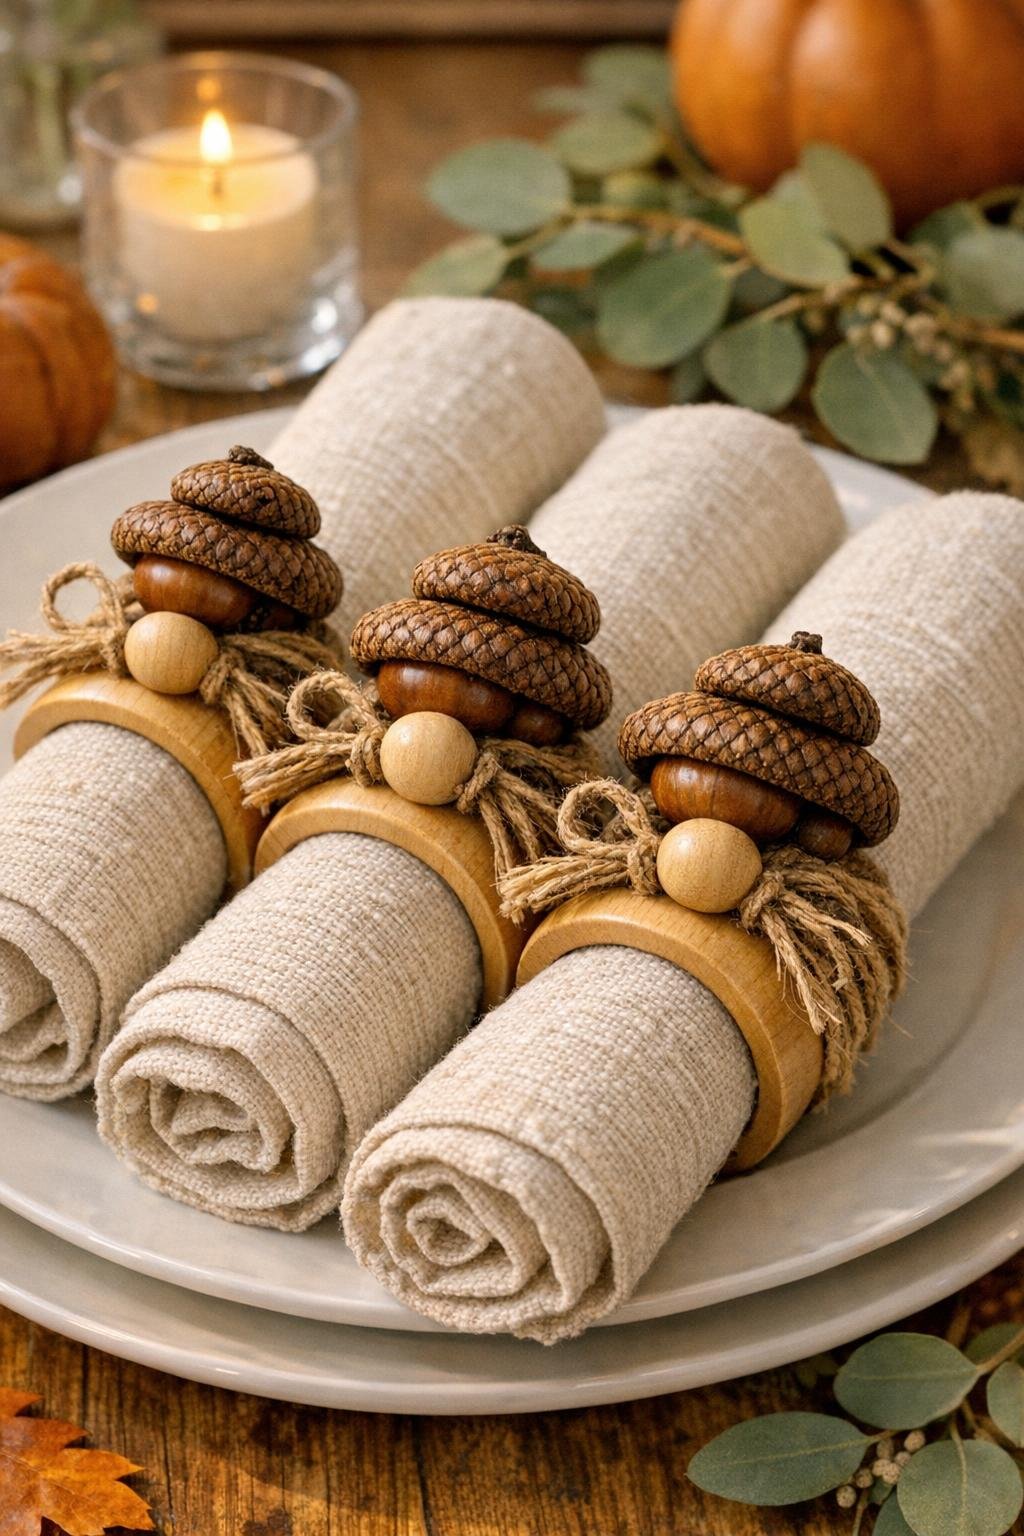
11. Roll or fold your napkins and slip one ring around each, turning the acorn topper to the top so it shows off like a little centerpiece for each place setting. That final bit of arranging is what makes the whole table feel thoughtful.
Variations & Tips
For a dressier table: Use gold or bronze napkin rings instead of plain wood, then keep the acorn caps natural for a pretty mix of rustic and polished.
If your caps are fragile: Choose slightly thicker caps and drill with very light pressure. I like to twist the hand drill little by little rather than forcing it, which saves a lot of breakage.
Add a ribbon touch: A 4-inch piece of narrow velvet ribbon tied at the base of each topper makes these especially lovely for Thanksgiving or Christmas tables.
Try a fuller cluster: If your acorn caps are on the small side, use 5 caps plus the top cap on each ring so the finished topper looks nice and abundant.
Make them last longer: Store the finished rings in a shallow box lined with tissue paper so the natural tops don’t get crushed between seasons.
Use cloth napkins for the best look: These rings really shine on rolled linen or cotton napkins because the soft fabric balances the texture of the caps beautifully.