
There’s a little window in late fall when I like to get one more good chore done in the garden before the ground hardens up, and this easy raised-bed insulation layer is one of the handiest I know. By slicing open bright green foam pool noodles and fitting them neatly along the top edge of a raised bed, then pairing them with a simple sheet of hardware cloth, you get a tidy, reusable cold-weather buffer that helps protect tender greens and keeps frost cloth from rubbing on the wood edge.
I love projects like this because they solve a real problem without asking for fancy supplies or a whole afternoon. If you’ve got raised beds, a steady hand with a utility knife, and that practical Midwestern habit of making do with what’s easy to find, you can put together a polished-looking insulation layer that seems far fancier than it is.
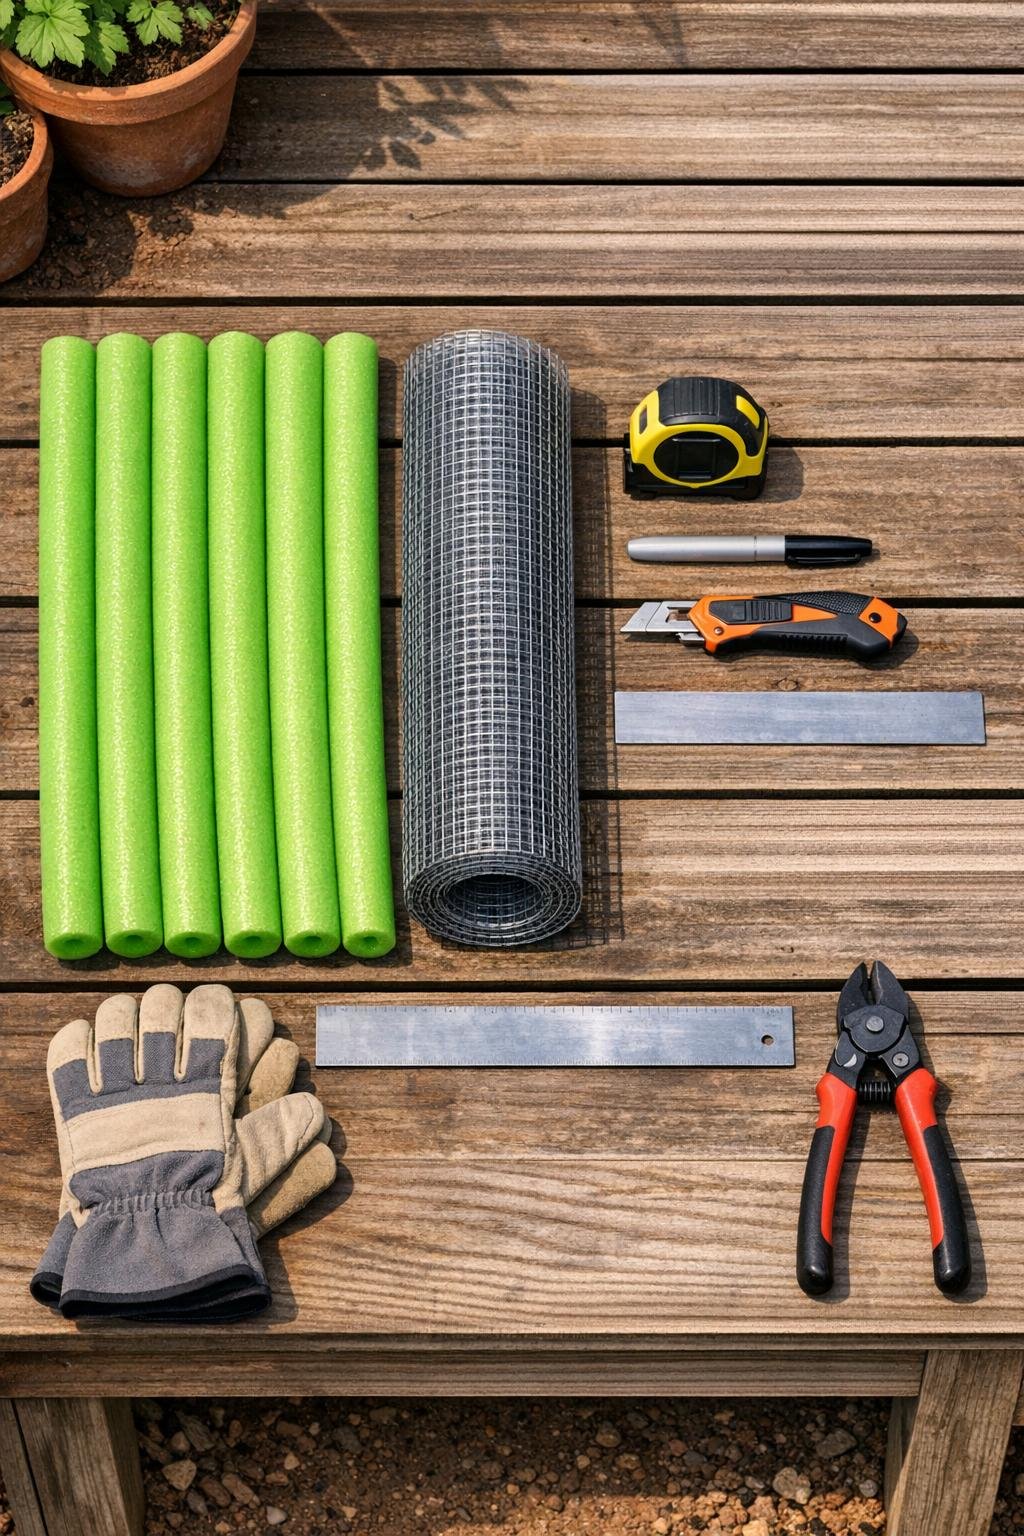
Materials
Instructions
1. Measure the outside dimensions of your raised bed and write them down so you know exactly how many noodle sections and hardware-cloth lengths you need.
2. Unroll the hardware cloth and cut strips to match each side of the bed, making them the full bed length plus 2 inches extra on each end for overlap.
3. Mark a straight line down the length of each pool noodle and carefully slice it open lengthwise with the utility knife, cutting just deep enough to open the center hole.
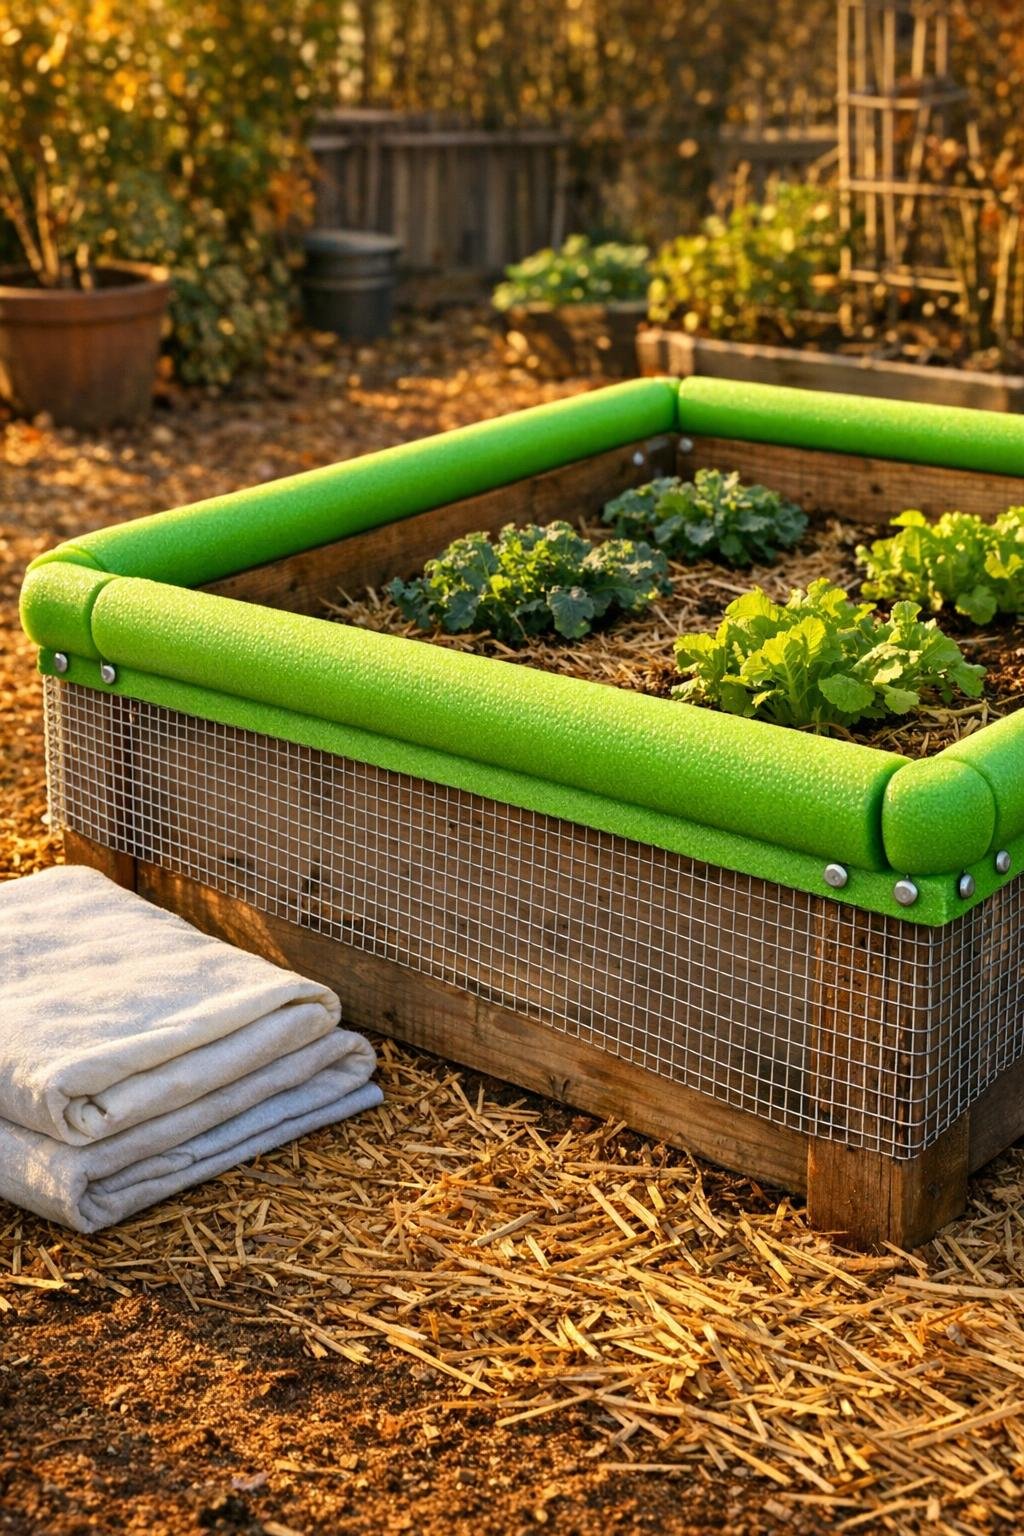
4. Open each noodle and press it over the top edge of the raised bed boards so the slit grips the wood like a cushion all the way around.
5. Miter the noodle ends with simple 45-degree cuts at the corners so the pieces meet neatly and give the whole frame a clean finished look.
6. Stand the hardware-cloth strips against the outside of the bed so the top edge rises just above the noodles, creating a shallow insulating skirt around the box.
7. Tuck the bottom inch or two of the hardware cloth lightly into the soil or mulch around the bed to hold it upright and block low drafts.
8. Overlap the hardware cloth ends at each corner by 2 inches and bend them snugly by hand in gloves so the shape follows the bed without gaps.
9. If your bed is longer than one noodle, butt the noodle sections tightly together and trim any uneven spots so the top edge looks continuous and deliberate.
10. Set frost cloth, row cover, or even a light plastic sheet over the bed so it rests on the cushioned noodle rim instead of scraping against rough wood or tender plants.
11. Walk the bed once more and press every noodle firmly in place, smooth the hardware cloth line, and make any final corner trims so the whole layer looks tidy and store-bought.
Variations & Tips
For extra-cold nights: Lay frost cloth directly over the noodle-capped bed and clip or weigh it down at the corners; the noodles help create a little air gap, and that small pocket can make a surprising difference.
For metal or composite beds: This works beautifully on beds with sharp top edges too, since the slit noodles cushion the rim and keep covers from tearing in the wind.
To make it look neater: Take the time to miter the corners and match the noodle seams on the less-visible side of the bed. Those little finishing touches are the difference between “thrown together” and “where did you buy that?”
On sizing: A standard 4-by-8-foot bed usually needs 4 noodles for the long sides and 2 to 3 more for the short sides, depending on your exact dimensions and corner cuts, so I like to keep one extra on hand.
For reusing year after year: Lift the noodle sections off in spring, shake out the hardware cloth, and store both flat and dry in the shed. Foam noodles last much longer when they’re kept out of full sun during the off-season.
A gardener’s safety note: Always use a fresh utility blade and cut the noodles on a stable bench, moving the knife away from your hand. I learned long ago in kitchen and garden alike that a sharp tool and a calm pace are kinder than rushing.