
There’s a reason old drawer fronts have been disappearing from curbside dressers and thrift-store castoffs lately: they make wonderfully sturdy serving trays with almost no waste and a whole lot of character. If the front already has pretty molding, curved edges, or vintage handles, you’re halfway to a piece that looks thoughtful and useful instead of tossed together. I’ve always had a soft spot for furniture parts with a little age on them, and this is exactly the kind of project that lets the best details stay right out in the open.
This tray is for anyone who wants an easy upcycling project that feels polished when it’s done. You don’t need a full workshop, and you don’t need to strip all the history off the wood either. We’re taking that ornate drawer front from the grass-and-screwdriver stage all the way to a finished serving tray that’s clean, sealed, and ready for coffee, sweet tea, or a plate of cinnamon rolls on the porch.
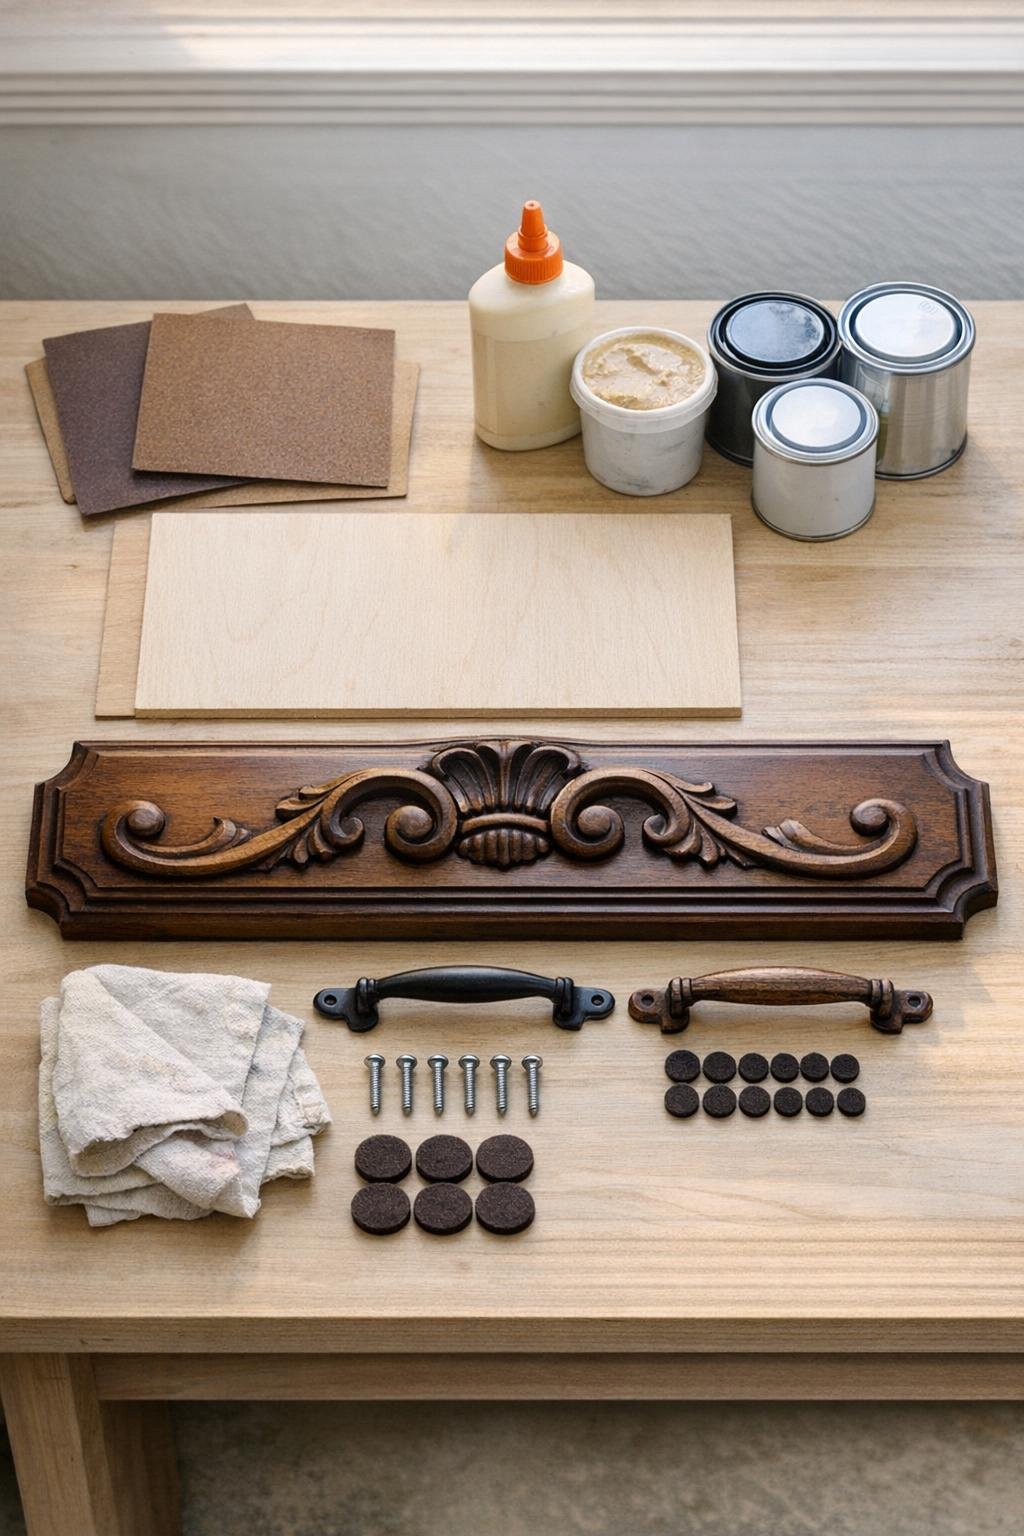
Materials
Instructions
1. Remove the drawer front from the old dresser with a screwdriver, taking out all screws, brackets, and broken hardware until you have a clean front panel to work with.
2. Brush or wipe off dirt and grass, then inspect the piece for loose trim, cracks, and old screw holes so you know what needs mending before you build the tray.
3. Fill unwanted holes, chips, and cracks with wood filler, pressing it in firmly and smoothing it level with a putty knife or an old butter knife if that’s what you have on hand.
4. Let the filler dry fully, then sand the entire drawer front with 120-grit paper, softening rough edges and evening out the old finish without flattening the carved detail.
5. Cut the 1/4-inch plywood to fit the back so it creates the tray base, then test-fit it against the drawer front to make sure the edges line up neatly and the tray shape stays square.
6. Glue the plywood to the back of the drawer front, clamp or press it firmly in place, and add four 3/4-inch screws from the back if the piece needs extra strength for serving.
7. Mark handle placement evenly on both ends, then attach the new or salvaged handles so the tray can be lifted comfortably with both hands.
8. Sand once more with 220-grit paper, wipe away every speck of dust, and make sure the surface feels smooth enough for a finished piece you’d set on a table.
9. Apply a coat of bonding primer if you’re painting, working it into the grooves and trim, and let it dry completely before adding color.
10. Paint or stain the tray in 2 thin coats, letting each coat dry well; for the fullest look, cover the front, back, sides, and all trim so the piece feels intentional from every angle.
11. Seal the tray with 2 coats of clear topcoat, especially over the handles and the flat serving surface, so it stands up better to cups, plates, and regular wiping.
12. Add felt pads or rubber bumpers underneath, then let the tray cure fully before using it to serve drinks, carry breakfast, or hold a pretty little spread on the coffee table.
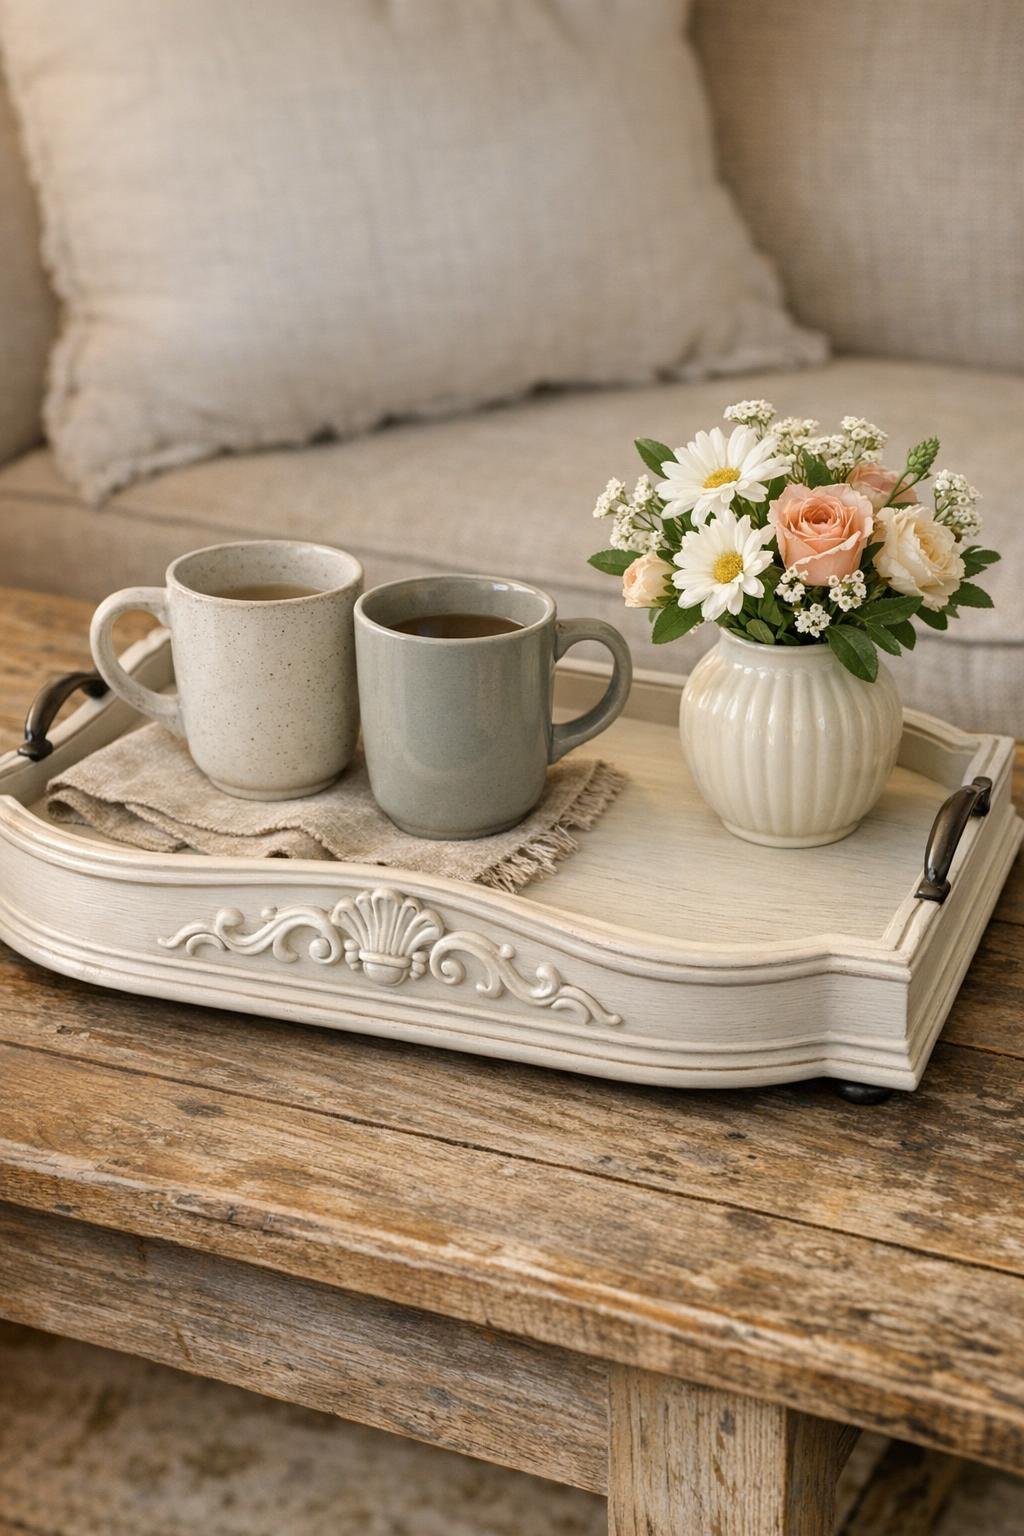
Variations & Tips
Keep the old charm: If the drawer front has beautiful age marks or chippy paint, sand lightly and use a clear sealer instead of fully repainting it. Some pieces look better when you let their years show.
Add feet for height: Small bun feet or wood blocks on the underside can raise the tray a bit and give it more presence on a table or ottoman.
Use the original pull holes: If the drawer front already has centered hardware holes, reuse them when possible. It saves time and helps the finished tray feel true to the piece it came from.
Make it food-friendly in practice: I still like to serve food on plates, napkins, or little bowls rather than directly on a painted tray. It keeps cleanup simple and helps the finish last longer.
Try a stain-and-wax version: For a warmer, more traditional look, stain the wood medium walnut or provincial and finish with a durable furniture wax or topcoat. That style always reminds me of the old dining room pieces folks kept for Sunday company.
Choose generous handles: Don’t skimp on handle size. A wider grip not only looks balanced on an ornate drawer front, but it also makes the tray much easier to carry once it’s loaded with drinks or a full plate of snacks.