
There is a kind of winter project I return to again and again because it asks very little of me besides a sharp knife, a patient oven, and an afternoon at home. Drying orange slices is one of those old-fashioned, practical beauties: a few dollars of fruit turns into something bright and lovely, and while it bakes the whole house smells like Christmas at my grandma’s place after supper, with citrus and spice hanging in the air.
This stained-glass citrus garland is for anyone who likes simple handiwork with a big payoff. I’ll be honest right up front: the low-and-slow drying time is non-negotiable, and you really do want a steady quarter-inch slice and a wire rack over the sheet pan so the air can reach both sides. Do that, flip once an hour, and by the end you’ll have the prettiest translucent slices ready to string with cinnamon sticks and bay leaves into a generous garland that looks especially magical once the light catches it.
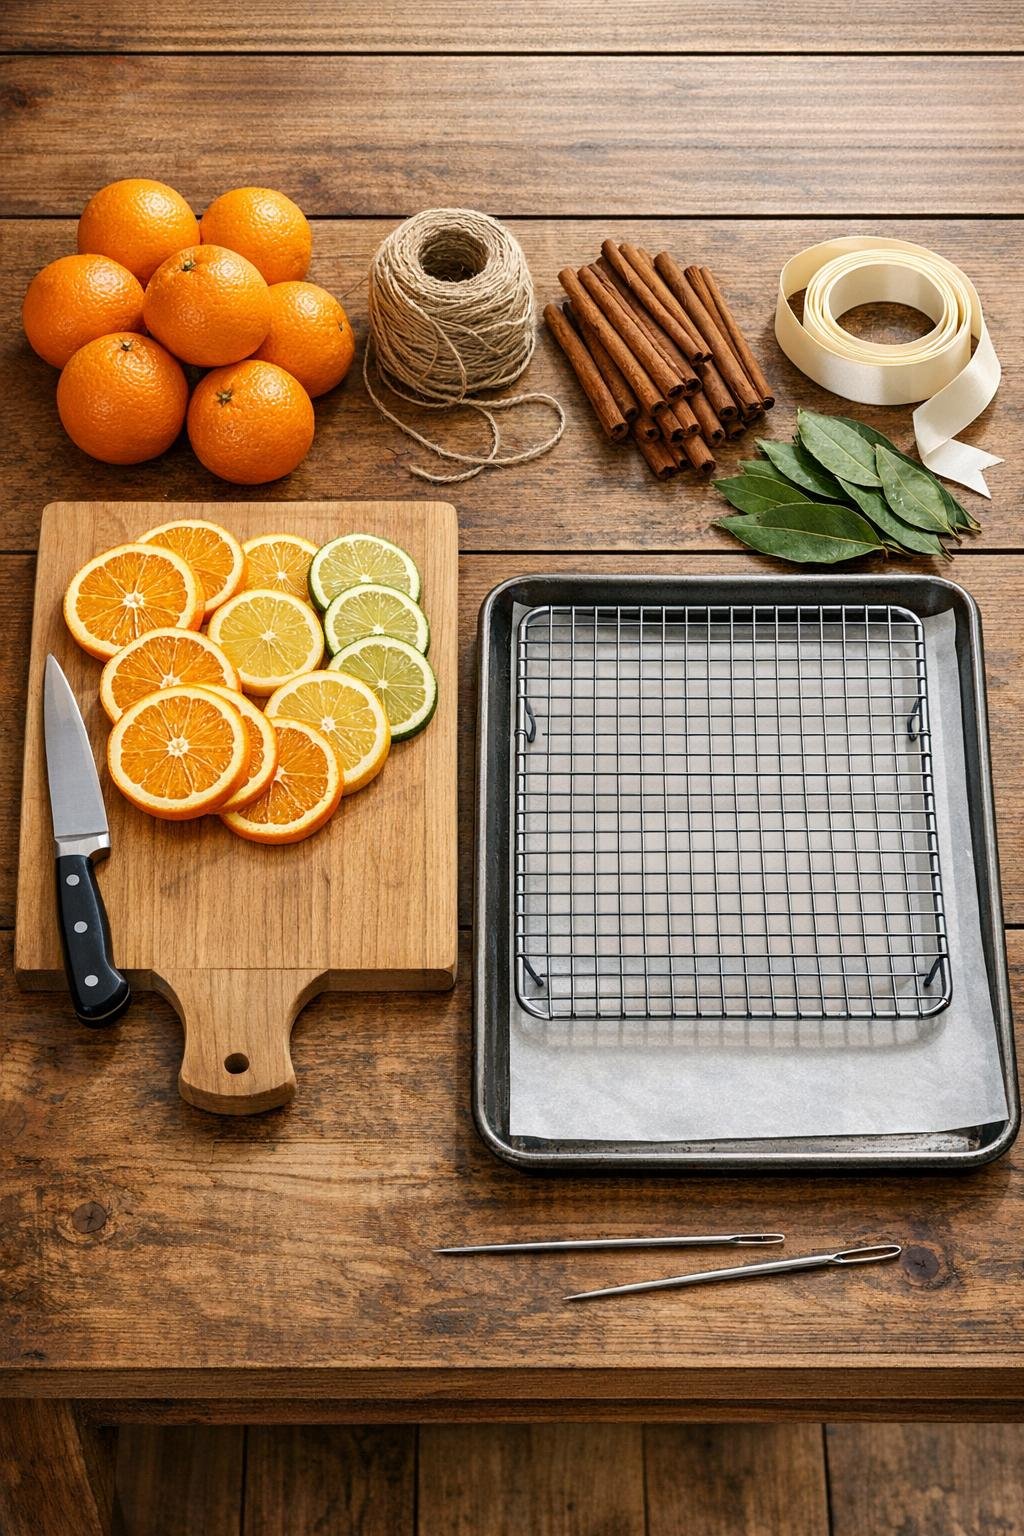
Materials
Instructions
1. Heat your oven to 200 F and line the sheet pan with parchment, then set the wire rack on top so the slices will dry from both sides instead of steaming underneath. This is a slow project by design, so count on 3 to 4 hours in the oven and enjoy the good smell while you work around the house.
2. Wash and dry the oranges, then slice them into consistent 1/4-inch rounds. Thinner slices tend to scorch and thicker ones often stay tacky in the center, so this is the place to be fussy.
3. Blot both sides of the slices lightly with a towel if they are especially juicy, then lay them in single rows on the wire rack without overlapping. Fill the rack generously, but leave a little breathing room around each slice.
4. Bake for 1 hour, then flip every slice over. Repeat the flipping once an hour after that so they dry evenly and keep their color as nicely as possible.
5. Continue baking 2 to 3 hours more, until the slices are leathery, dry to the touch, and beautifully translucent when lifted toward the light. A few may brown anyway, and that is perfectly normal, which is why I always budget one extra orange and keep only the prettiest slices for the front of the garland.
6. Cool the dried slices completely on the rack for 20 to 30 minutes. Once cool, they should feel dry and flexible rather than wet; if any still feel sticky in the middle, return them to the oven for another 20 to 30 minutes.
7. Cut a 6- to 8-foot length of twine for a full garland, then knot one end. Use a large needle or skewer to make a small hole near the top of each orange slice, threading on 2 or 3 slices at a time with a cinnamon stick and a bay leaf between groups for a full, old-fashioned look.
8. Keep building the garland until it looks abundant, spacing the elements close enough that it reads rich and layered rather than sparse. Tie a loop at each end for hanging, and add a small ribbon bow at one or both ends if you want a softer finish.
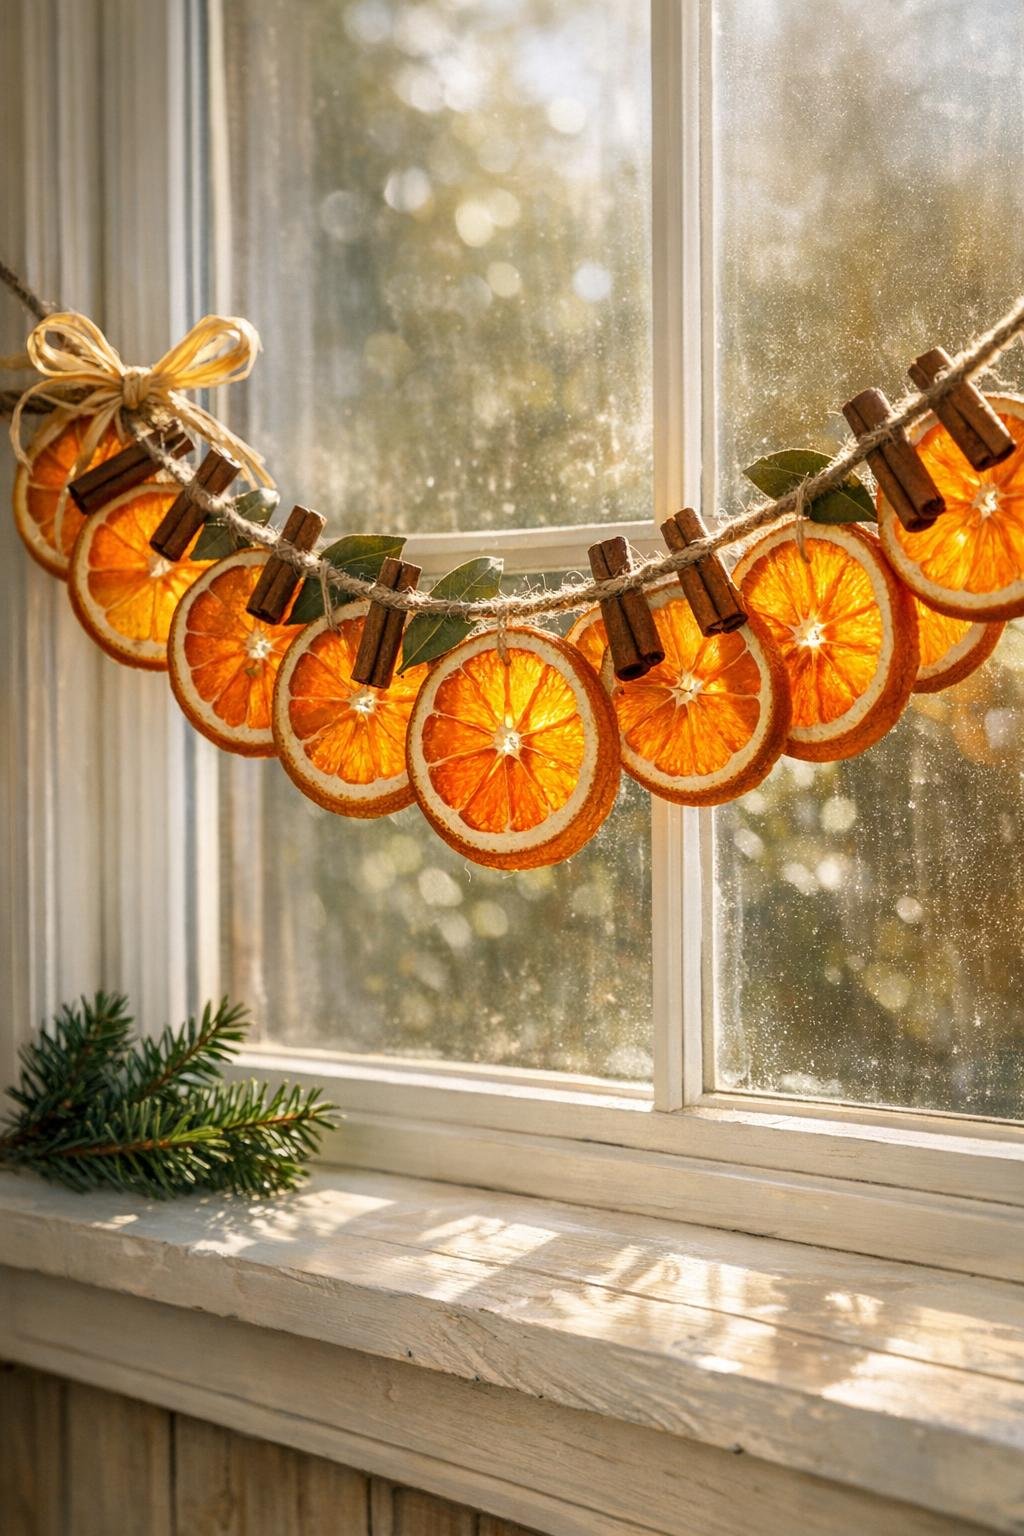
9. If you’d rather make ornaments, stack 3 dried slices in a little cluster, tie them together through the top with ribbon, and tuck in 1 cinnamon stick and 1 bay leaf behind the knot. Hang one in a window and hold it up to the light first if you want the real reward, because that is when the slices glow like stained glass.
Variations & Tips
Make it fuller: Mix in a few lemon or blood orange slices with the standard oranges if you want more color variation, but keep the same 1/4-inch thickness so everything dries at the same pace.
Best fruit choice: Medium oranges are easiest to work with because they give you nice, uniform rounds that are large enough to show off once dried without becoming too heavy on the twine.
What to do about browning: Some slices will brown more than others even when you do everything right. I simply set the deepest-colored ones toward the ends or save them for potpourri and use the brightest translucent slices where they’ll show most.
For window ornaments: If you do not need a full garland, little clusters of three slices tied with ribbon are especially sweet on window latches, gift toppers, or cabinet knobs.
Storage: Fully dried slices keep for years in a paper bag or cardboard box in a cool, dry cupboard. Avoid sealed plastic if there is any trace of moisture left, because that can soften them.
Holiday scent boost: Tuck in extra cinnamon sticks, a few cloves tied in a tiny scrap of cheesecloth, or fresh evergreen nearby when you display the garland. The oranges already make the house smell wonderful while they bake, and the spices carry that feeling a little farther into the season.