
When the garden starts winding down, the slugs and snails always seem to get one last burst of energy at my house. This little buried-can trap is one of those wonderfully practical projects that costs almost nothing, takes just a few minutes, and still looks tidy enough that people notice it for all the right reasons. Since the aluminum soup cans are sunk right into the soil, the setup stays low-profile, easy to refill, and much neater than setting out random containers.
I designed this version with three simple items: cleaned aluminum soup cans, decorative river rocks, and a small bag of dollar store mulch or pea gravel to help it blend into the bed. It’s perfect for vegetable gardens, hosta beds, and anywhere slugs and snails like to gather. I love projects like this because they solve a real problem without making the garden look fussy or homemade in a bad way.
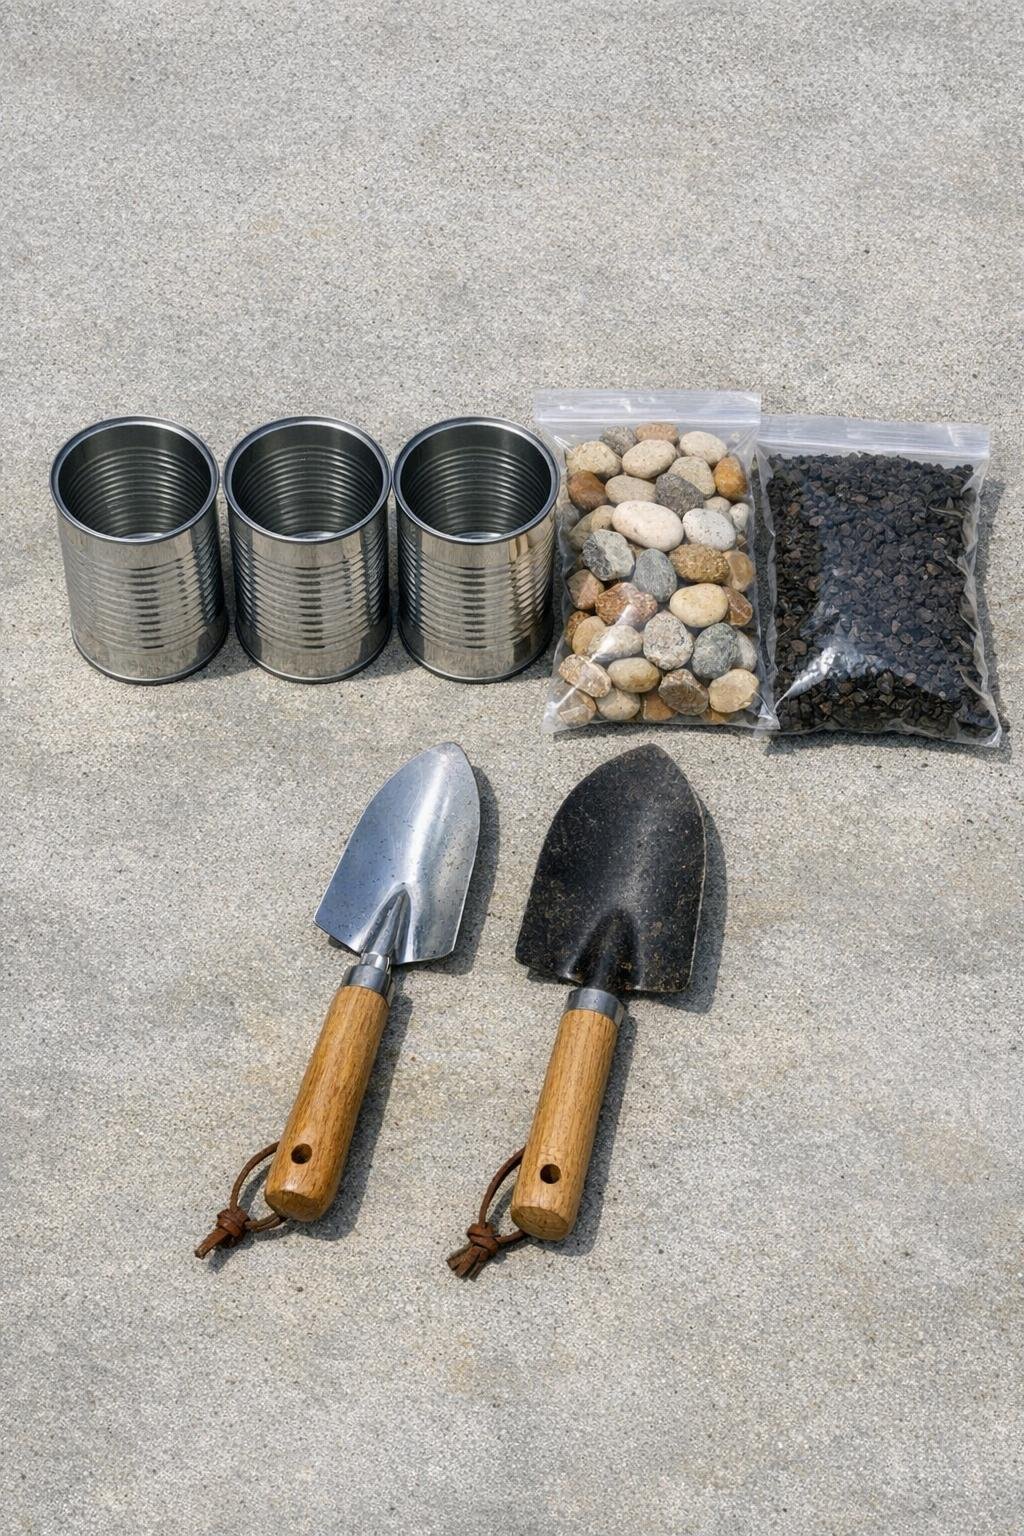
Materials
3 empty aluminum soup cans, 10.5-ounce size, tops completely removed and edges smoothed
Instructions
1. Wash the soup cans well, remove the labels, and check that the cut top edges are pressed smooth so they won’t catch on gloves or fingers while you work.
2. Choose a damp problem area in the garden, then space the cans about 18 to 24 inches apart so you cover a wider patch instead of trapping pests in only one small spot.
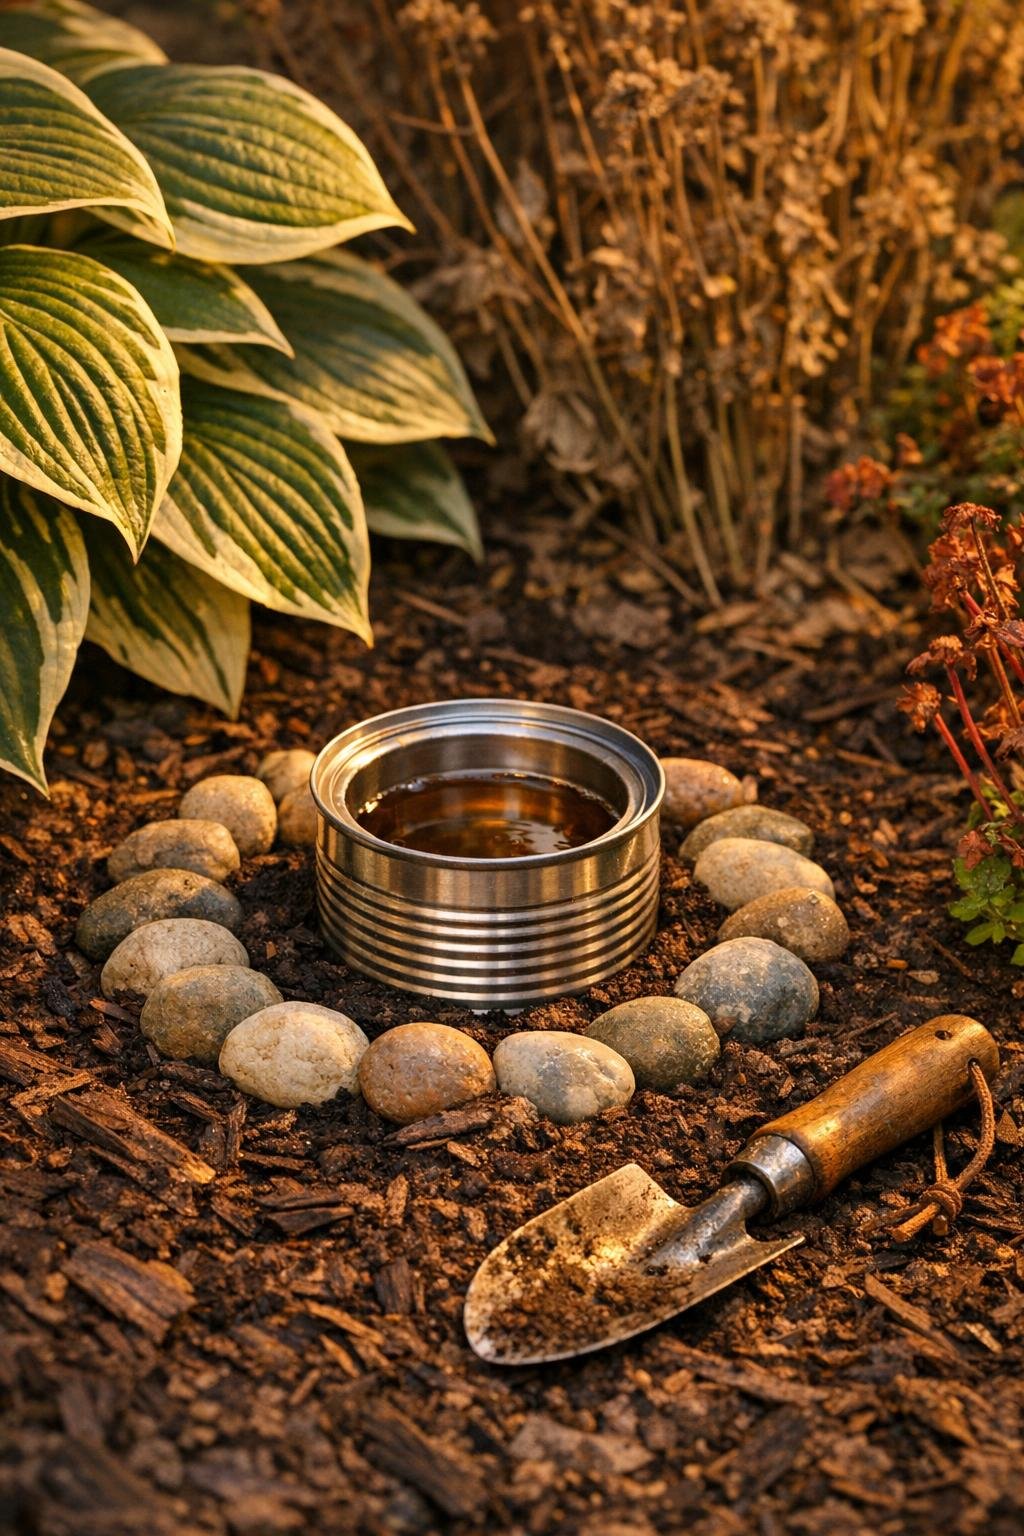
3. Dig three holes deep enough that each can sits with its rim about 1/2 inch above the soil line; this keeps excess dirt from constantly falling into the bait.
4. Set the cans into the holes and firm soil around each one so they feel stable and don’t wobble when you pour in the bait.
5. Pour beer into each can until it is about half full, or mix the warm water, sugar, and yeast and divide that bait evenly between the three cans.
6. Add a ring of river rocks around each buried can, leaving the opening clear; the rocks make the trap look intentional and give the area a finished garden-edge look.
7. Spread the dark mulch chips or pea gravel between and around the traps in a light 1/2- to 1-inch layer so the whole spot blends neatly into the bed.
8. Check the traps every morning or every other morning, empty them as needed, and refill with fresh bait every 2 to 3 days for the strongest results at the end of the season.
9. After the first week, move any trap that stays empty to a shadier or damper section of the bed, because slugs and snails usually follow moisture more than plant variety.
Variations & Tips
For vegetable beds: I like placing one can near lettuce, hostas, or other tender plants that always seem to get chewed first. Keep the trap a few inches away from edible stems so watering and harvesting stay easy.
Homemade bait option: If you don’t want to use beer, the sugar-yeast mixture works surprisingly well. Let it sit for 5 minutes before pouring so it gets a little foamy and active.
For a prettier look: Use black pea gravel for a cleaner, more polished finish, especially in front-yard beds where neighbors will notice the details. That simple border is what makes this feel planned instead of thrown together.
Rainy weather tip: After a hard rain, dump and refresh the cans right away. Diluted bait is much less effective, and this project works best when the scent stays strong.
Pet and kid awareness: I place these only in garden beds, not along walking paths or play areas. Since the rims sit just above soil level, the setup stays visible enough for adults while still doing its job quietly.
End-of-season cleanup: Once frost is close, pull the cans, wash them, and recycle or save them for spring. If they’re still in good shape, I tuck them onto a garage shelf and reuse the whole setup next season.