
If you have more fall leaves than time, this galvanized trash can shredder is one of those backyard fixes that feels almost suspiciously useful. You’re basically turning a plain metal trash can into a leaf-mulching chamber that helps break down dry leaves fast with tools and odds-and-ends a lot of us already have in the shed. I love projects like this because they solve a real seasonal problem without asking for a full weekend or a huge budget.
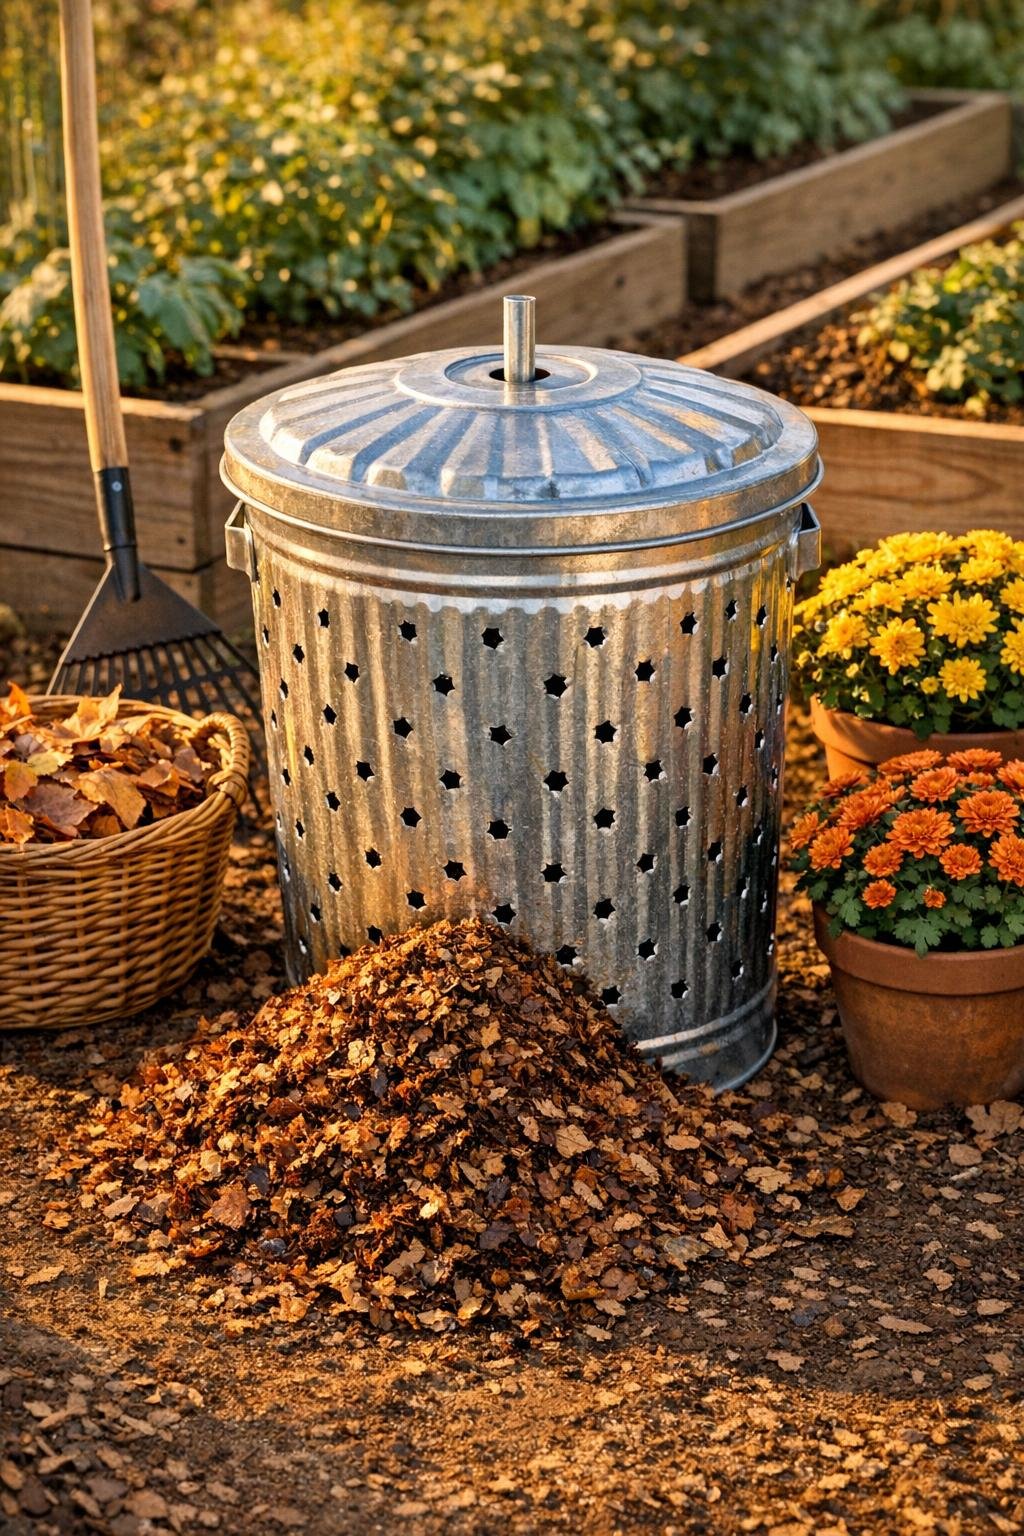
I put this together with busy gardeners in mind, especially if you want lighter bags, faster compost, or easier mulch for beds around the house. The finished bin still looks like the same galvanized can from the hero scene, just upgraded to work harder, and it’s roomy enough to process a generous batch instead of a tiny test run.
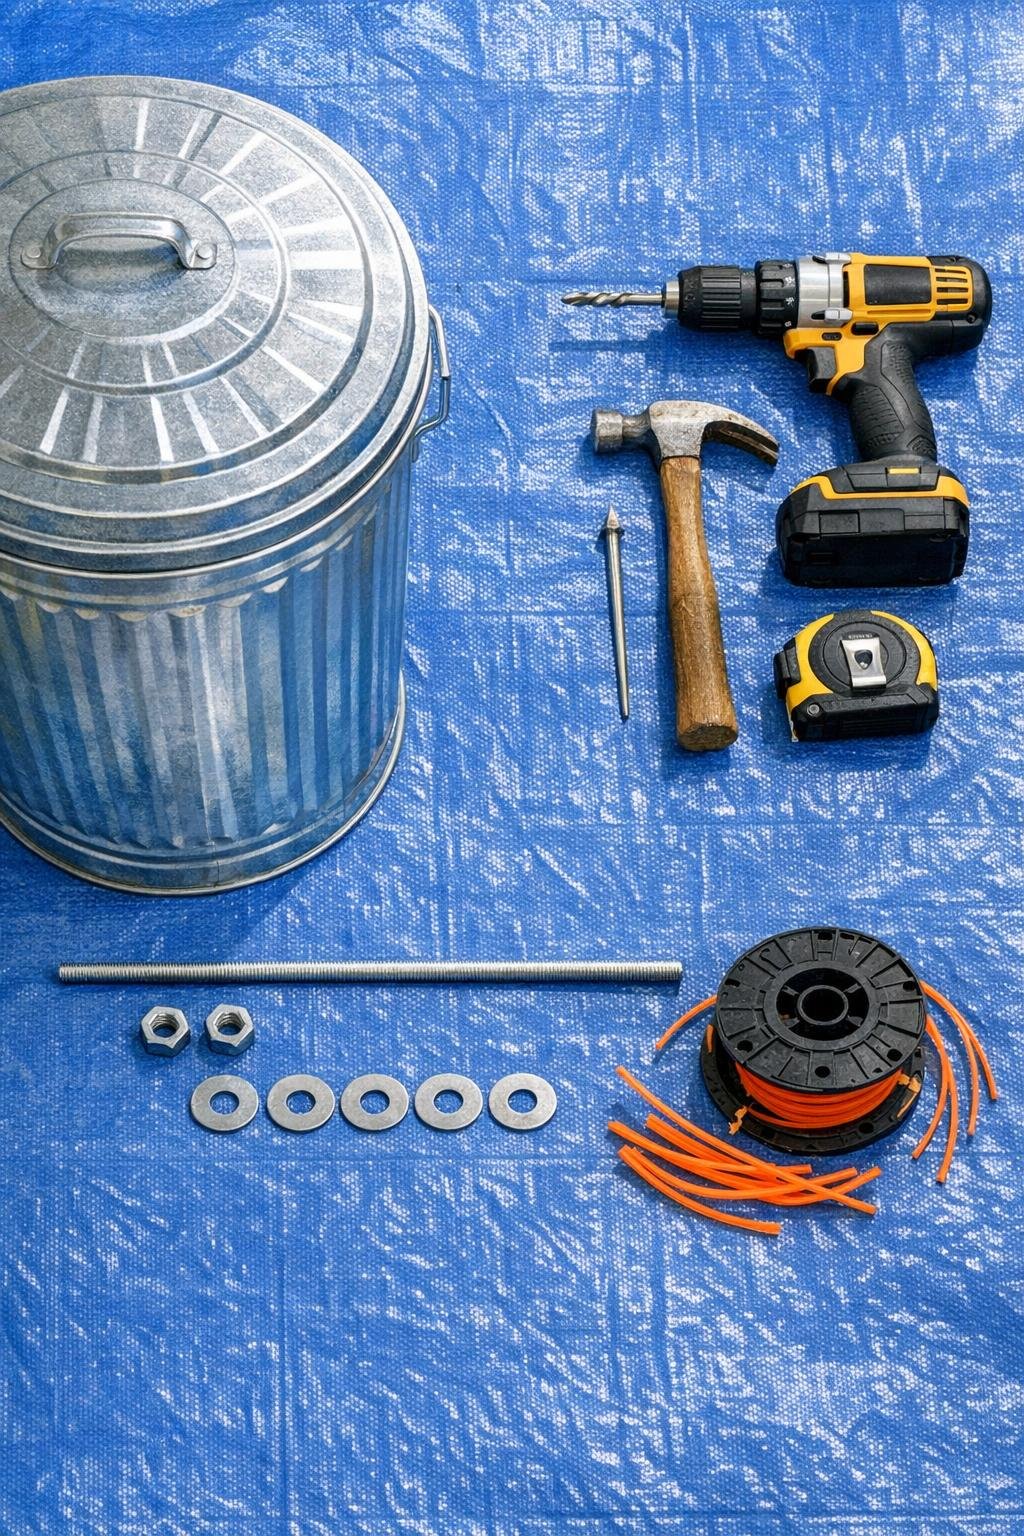
Materials
Instructions
1. Set the galvanized trash can upside down on a blue tarp and wipe it clean so your markings and drill holes stay easy to see.
2. Use painter’s tape and a marker to lay out three staggered rows of shredding holes around the lower two-thirds of the can, spacing the holes about 2 inches apart so you end up with dozens of openings all around.
3. Brace the inside of the can with the scrap 2x4, then use a large nail and hammer to punch starter dents at every mark so the drill bit won’t skate on the metal.
4. Drill each starter mark with a 3/8-inch bit, then lightly angle the bit or tap the edges outward so the holes stay a little jagged; those rough edges are what help tear the leaves instead of letting them just spin.
5. Drill one centered 3/8-inch hole in the base of the trash can and one matching centered hole in the lid.
6. Thread three 12-inch pieces of trimmer line through the empty spool or trimmer head core so they form a balanced cutting rotor with six flexible ends extending evenly.
7. Slide one washer and nut onto the threaded rod, add the trimmer spool rotor, then lock it in place with a second washer and nut so the rotor sits roughly 5 inches up from one end of the rod.
8. Feed the long end of the rod down through the lid first and then through the centered hole in the can, leaving the rotor suspended inside the can near the bottom third with enough clearance to spin freely.
9. Add the remaining washers and tighten the hardware so the rod stays centered and the lid acts as the top support for the shaft.
10. Test-spin the rod by hand; if the trimmer lines brush the can, trim them evenly by 1/2 inch at a time until they clear the sides by about 1 inch.
11. Set the can upright, pack it loosely with dry leaves to just below the top row of holes, and place the lid on securely so the leaves stay contained while shredding.
12. Insert the upper end of the threaded rod into a drill chuck and run the drill at a moderate speed in short bursts, lifting and lowering slightly as the trimmer lines whip through the leaves and the jagged side holes help grab and tear them down.
13. Stop every 20 to 30 seconds to let dust settle, then check the texture; most dry leaves reduce to fluffy mulch in 1 to 3 minutes total per batch.
14. Dump the shredded leaves straight into garden beds, around shrubs, or into your compost pile, then refill the can for the next batch.
Variations & Tips
For smaller drills: If your cordless drill struggles, fill the can only halfway and work in shorter bursts. I’ve found that dry, crisp leaves make a huge difference and keep the whole setup from bogging down.
For cleaner mulch: Run the first batch, dump it, then put the mulch back in for a second quick spin. That extra minute gives you a finer texture that looks great spread around perennials and vegetable beds.
For safer operation: Always keep the lid on while shredding, and wear gloves plus eye protection when drilling and handling the can. Those jagged holes are helpful for performance, but they are definitely not something you want to brush against casually.
To reduce wobble: If the rod shakes, check that the trimmer lines are cut to exactly the same length and that the spool is locked evenly between the nuts. A balanced rotor makes the bin feel much more solid.
Best leaves to use: This works best with completely dry maple, birch, and similar light leaves. Damp oak leaves can still be shredded, but I usually let them dry on a tarp first because it saves time and gives better mulch.
Storage tip: When fall cleanup is done, remove the rod assembly and store it inside the can with the drill hardware in a small jar or bag. That way the whole project tucks back into the shed without turning into one more loose seasonal gadget.