
There are projects where the “before” and “after” feel miles apart, and then there are the charming little cheats that look delightful almost instantly. Turning sugar cones upside down falls squarely into that second category. The shape already does the heavy lifting, which means this is the kind of afternoon craft where the fun is all in the finish work: color, sparkle, tiny ornaments, and the little details that make the whole thing feel polished instead of tossed together.
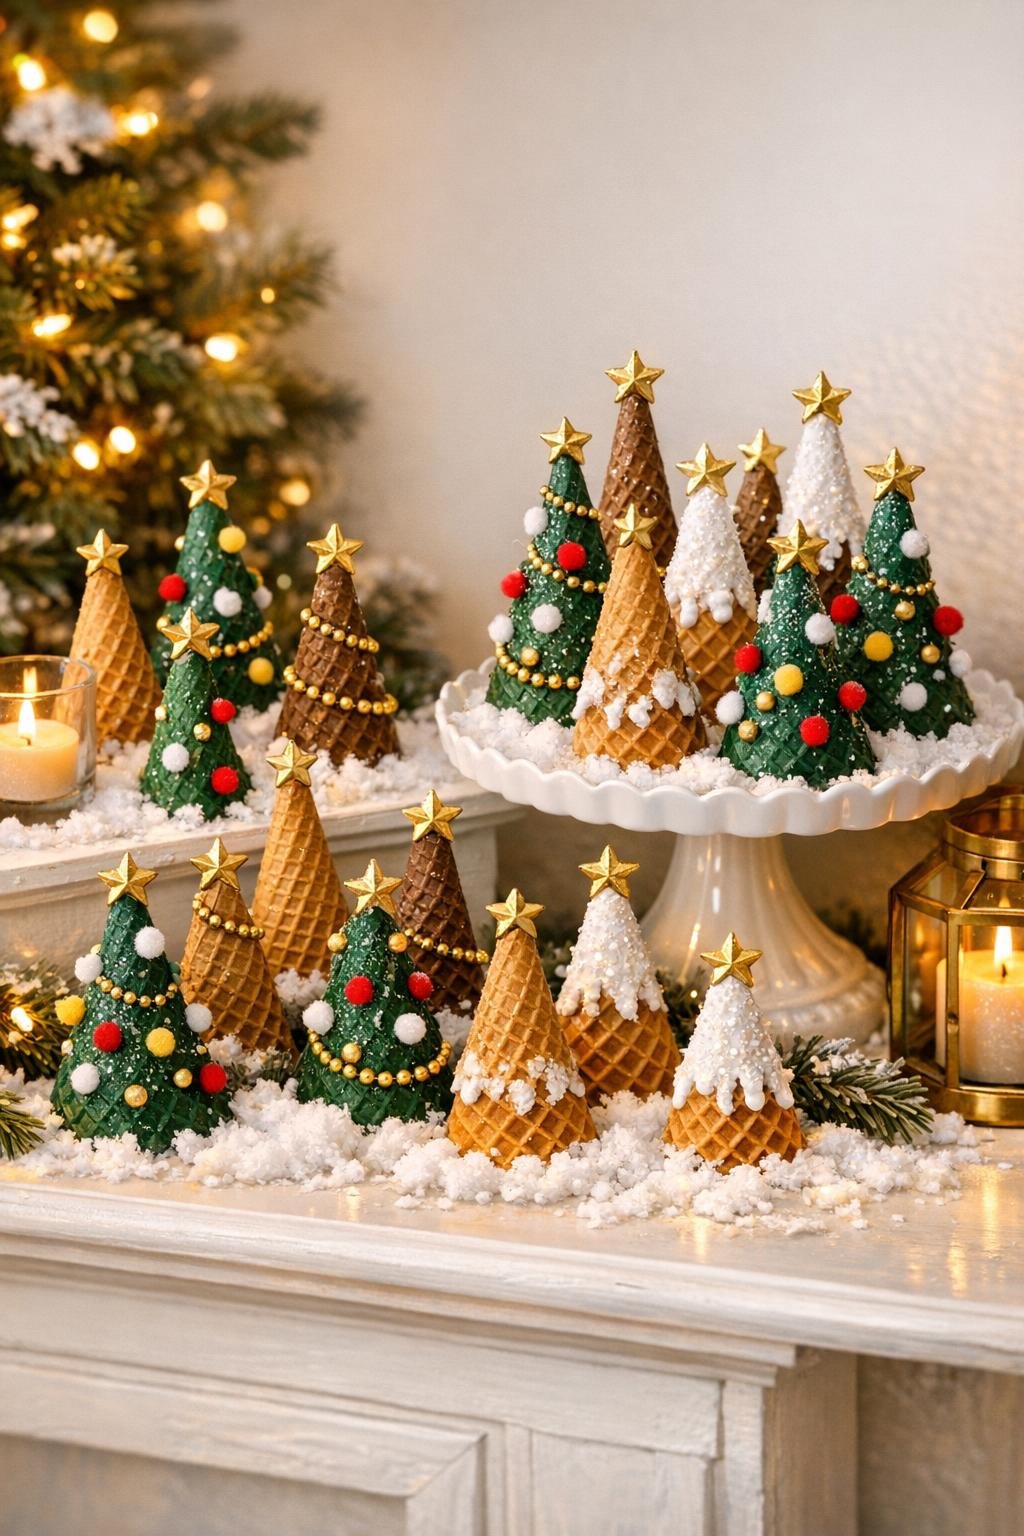
I especially love this one for December because it gives you a lot of visual payoff for very little fuss. Two dollar-store boxes of cones are enough to build a full little forest, and the mixed finish is what makes it sing. I’m saying this rule out loud because it matters: paint some trees deep green, leave some kraft-brown, and white-tip the rest like fresh snowfall. A mixed forest reads collected and designer; 24 identical trees read assembly line.
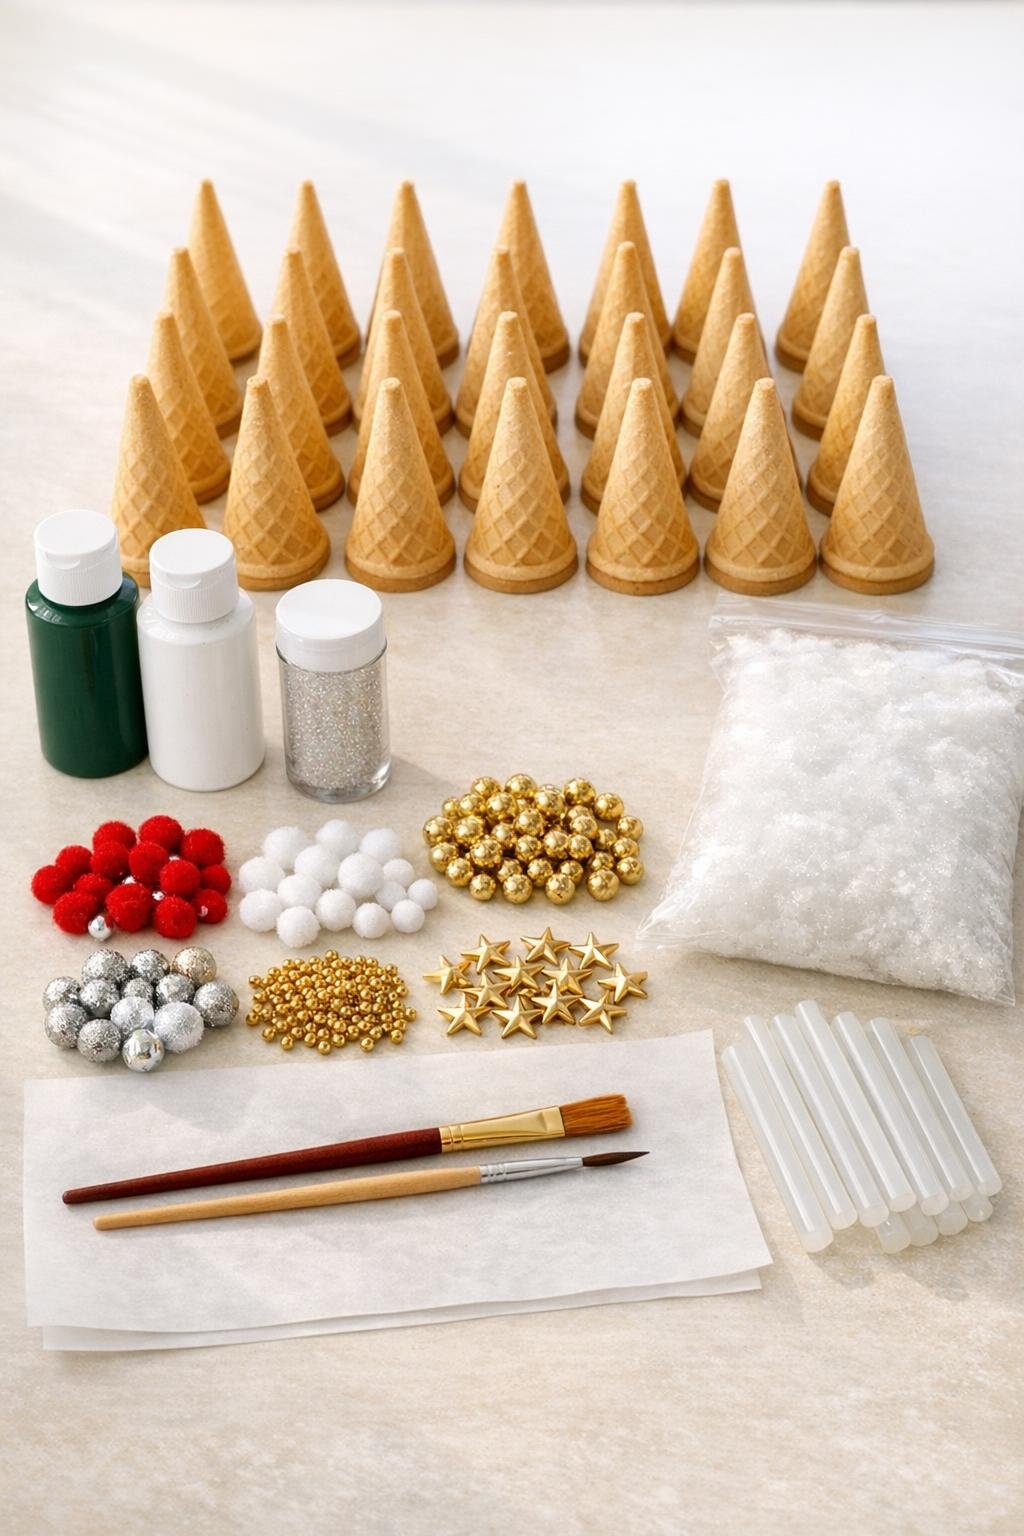
Materials
Instructions
1. Line a tray or work surface with parchment paper, then set the cones upside down in loose rows. Handle them gently at first; before paint stiffens them, they’re surprisingly fragile, so it helps to work in batches of 6 to 8.
2. Sort your 24 cones into three groups: 8 to paint fully deep green, 8 to leave natural kraft-brown, and 8 to give snowy white tips. This mixed finish is the secret to a forest that looks styled and dimensional instead of overly matched.
3. Paint the first group of 8 cones solid deep green with the foam brush, using light downward strokes so you don’t crush the ridges. Let a little of the cone texture show through because that waffle pattern adds lovely tree-like detail.
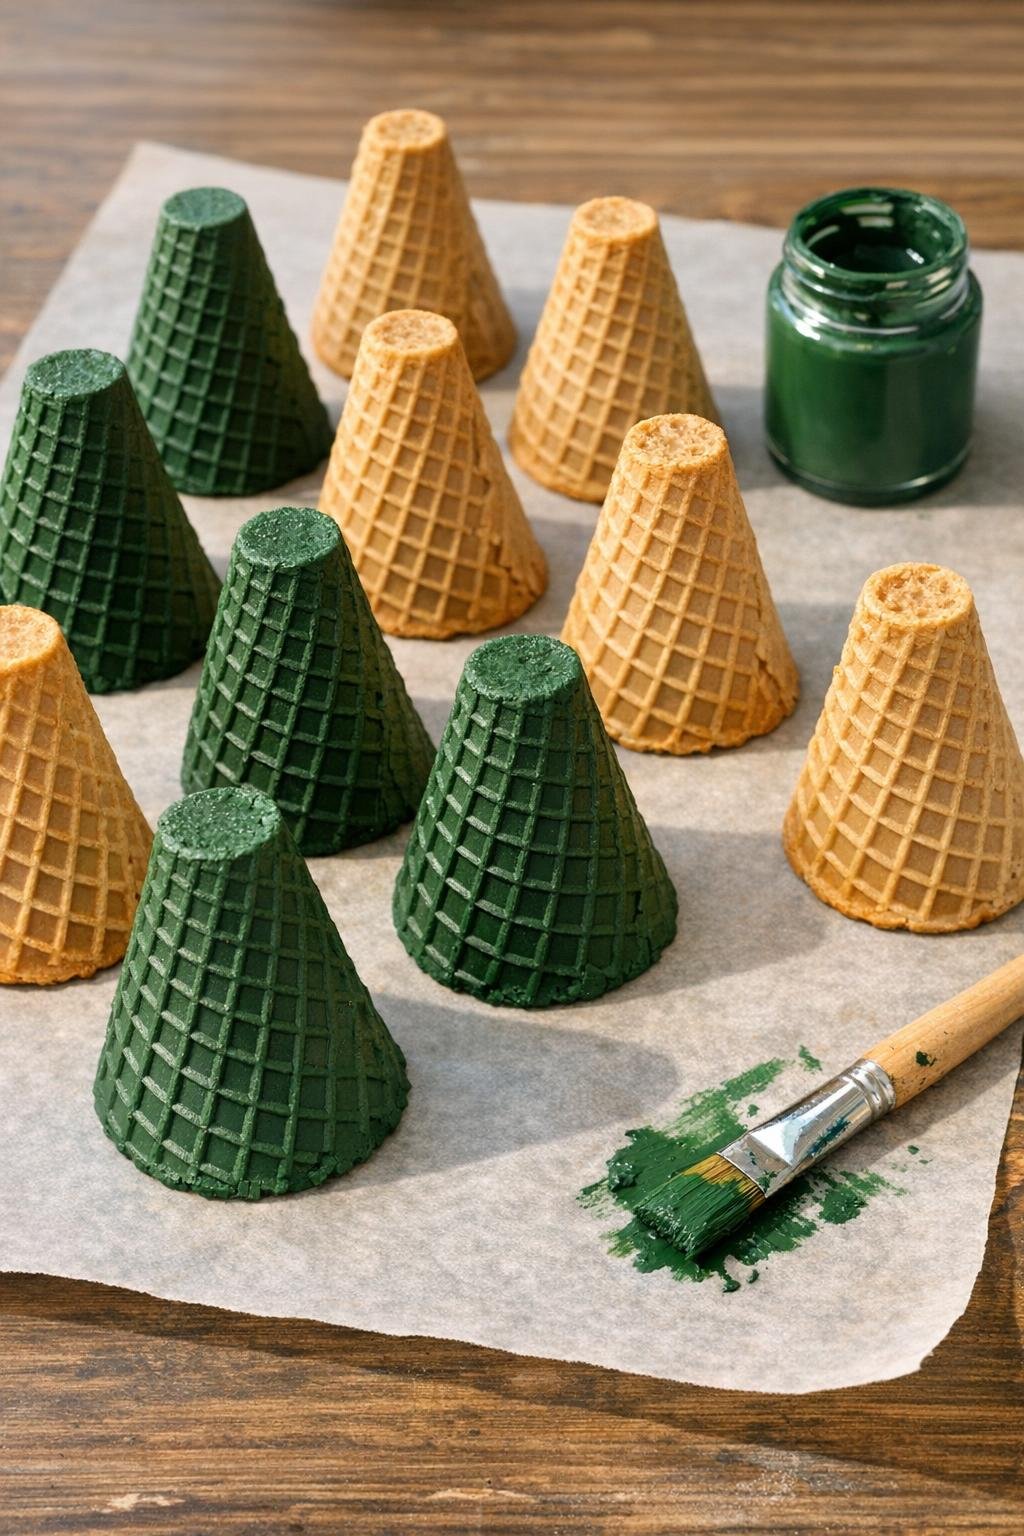
4. While the green paint is still tacky, sprinkle fine glitter over those trees so it catches in the paint without needing extra glue. Tap off the excess and stand the cones upright on their wide openings to dry.
5. Leave the second group of 8 cones natural, but dry-brush just a whisper of white paint around some ridges and edges for variation. These brown trees give the village warmth, and that little bit of snow keeps them from looking unfinished.
6. For the final 8 cones, brush white paint onto the top third of each upside-down cone and feather it downward to look like fresh snowfall. Add glitter while the white paint is tacky so the snowy tips sparkle once dry.
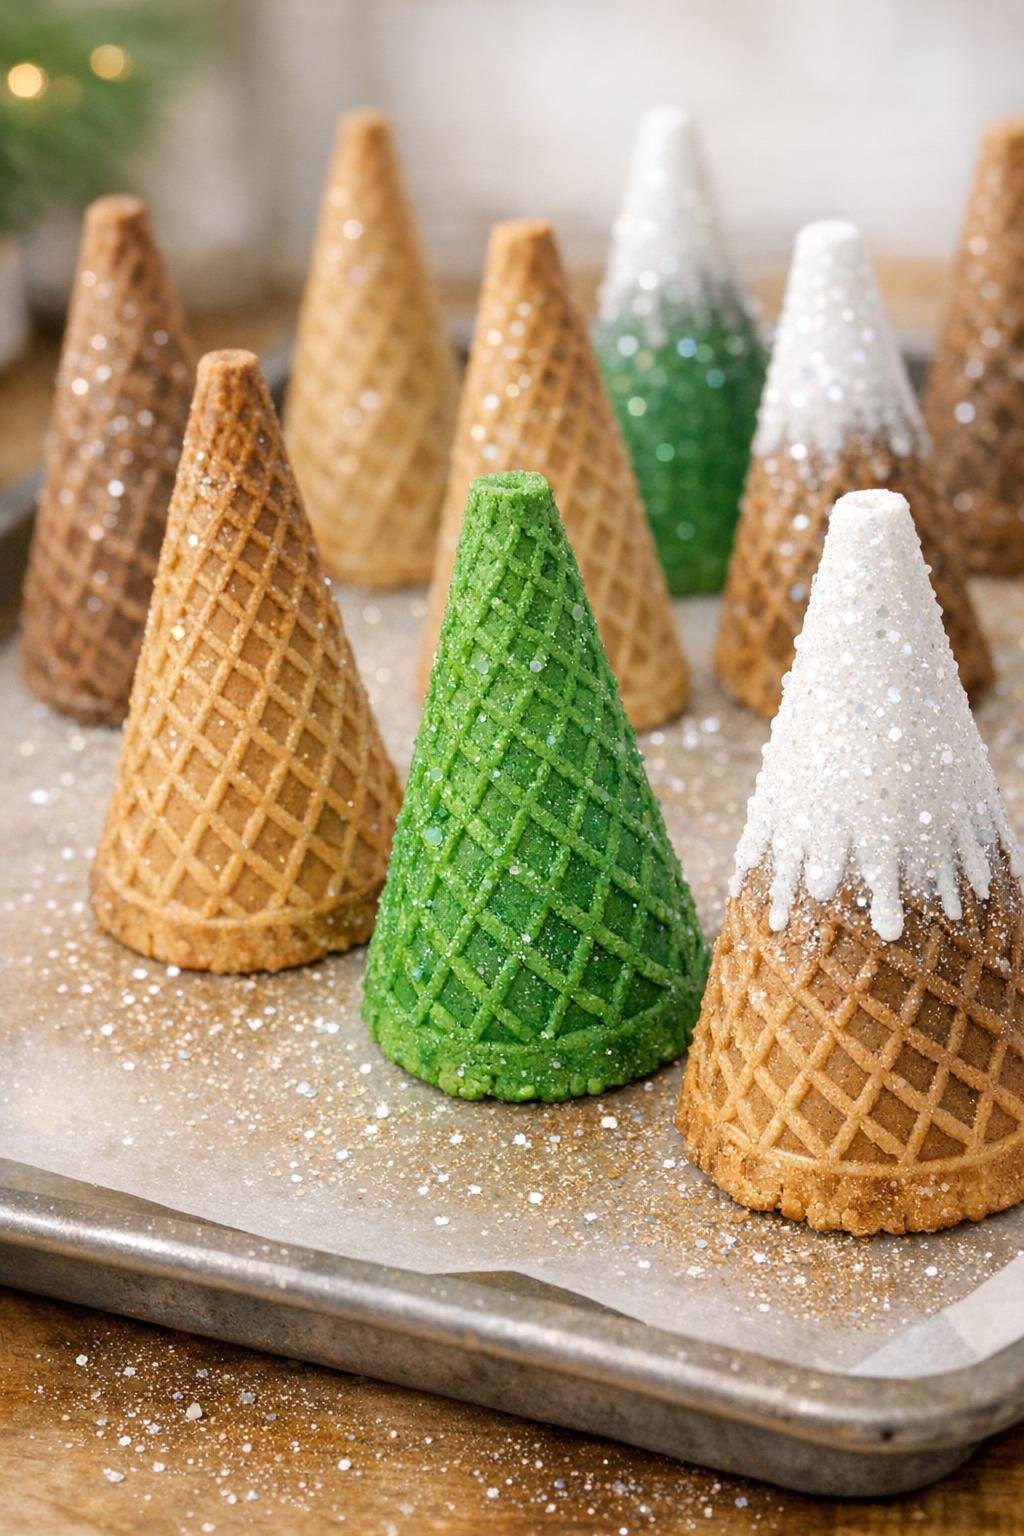
7. Let all the cones dry completely for 20 to 30 minutes so the paint adds a little stiffness. If a cone cracks or tips over, don’t toss it; broken pieces become convincing little tree stumps in the final display.
8. Use the hot glue gun to add mini pom pom ornaments, spacing 3 to 4 on each tree and pressing them into the ridges for a secure hold. I like to keep the brown trees lighter on ornaments and load the green trees a bit more heavily so the forest feels balanced.
9. Glue one gold bead or one mini star to the pointed tip of each cone. This is a small trick worth naming because it neatly hides the fragile cone point and makes every tree look intentionally finished.
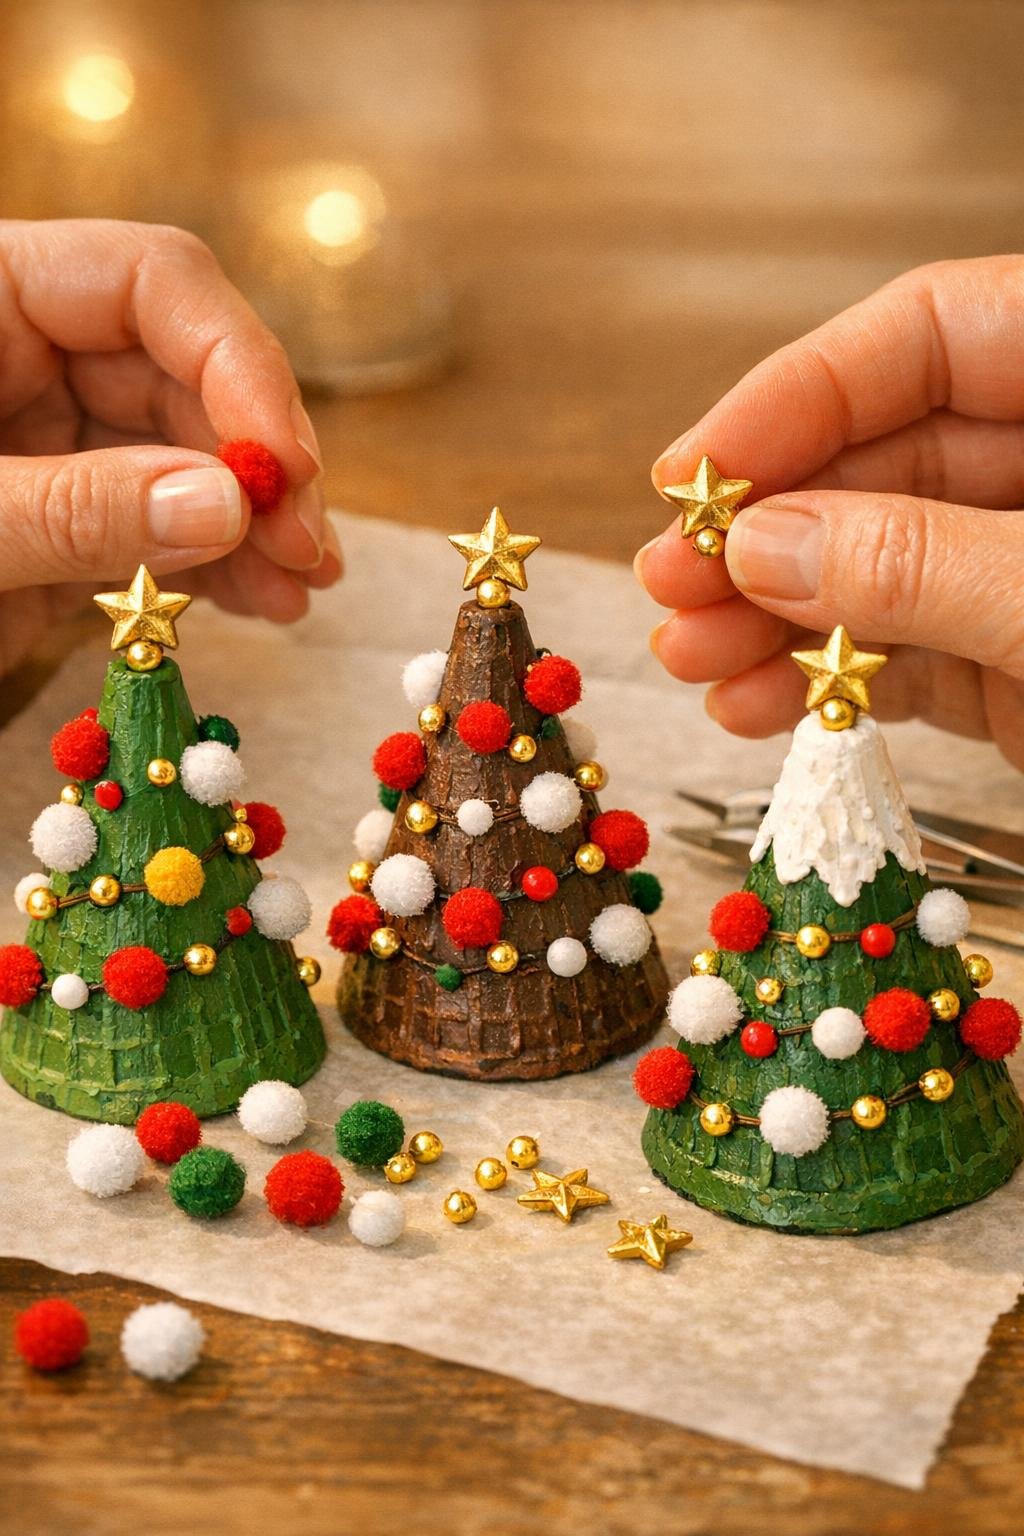
10. If you want more depth, dab a little extra white paint onto a few lower ridges and add one more pinch of glitter to selected trees rather than all of them. That unevenness is what makes the group feel like a real little woodland.
11. Arrange the finished trees by height and color, using any slightly shorter or chipped cones near the front as stump accents. The prettiest layouts are either a graduated forest marching down a mantel or a full ring of trees circling a cake stand.
12. Spread faux snow or batting under and between the trees, nestling the bases in so they stand securely and look settled into the scene. Tuck in the broken “stumps” here and there, then step back and rebalance the greens, browns, and snowy whites until the village feels full.
Variations & Tips
Kids' table version: Use the same upside-down cone idea with canned frosting instead of paint, then decorate with sprinkles and candies. That lane is edible and party-friendly, while the painted version is strictly for décor.
Color balance: If you’re tempted to paint all 24 trees green, don’t. Keeping some cones natural brown and giving others snowy white tips is what makes the forest look layered, collected, and much more expensive than it is.
Breakage save: Budget a few casualties from the start because sugar cones are delicate. A cracked cone can be trimmed into a stump, dusted with white paint or gold, and worked into the display as a happy little accident.
Glitter control: Add glitter only while the paint is tacky so it bonds cleanly and you don’t have to paint on extra adhesive. I like to do this over the parchment so I can funnel the excess right back into the container.
Topper options: Gold beads give a cleaner, more Scandinavian look, while mini stars lean classic Christmas. Either way, the topper is doing double duty by decorating the tree and protecting that sharp cone point visually.
Display idea: For a mantel, start with the tallest trees near one end and let the heights taper down like the forest is marching across. For a centerpiece, place the trees tightly around a cake stand on faux snow so it reads as a little village scene from every side.
Storage note: Once dry, these are sturdier than they look, but they still store best in a shallow box with tissue tucked between layers. Keep them dry and cool so the cones stay crisp and the paint finish holds up through the season.